How to Assemble a Desktop PC? (Step by Step Guide)
By Puja Chatterjee on July 29, 2018It is very important to put all the components of a PC in the proper order so that the system runs just as desired in the end.
Normally, if you are not very tech savvy, it may not be as easy to correctly assemble a desktop PC as it is to purchase all its essential parts.
If you feel that this is one of the most challenging tasks for you, which surely it is, here is some help on the way.
In this article, you will find all the steps that will guide you through the process.
KEY TAKEAWAYS
- To assemble a desktop PC correctly, the casing should be appropriate for the motherboard you want to use.
- The Power Supply Unit should have the right rating and meet the power requirements of the components on the motherboard.
- Right from the RAM to the data cables, the CPU to the CPU fan, everything should be fixed to the correct slot on the motherboard.
- All the components should be installed and properly screwed into the right compartment.
Why Should You Assemble Your Own PC?
The most significant reason to assemble your own desktop PC is to reduce the cost, both in the short as well as in the long term.
Moreover, assembling your own PC will make you knowledgeable about the components inside and help you to identify them when they fail so that you can quickly fix the issue or replace them.
In addition to that, some other good reasons to build your own PC are:
- A better build and quality of components
- Better customization option
And, most importantly, when you use a PC that you built yourself, you will get a wonderful sense of self-satisfaction and achievement.
Desktop PC Assembling Parts
There are some basic components you will need to have to build a desktop PC. You will first need a computer case to fit in all the other vital components that will make the computer work, such as the motherboard, CPU, GPU, and more.
Here is the list of parts needed for assembling a regular desktop PC:
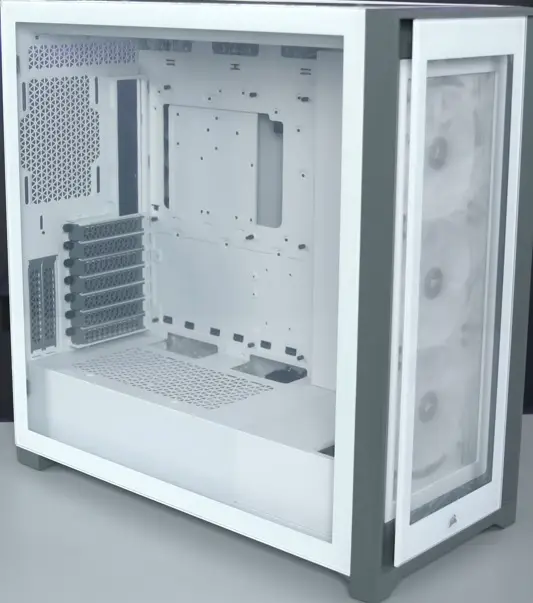
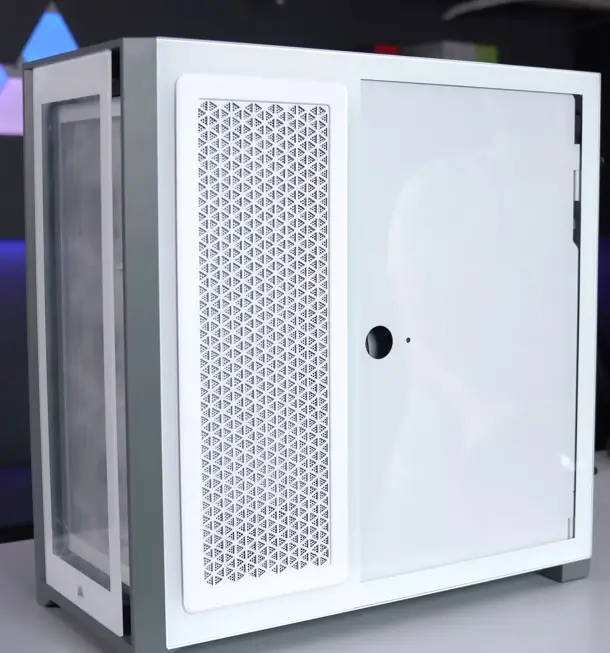
Computer Case
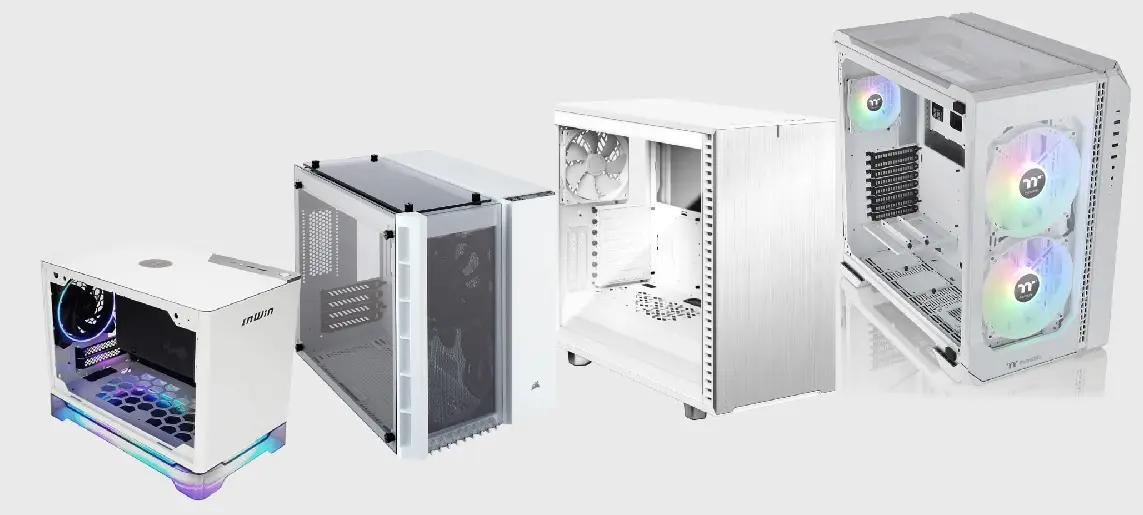
You will get different types and sizes of computer cases today, over and above the traditional cases that most users are familiar with.
Choose one according to your budget but make sure that it is big enough to house all the vital components of the PC inside it and have all the necessary slots for the ports and jacks to fit in.
Motherboard
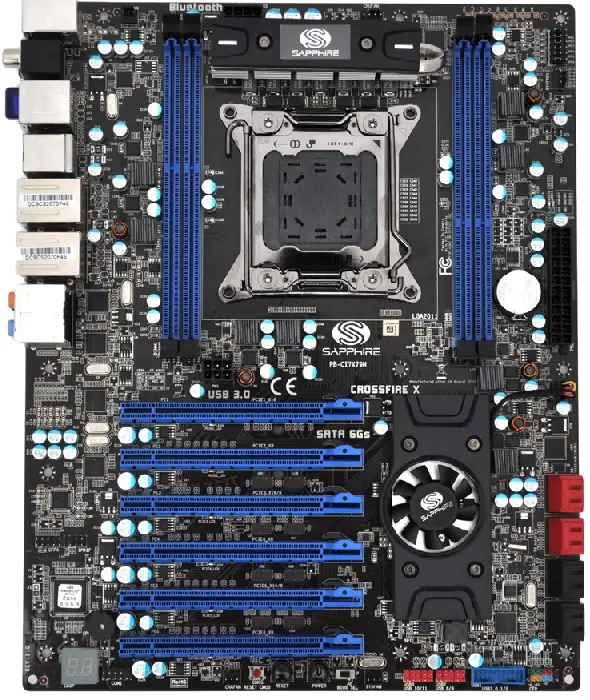
Choosing which motherboard to use depends on your need and the availability of funds.
However, expandability and upgradability are two essential factors to consider when choosing the motherboard because this will be the foundation of your PC.
Therefore, make sure that the board supports adequate Peripheral Component Interconnect (PCI) and other slots and ports to allow adding supplementary peripherals.
A motherboard today may come with a processor already fitted in it or as a single, open board.
CPU
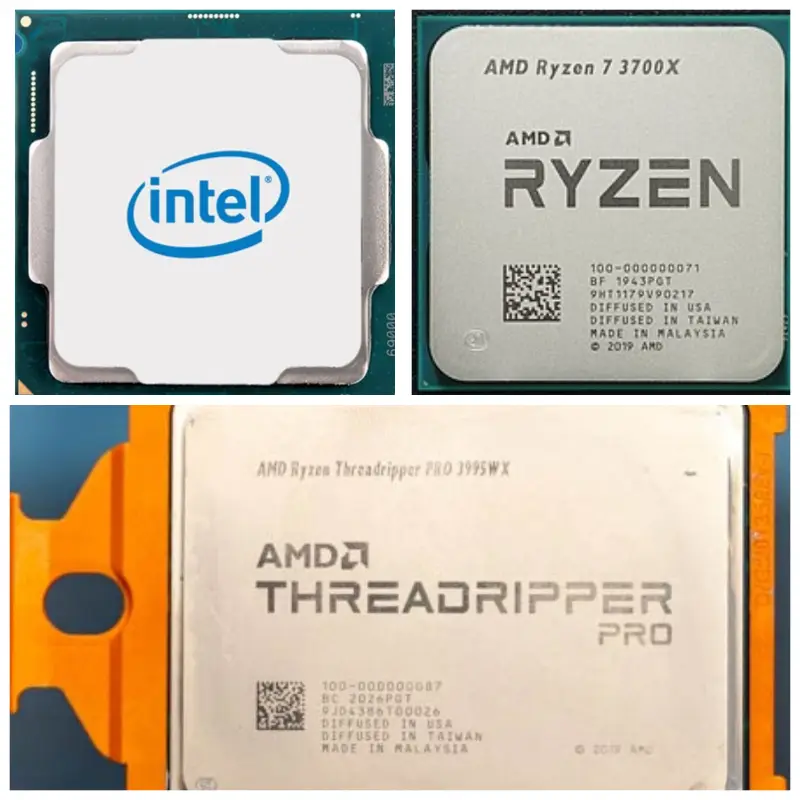
If, however, you want to choose a separate Central Processing Unit (CPU), you should make a choice between an Intel or an AMD CPU, depending on the motherboard. Remember, an AMD CPU will not fit on an Intel platform, and vice versa.
Read Also: 11 Different Types of Computer File Systems
CPU Cooler or Fan
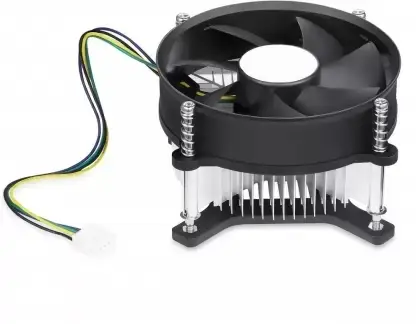
You will need to keep your CPU cool for better performance, and therefore, you will need a CPU cooler. Now, there are different varieties of it. Some coolers look very pretty with even lights on them, but you may use a regular one if you are on a budget.
Power Supply Unit
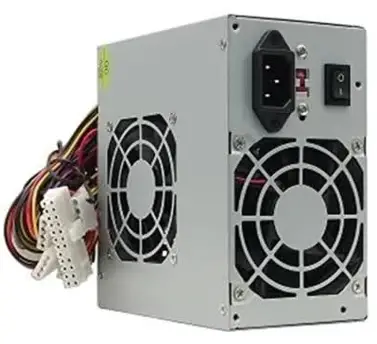
You will need a good and proper PSU or Power Supply Unit of a reliable brand with a good rating and power wattage so that all the internal components of your PC get the right amount of power to operate.
RAM
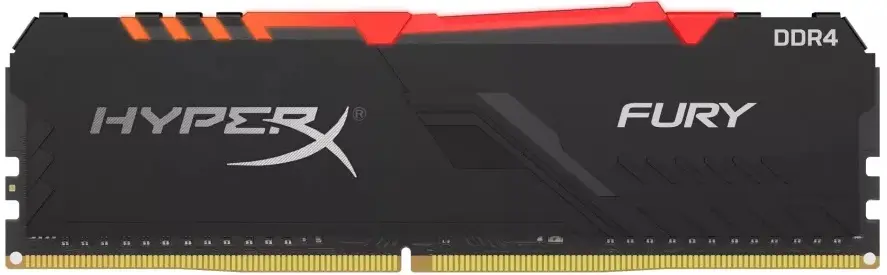
You may use a Double Data Rate (DDR) RAM chip on your PC. For most computing tasks, a DDR4 RAM would suffice, but you can surely go for a more modern variant.
However, the choice of RAM should entirely depend on the type and compatibility of the motherboard.
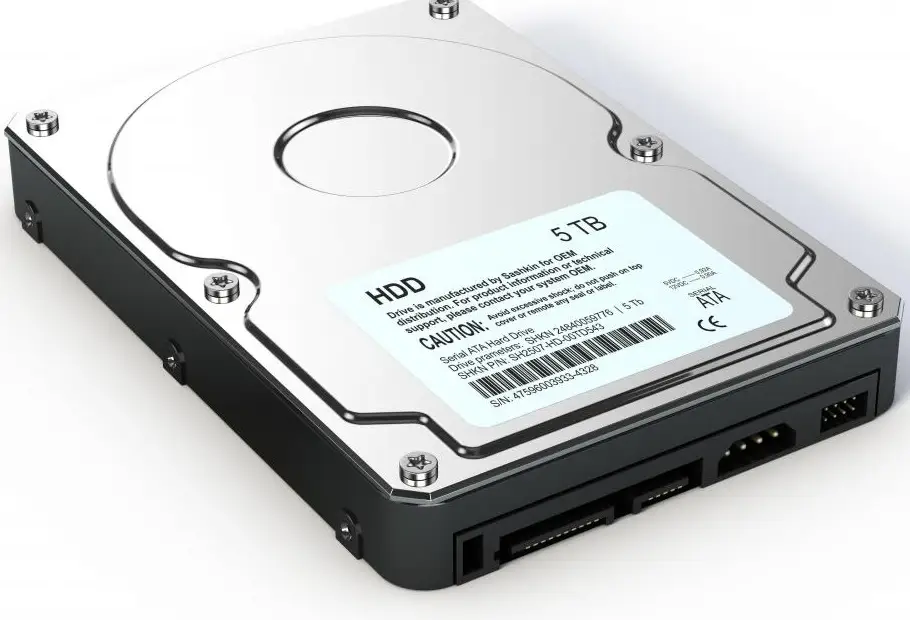
The hard disk is typically used to store data and information. You will get different types of such drives with different storage capacities. Choose one according to your needs.
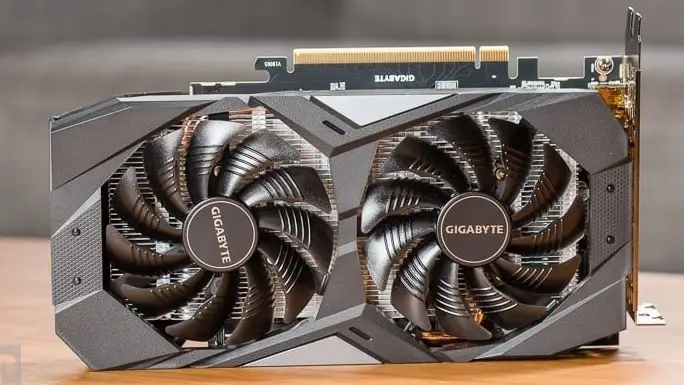
The Graphics Processing Unit (GPU) can be separate or integrated. If you choose a separate GPU, make sure it is compatible with the motherboard and will suffice your needs.
Keyboard and Mouse
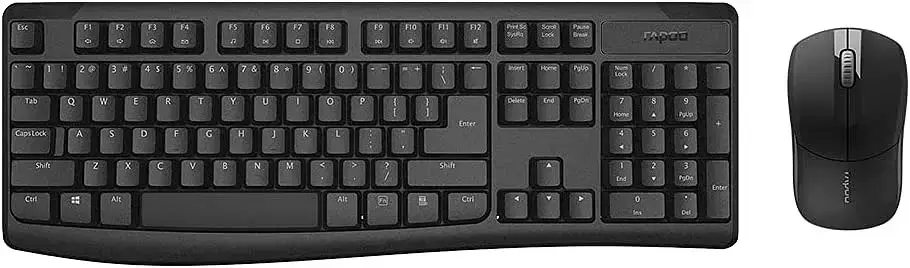
You will also need these input devices to connect to your PC. You may choose from the wireless or wired variants of both, the regular ones or those that come with RGB lights and look pretty.
Monitor
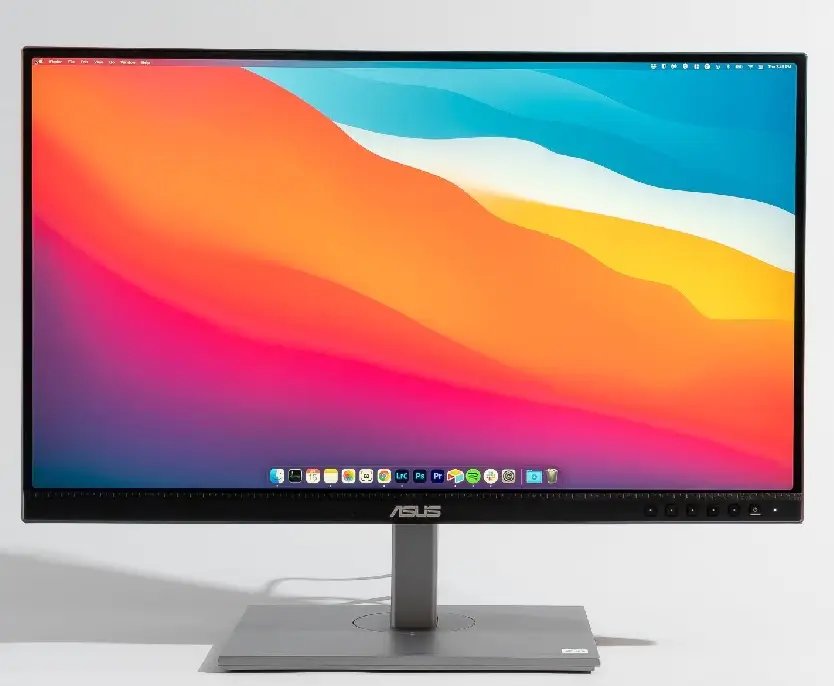
The monitor is an essential component to see what you are doing on your computer. LED or OLED, low or high refresh rate, thicker or narrower bezel, there is a large variety of PC monitors that will leave you spoilt for choice.
Choose a monitor with the latest features based on your absolute needs. If you are a graphics expert or multimedia professional, you should assemble a large LED display with a higher resolution.
Make sure that the monitor consists of all the mandatory jacks and ports to suit your computing needs.
What Tools Do You Need to Build a PC?
Now that you have the components ready, you will need to have the required tools to build the PC, over and above the screwdrivers and nut drivers. However, it need not be an expensive toolkit.
The common tools that you will need include:
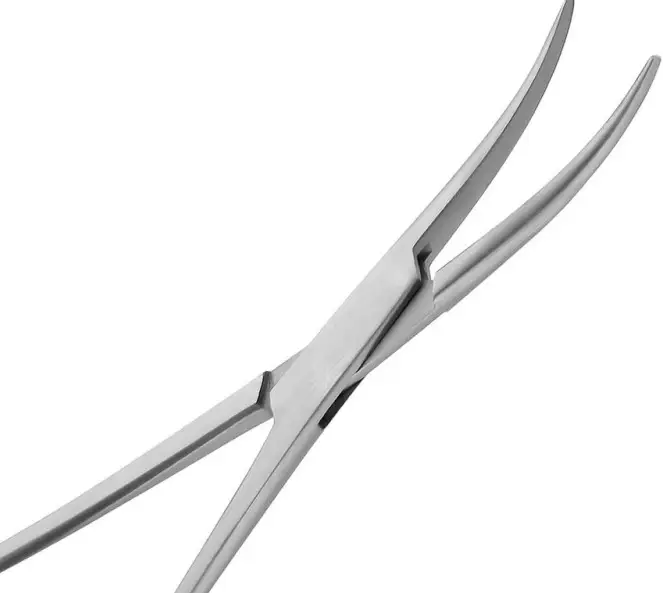
- Needle-nosed forceps or pliers to pick up dropped screws or insert or remove jumpers on the motherboard.
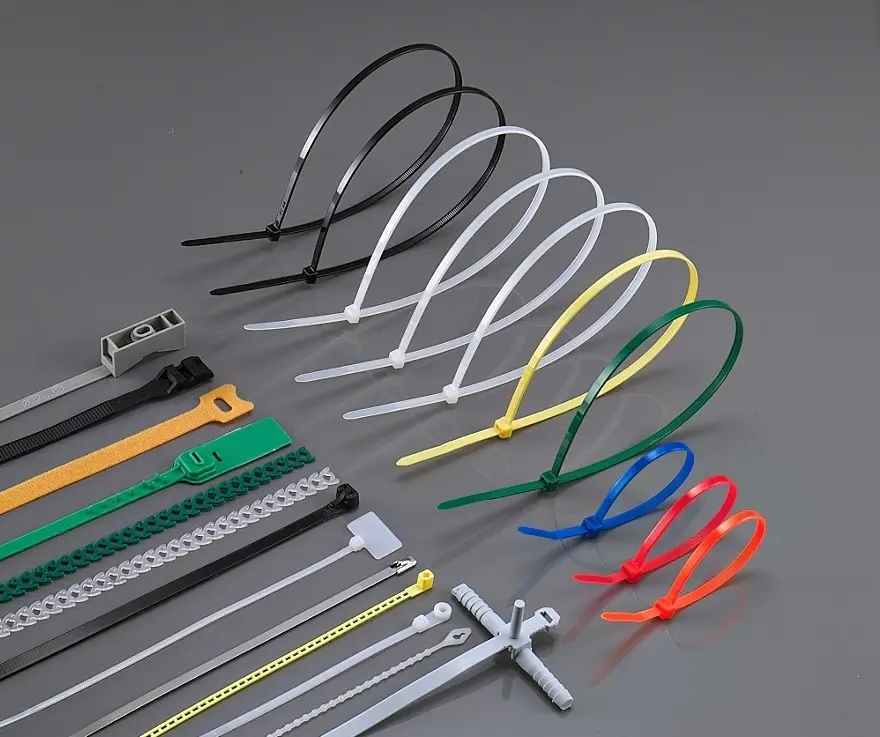
- Plastic cable ties to bundle wires and cables neatly and away from the fans or other parts within the computer case.
- Thermal paste or heat sink compound necessary for improving thermal and cooling efficiency.

- Canned or canless air duster to blow dust away from the nooks and corners.

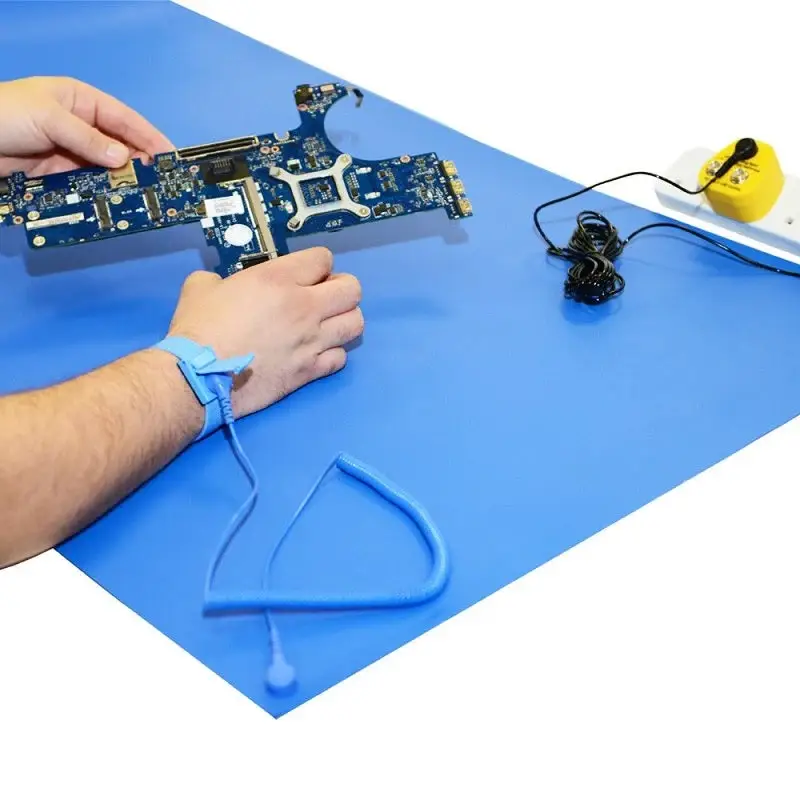
- An anti-static kit consisting of a wrist wrap and a rubberized mat to protect from static damage.
Though not mandatory, in addition to the above list of tools, you may also have some other items or tools if you want, such as:
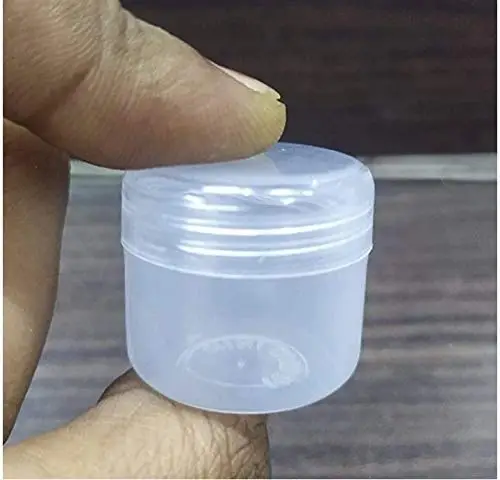
- A small plastic container to hold the small parts, such as the jumpers and screws.
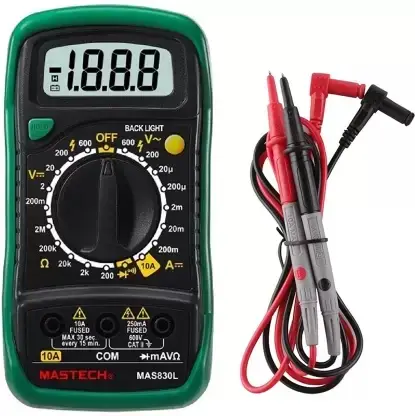
- A small multimeter to check voltage and resistance.
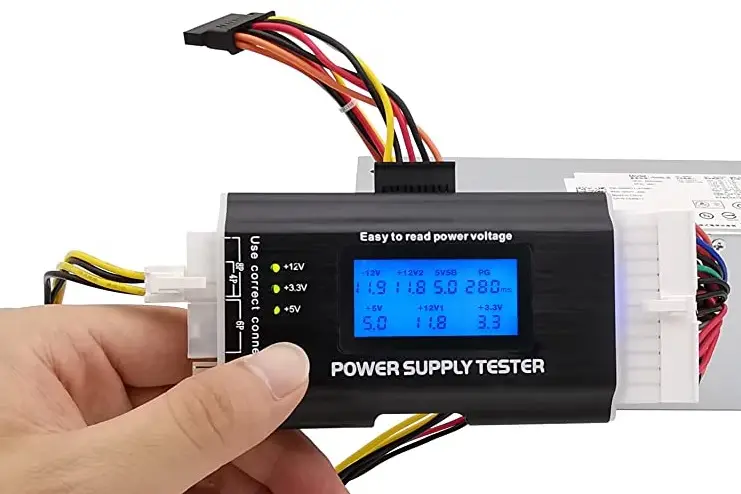
- A small power supply tester.
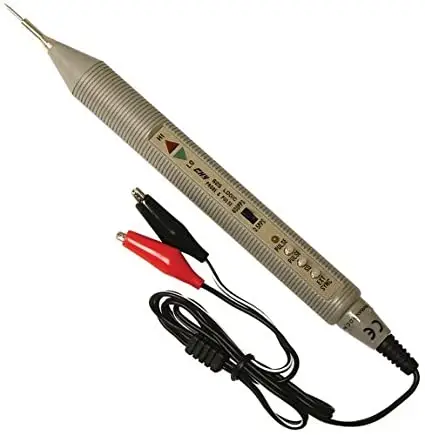
- A small logic probe to check the logical states and operation of binary circuits.
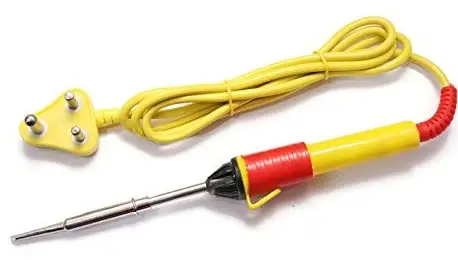
- A small soldering iron.
Now that everything is in place, you may start the assembling process. But, before you start, remember a few things, such as:
- Make sure you use a flat, preferably wooden surface to build your PC.
- Always use only genuine components. Therefore, research and find a reliable product and supplier.
- Check for the warranty on parts and choose what you need and can afford. Do not go overboard.
- The components may vary make and model, but the assembling process is basically the same.
- Always use the Electrostatic Discharge (ESD) anti-static wrist strap.
- Be careful about the screws. Do not overtighten them or drop them and leave them inside.
- Fix the CPU, RAM, and CPU fan on the motherboard outside the case and then place the board inside.
- Arrange the cables neatly only after making sure that everything is working fine.
Read Also: How to Open Device Manager: A Comprehensive Guide
PC Assembling Step-by-Step Guide
CPU Installation
- Remove the cover of the computer case.
- Take out the motherboard and all cables and screws that come with it in the box.
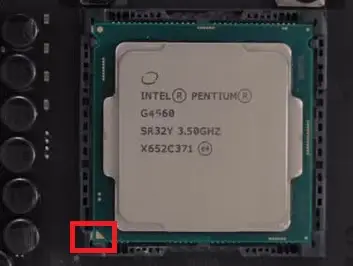
- Hold the CPU by its sides and first ensure that the orientation is correct. There will be a small triangle marked on the CPU that should align with the triangle embossed or marked at the corner of the socket.
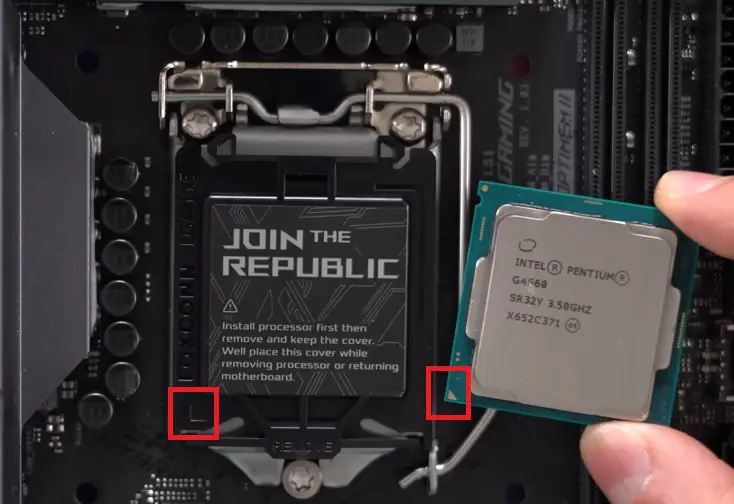
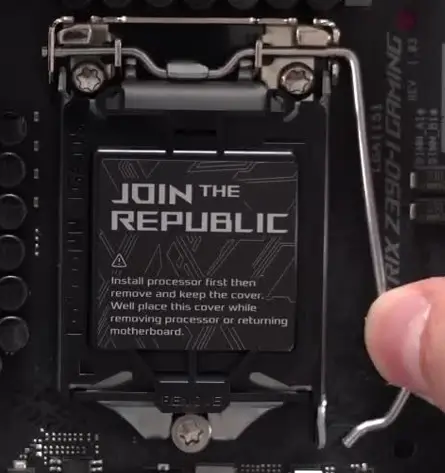
- Unfix and pull the lever up.
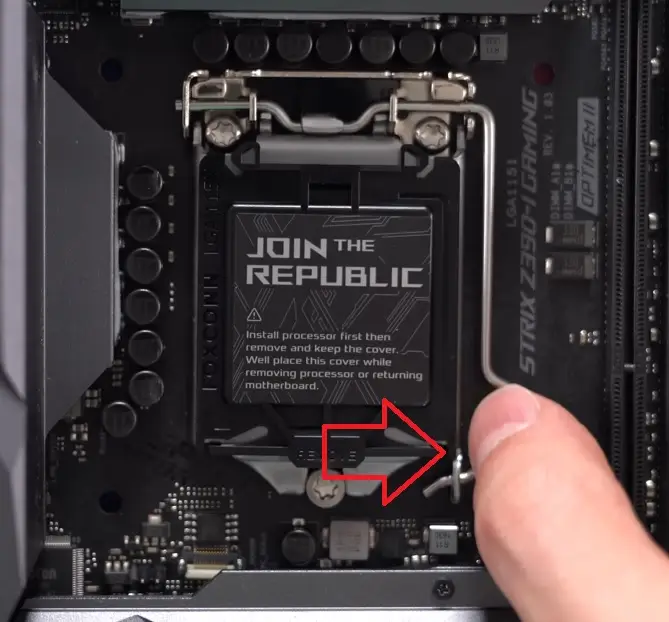
- Place the CPU properly so that it fits fully within the socket. Do not exert any force. It should fall naturally and smoothly into place if the triangle mark is aligned.
- Push the lever downward and fix it.
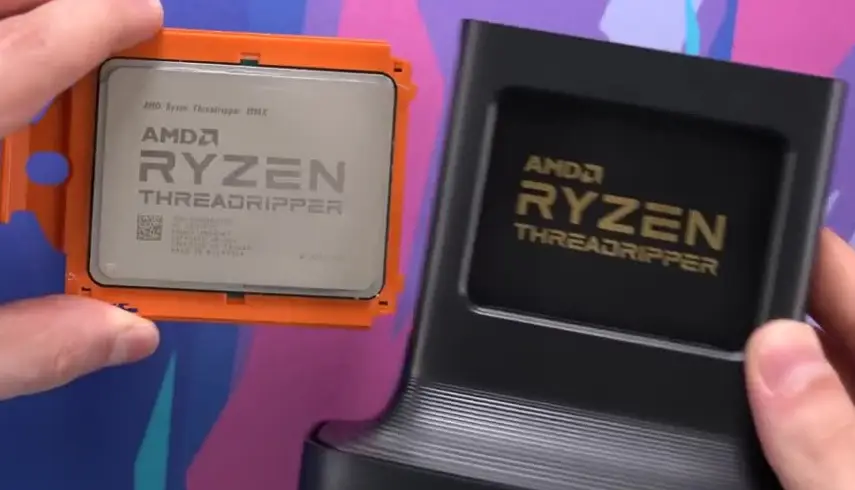
The process to install regular AMD or Intel CPUs is pretty much the same. However, if you are using an AMD Ryzen Threadripper CPU, the process will be a bit different, if not complex.
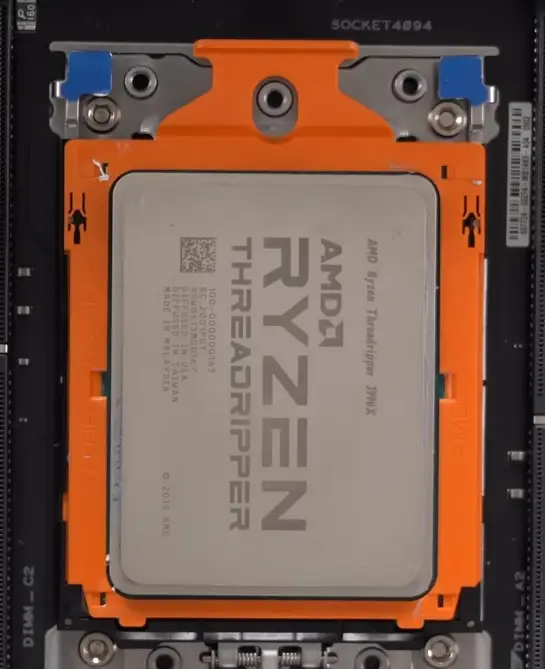
Usually, these processors come with the CPU and a torque driver, as shown below:
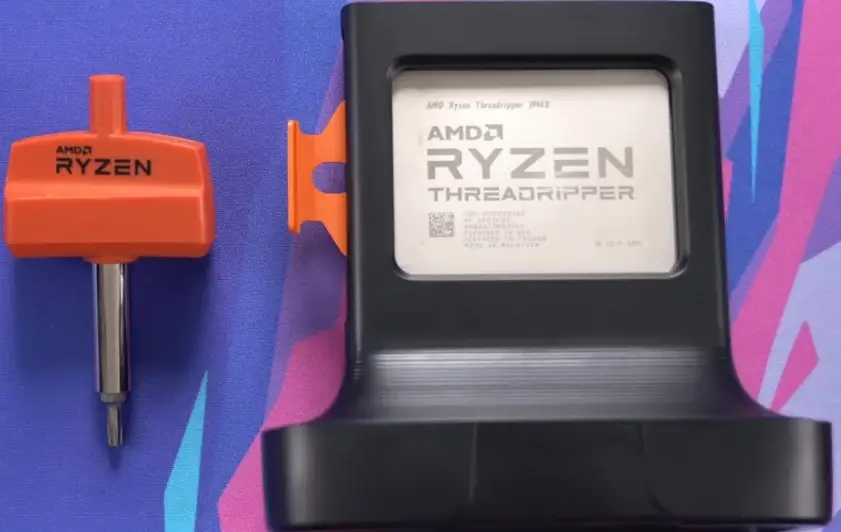
- Gently remove the CPU from the box, holding it by its sides.
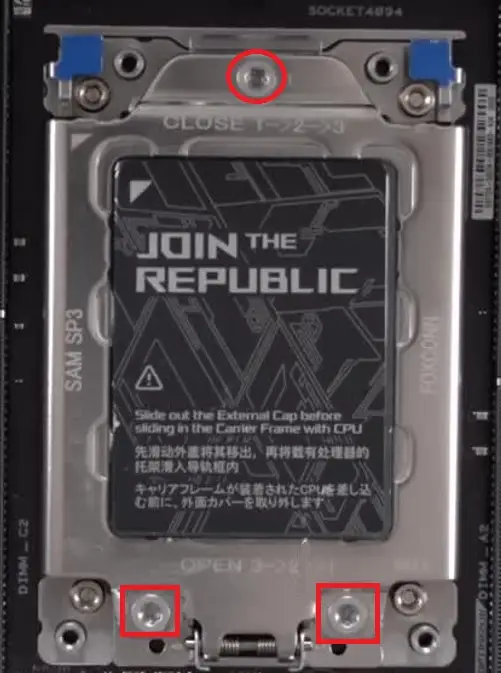
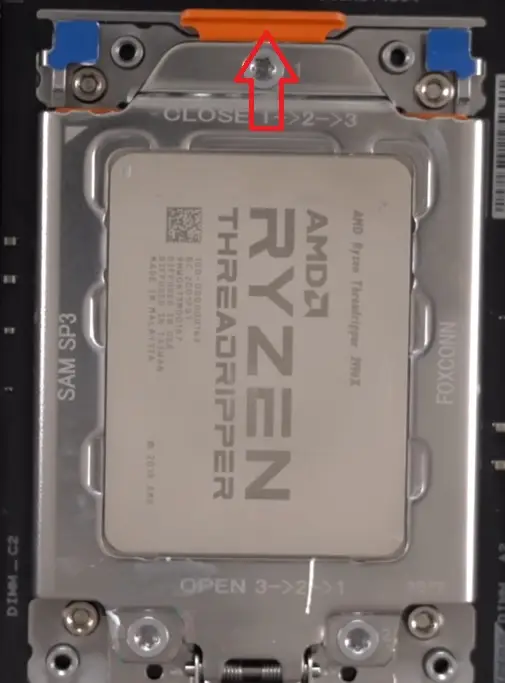
On the particular motherboard, you will need to open the socket cover. In some boards, the screws should be removed in the order 3, 2, and 1 specifically, and while closing, it should be fixed in the order 1, 2, and 3, as in this design.
- Open the socket cover by removing two screws at the bottom first and then the one at the top.
- When the cover flips open, pull the two blue tabs on the top.
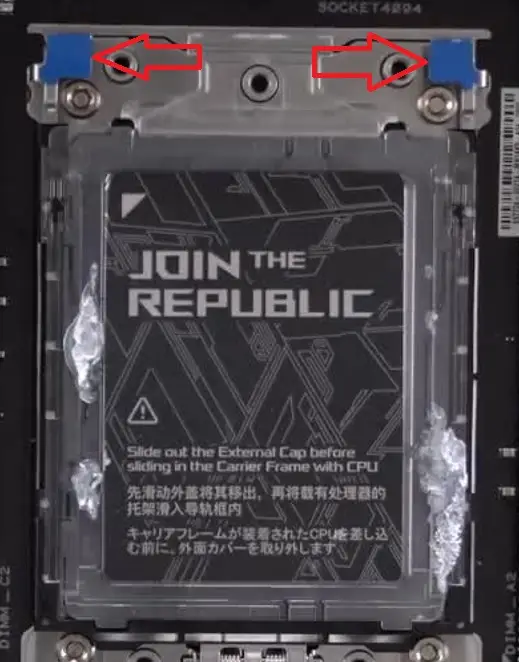
- Remove the protective cover on the socket.
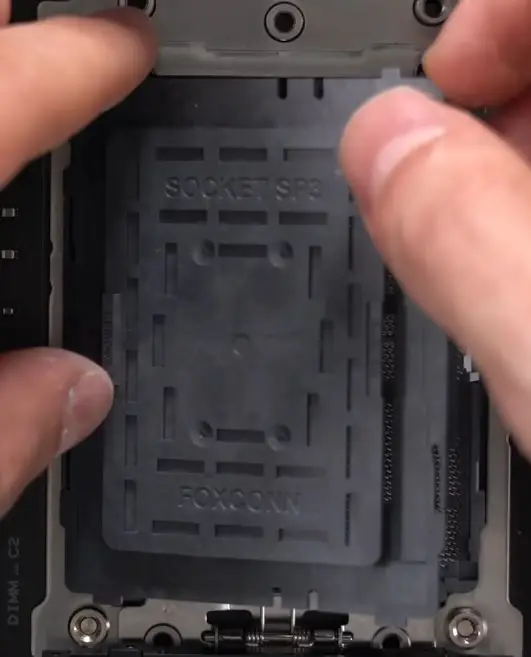
- Slide the CPU gently against the rails to its bottom. Do it slowly so that it does not get derailed and come out of the bracket.
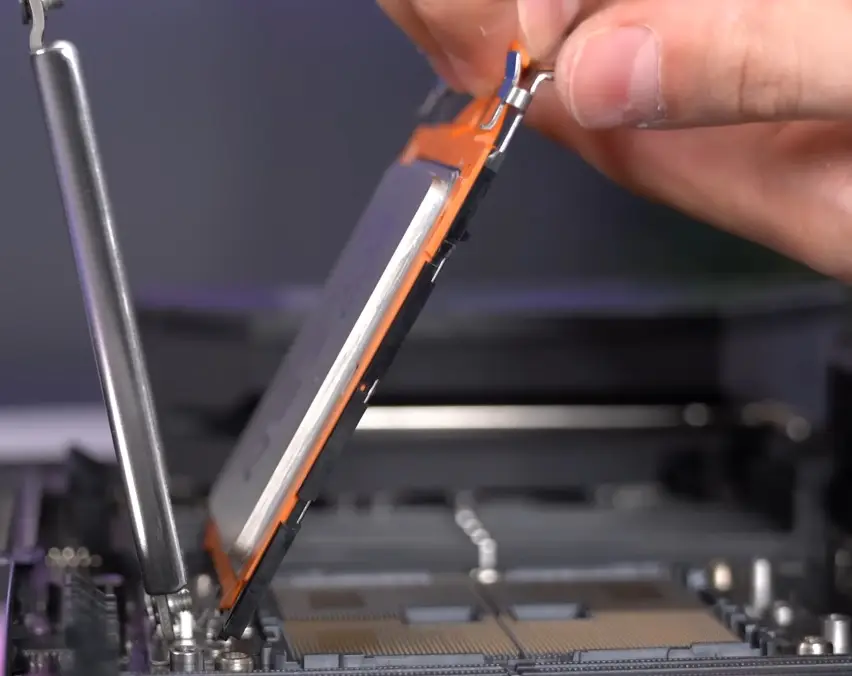
- Lower the CPU fully to place it onto the socket holding the two blue tabs.
Place the cover and fix the screws until you hear the ‘click’ sound, starting from the top. The end of the CPU may be jutting out as shown below:
Memory Installation
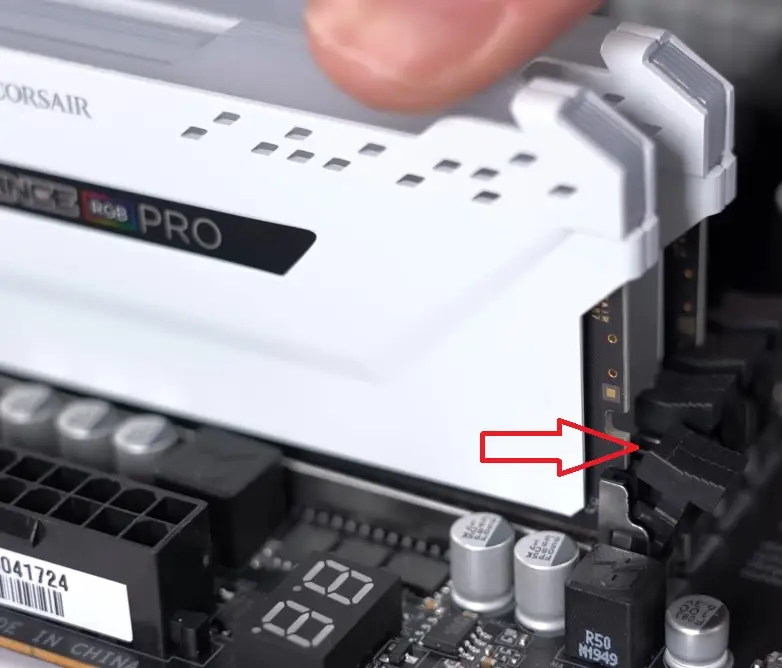
Now, you will need to install the memory. Take a look at the RAM stick and the notch marked in red in the image below.
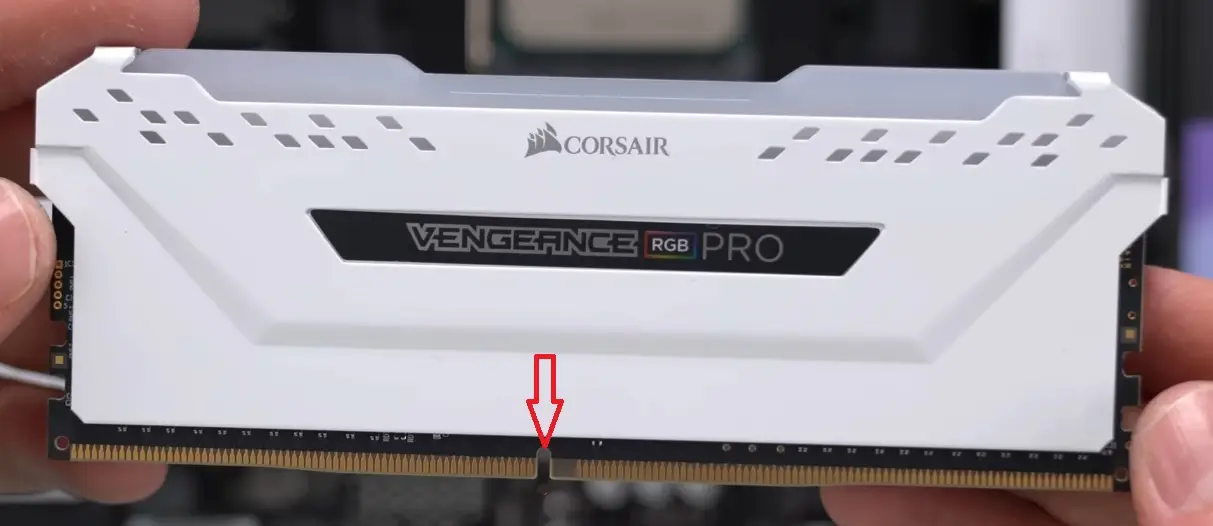
- Look at the RAM slots and the specifications written at the top of the slots to know the placements. You must remove the clips at the two ends and match the notch in between each slot with that of the RAM stick.
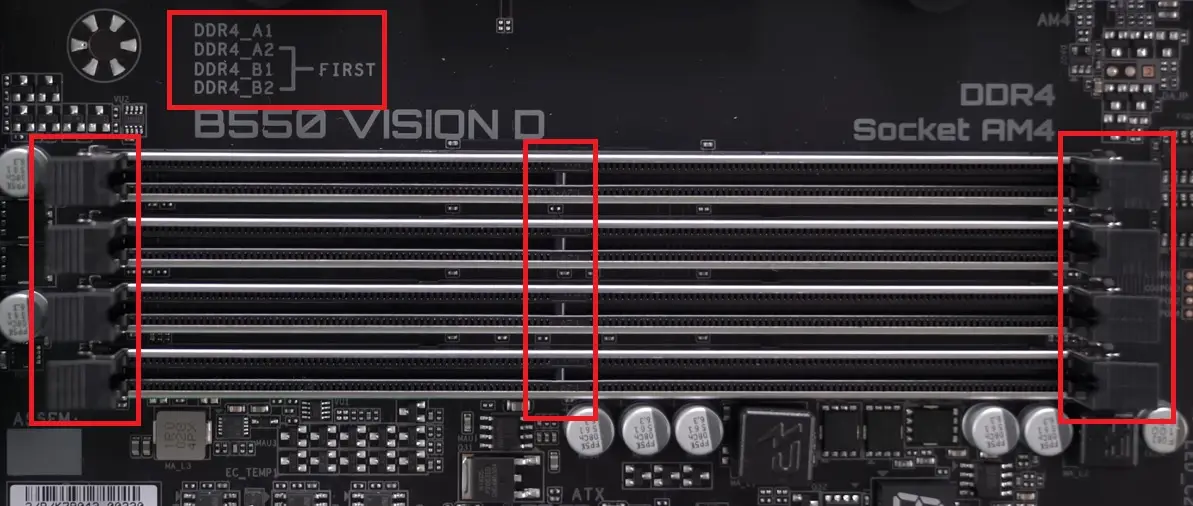
- Place the RAM stick in the slot matching the notch and apply gentle pressure at the ends of the stick so that the clips at the two ends snap into place.
CPU Cooler Installation
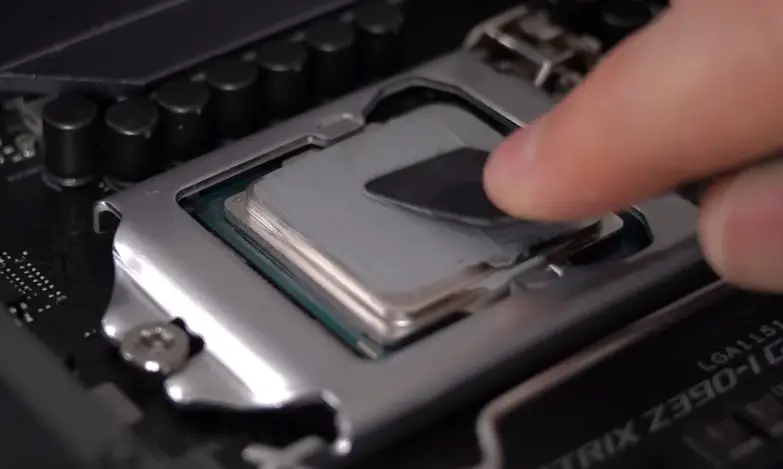
- Apply the thermal paste to the CPU.
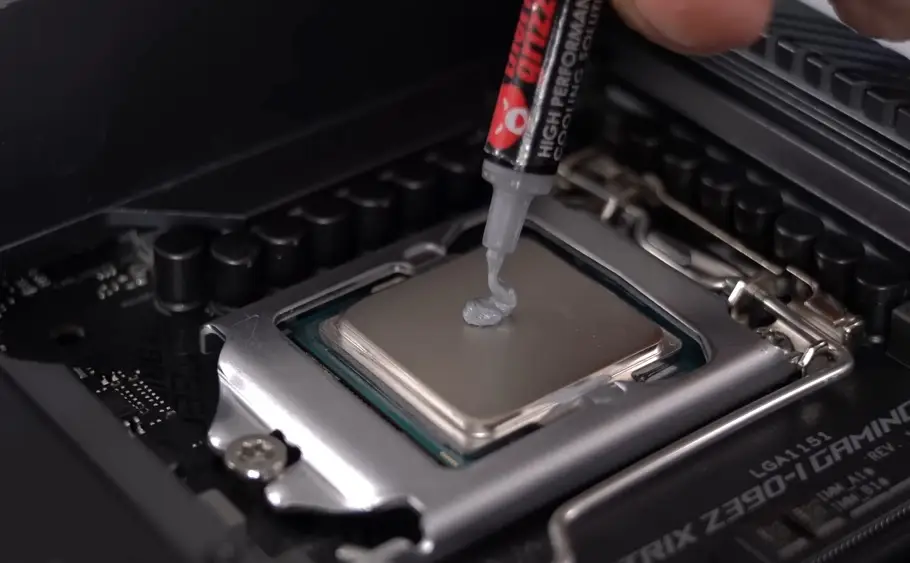
- Spread it gently and evenly all over using a spatula.
- Now place the CPU cooler and fix the screws, following a crisscross pattern.
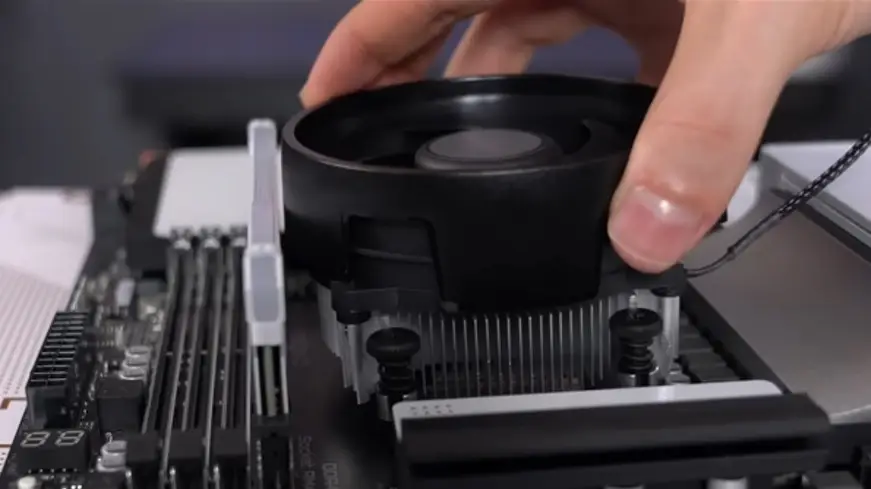
- Fix the cable from the cooler to the fan header, mostly located at the top-end of the motherboard and marked as CPU_FAN.

You can tuck the cable under the cooler next to the RAM stick so that it does not stick out.
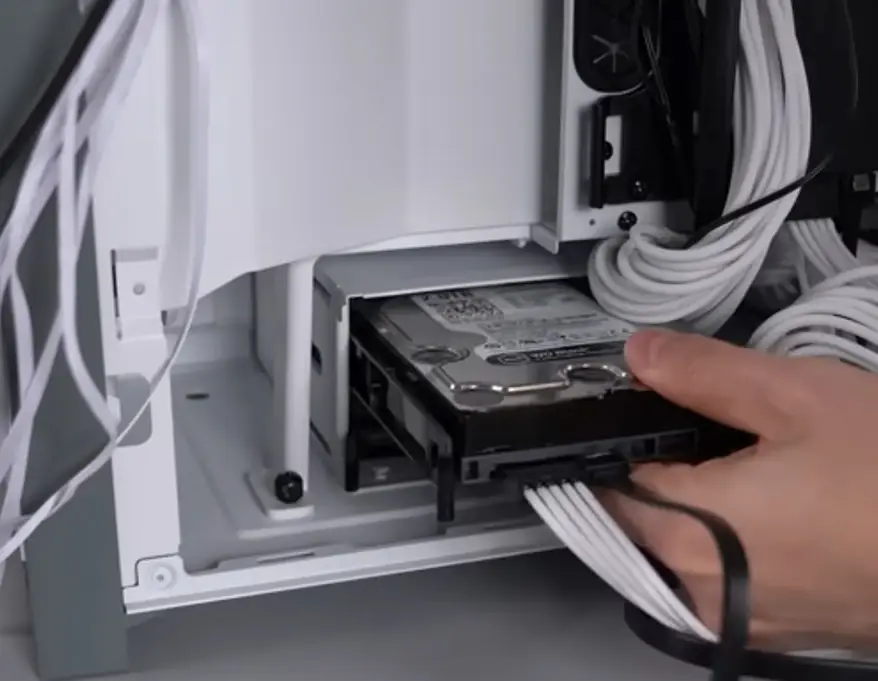
Hard Drive Installation
- Connect the cables to the hard drive.
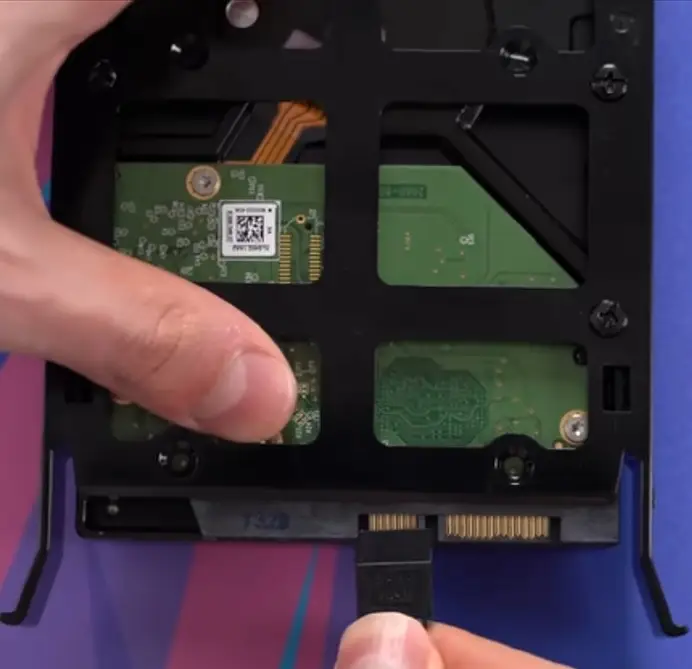
- Now, simply slide the drive into the right slot and fix the screws.
Motherboard Installation
Before you start, make sure that the box comes with the exact number of screws and that the computer case has the exact number of standoffs in the right places.
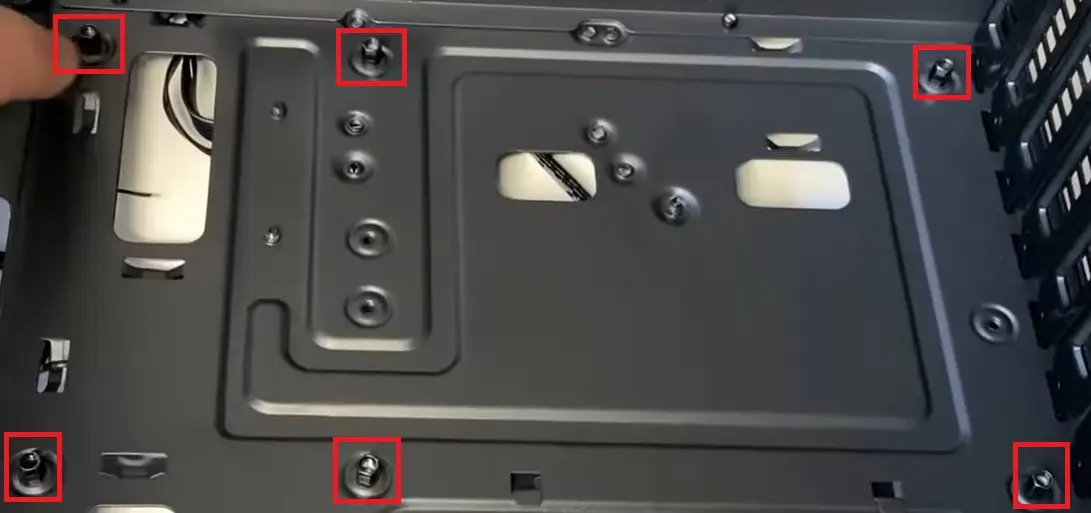
Place the case flat on the surface, and place the motherboard inside ensuring that the I/O shield fits into the right position. It will be set properly when the screw holes on the motherboard and the case line up.

Now, fix the screws.
PSU Installation
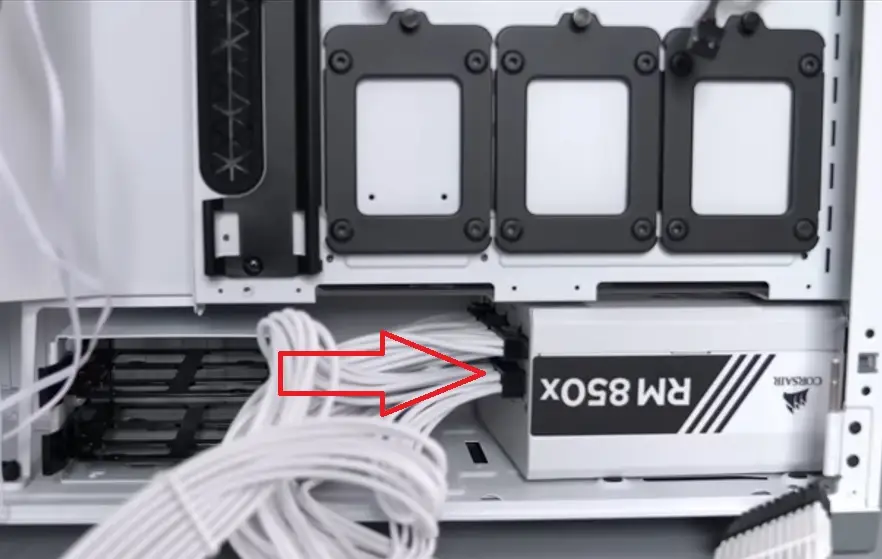
- Plug the cables into the right slots.
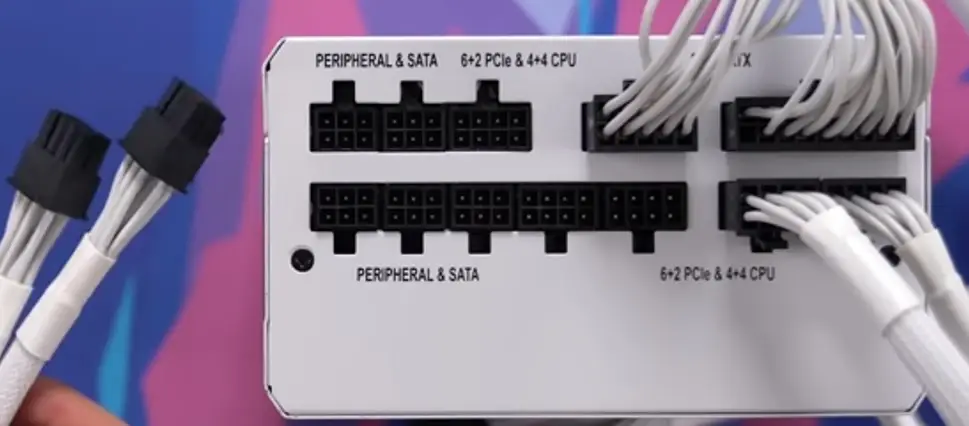
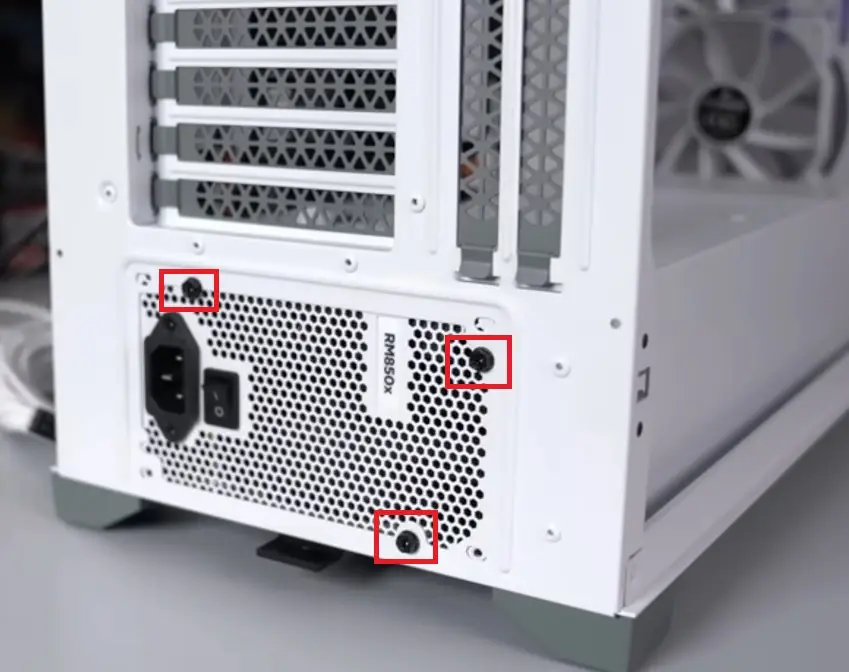
PSUs are usually located at the bottom or top of the case. Place the unit accordingly, with the switch outside and cables inside as shown below:
- Fix the screws.
GPU Installation
Before you install the GPU of your PC, make sure you have connected the cables of the other components to the appropriate headers.
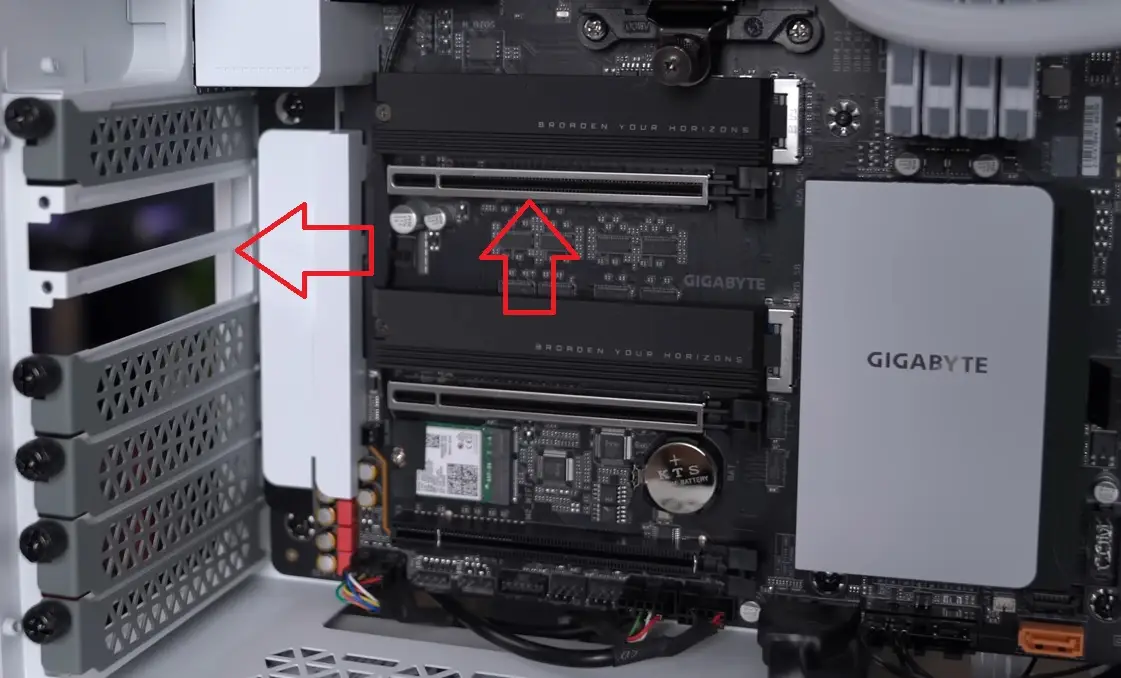
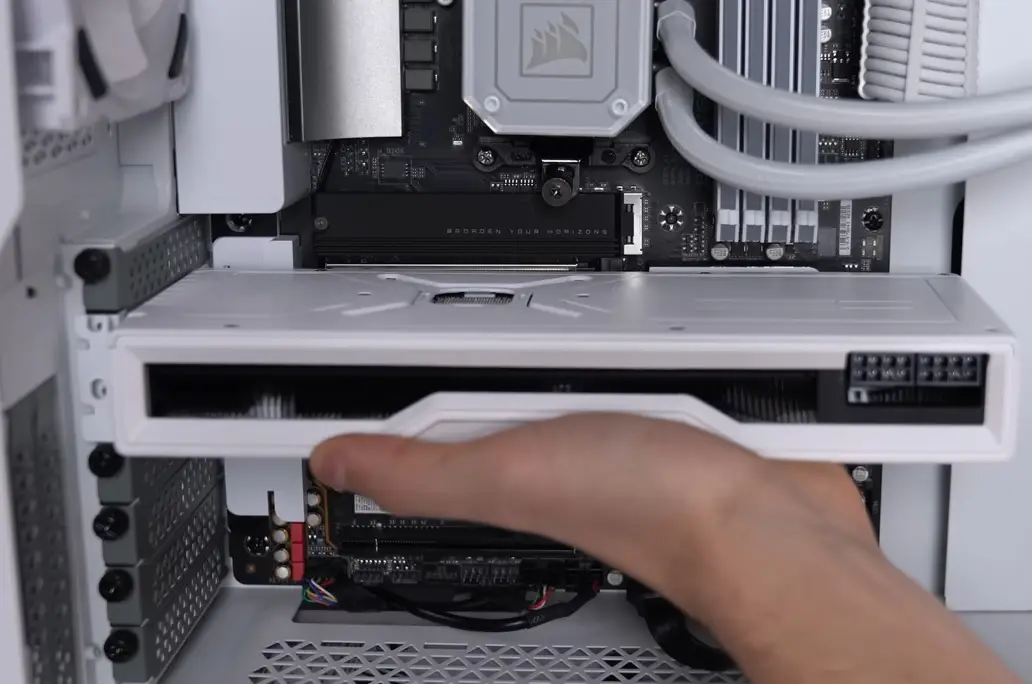
The GPU should be fixed to the motherboard on the highest PCI slot for the best performance.
- Unscrew and remove the corresponding PCI slot covers on the case. Usually, you will need to remove two of them.
- Remove any protective covering on the GPU on the card or at its sides.
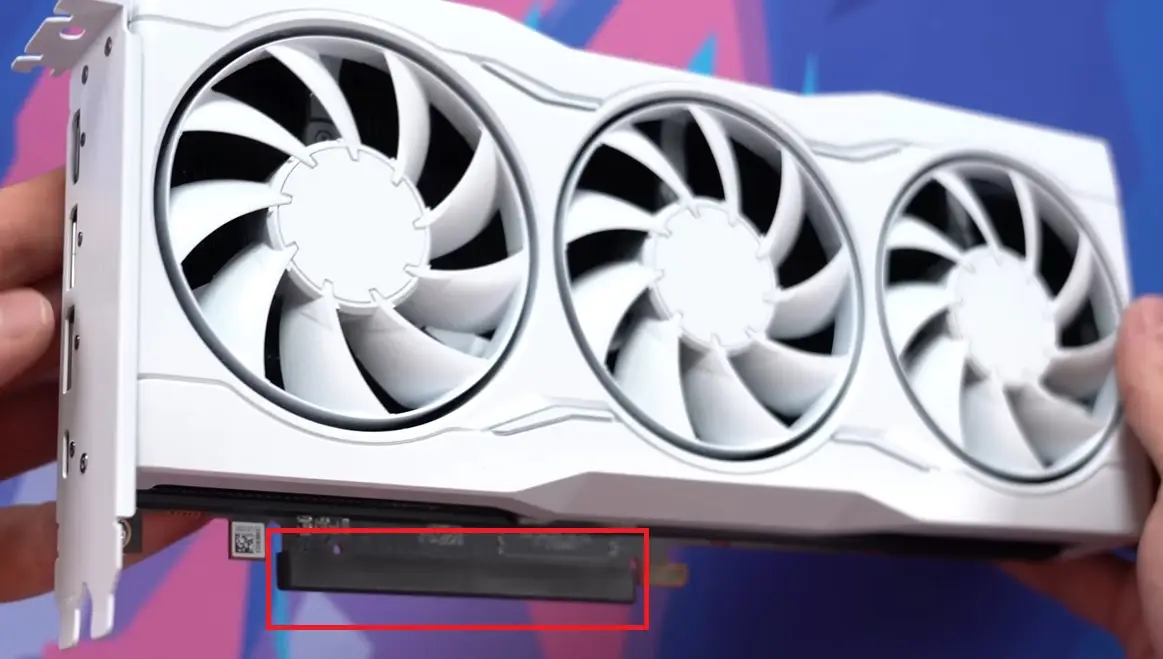
- Hold the GPU from the bottom and slide it gently, aligning it with the two PCI slot covers removed from the case until you hear the click sound indicating that it is in place and locked.
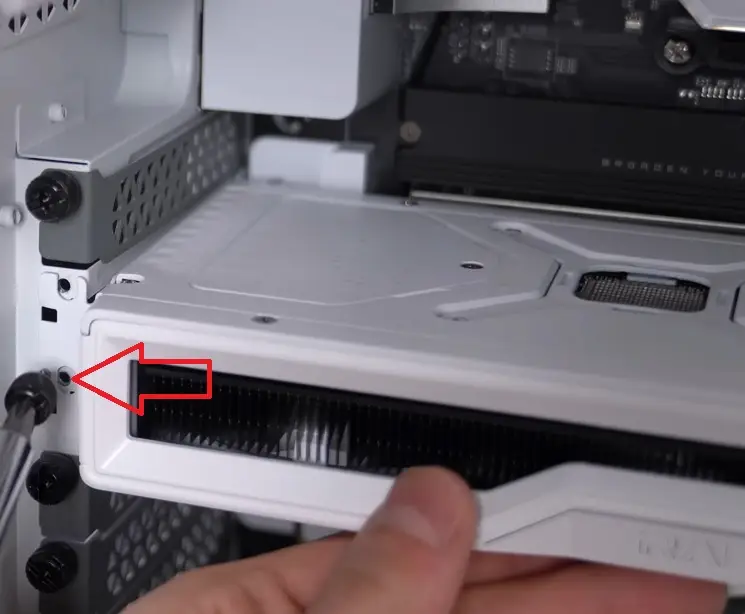
- Hold the device up to align the screw hole and fix the screws.
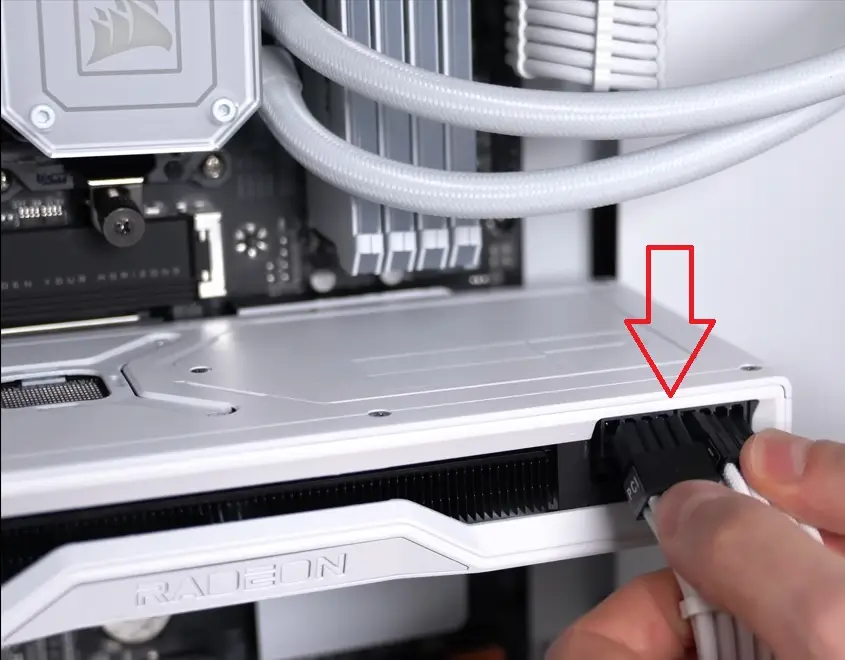
- Finally, plug in the graphics card cables.
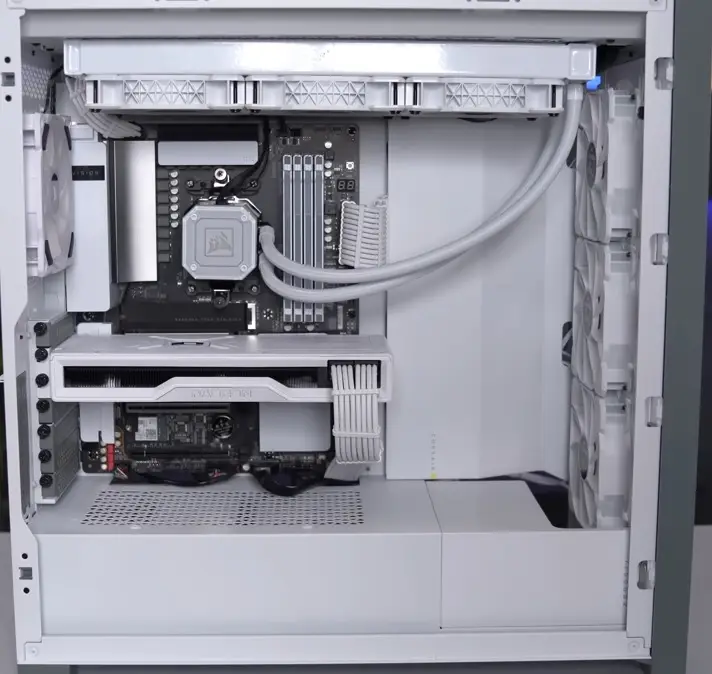
So, now your newly built PC is finally ready and the inside of one of its sides should look as shown below:
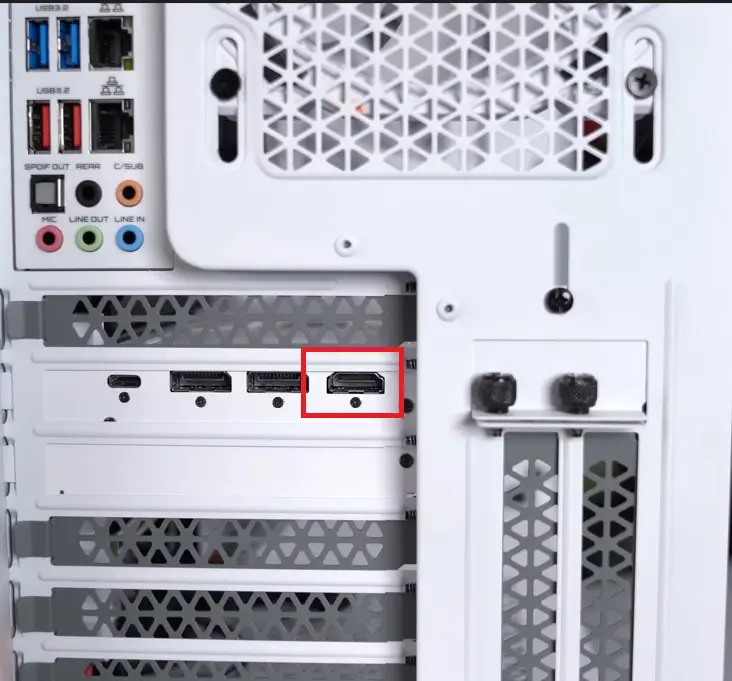
- Connect the HDMI cable for the monitor and the input and output devices in the right slots.
- Switch it on to test.

- Now, press the power button on the case, and the CPU and monitor should start working.

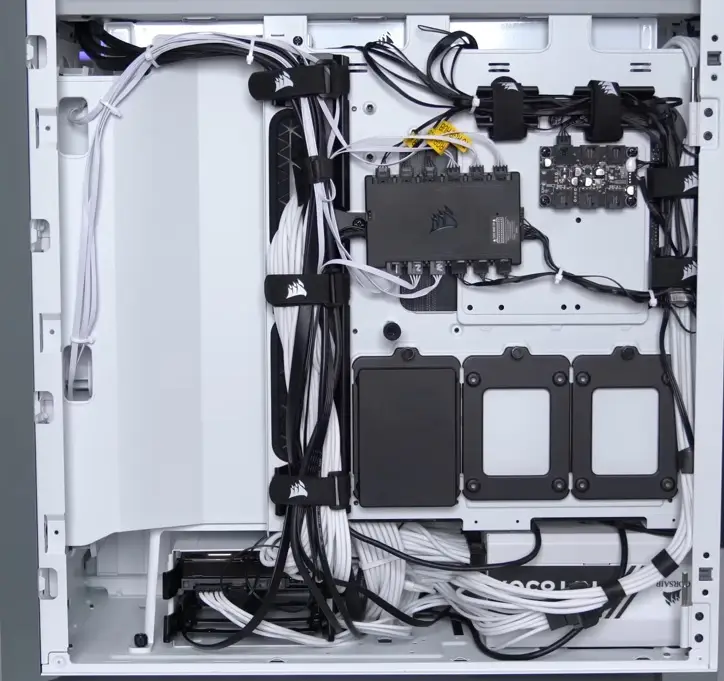
Since it is working fine, one more job is left: cable management on the other side. Switch the PC off and use the plastic cable ties for it.
When everything is neatly done, replace the cover of the computer case.
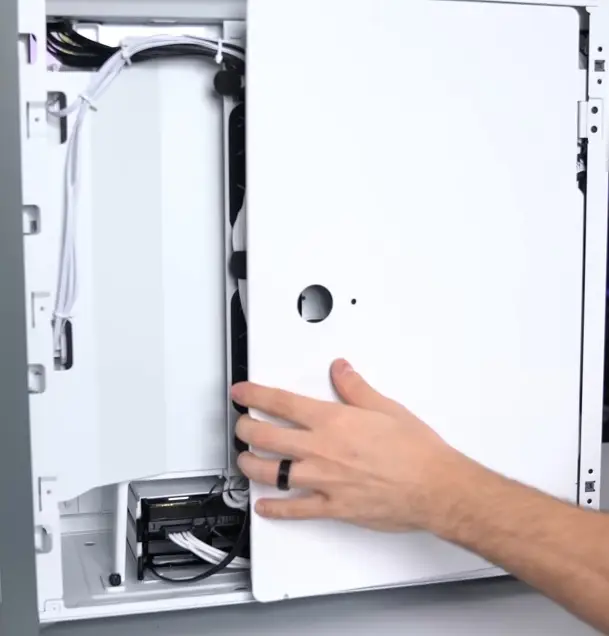
The PC is now ready and should look like this:
Now, to make the system work, load the necessary software, install the required drivers, and set the Basic Input Output System or BIOS.
Happy computing!
Conclusion
So, as you can see, it is quite rewarding and exciting to build a new computer, but you must know what you are doing in the first place.
Now that all the information and steps for assembling a desktop PC are known to you, hopefully you will not find it difficult anymore to build one and take pride in it.