
Upgrading the hard drive of your PlayStation 4 (PS4) to a solid-state drive (SSD) can significantly improve the overall performance and loading times of your console.
An SSD offers faster data transfer speeds and quicker access to game files, resulting in reduced loading screens and improved gameplay experiences.
This guide will provide you with step-by-step instructions on how to upgrade your PS4’s hard drive to an SSD.
Upgrading a PS4, PS4 Pro, or PS4 Slim hard drive is not very difficult. In fact, you can do it in just a single method involving different stages.
In This Article
KEY TAKEAWAYS
- The regular PS4 hard drive will not have much space to save a lot of games. In such situations to have more space to store more games, update it with an SSD.
- The process to replace the PS4 hard drive with a Solid-State Drive is very easy and all that is required is a screwdriver, an SSD, and a USB flash drive.
- The process involves creating a backup, replacing the SSD, and initializing it.
Why is It Necessary to Upgrade PS4 Hard Drive to SSD?
Ideally, a regular PS4 hard drive comes with 500 GB of storage space. You will need to upgrade your PS4 hard drive if you are using it for tool long since there will be little space left to save and store more games in it.
You will not have to delete games from time to time to save new games on your PlayStation 4.
A larger SSD will offer more storage space and a notable increase in the performance level and speed.
In addition to that, a PS4 hard drive over time will run slow and will result in specific issues such as a longer loading time or slow performance. Upgrading the hard drive to an SSD will enhance your gaming experience.
Ways to Upgrade PS4 Hard Drive to SSD
Ideally, there are two ways to upgrade your PS4 hard drive with an SSD. Either you replace the drive within the system physically, attach a reliable hard drive externally to it.
Both these options are quite good but it is better to fit a new SSD in the system. Here are the steps to follow to accomplish that.
Method: Take Backup and Replace
STEPS TO FOLLOW:
There are different stages of this process.
Stage 1:
First, you will need to create a backup of your data by following these steps:
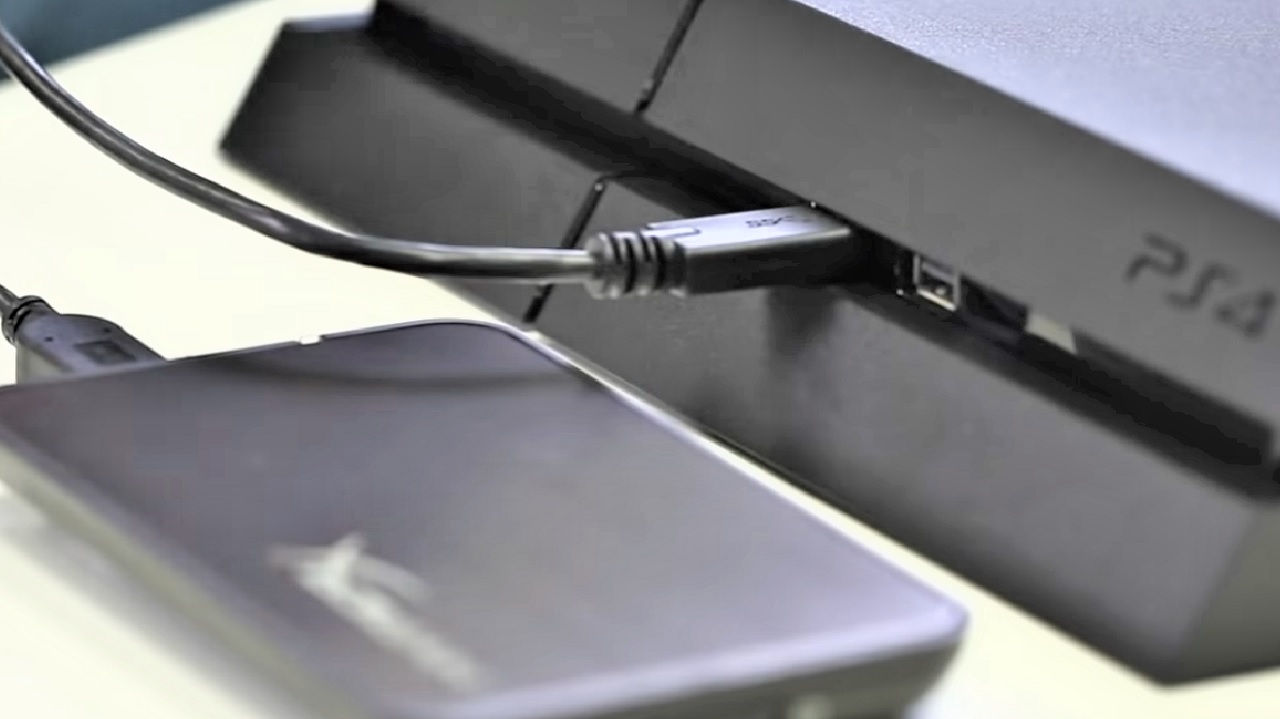
- Connect the external hard drive to the PS4 system.
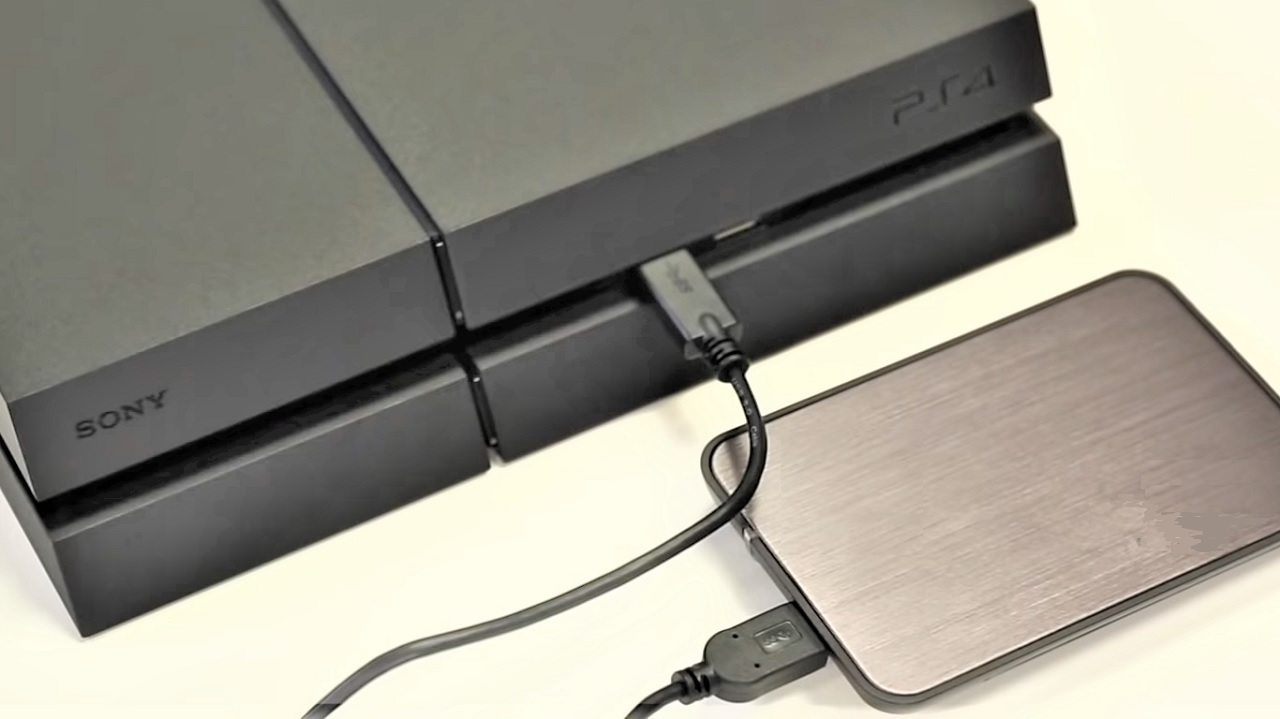
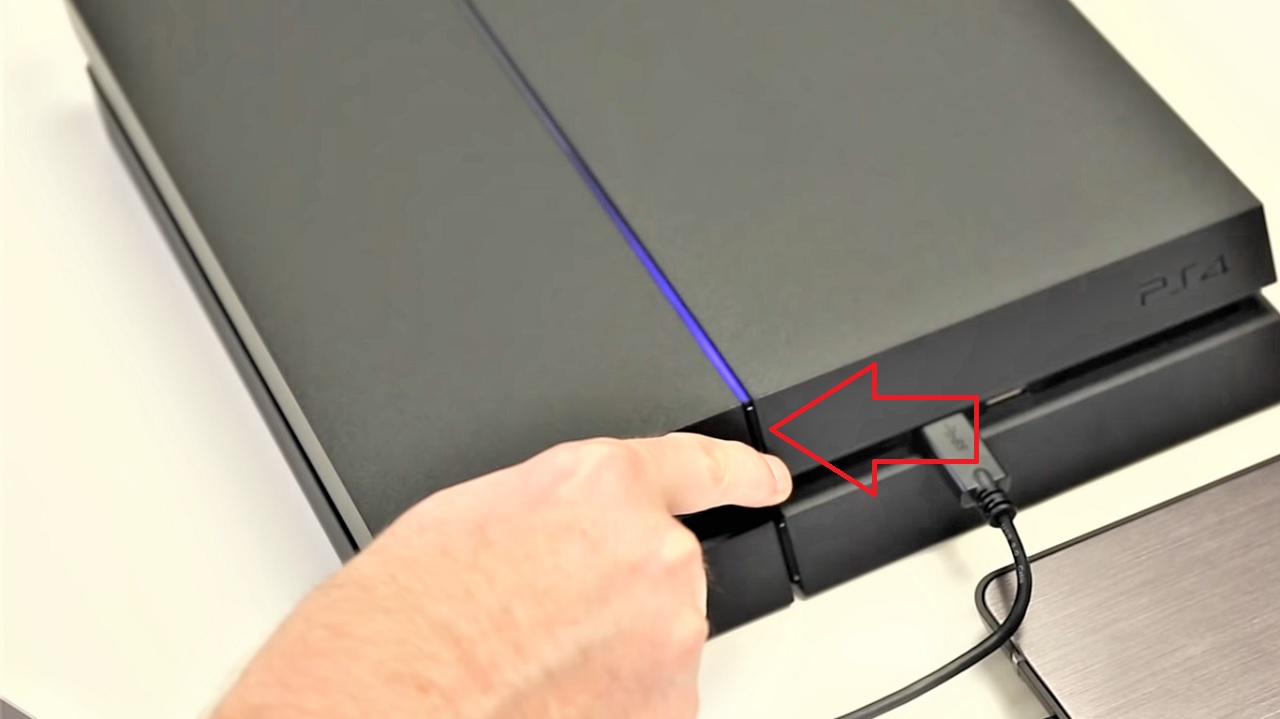
- Turn on the power of the system by pressing the power button.
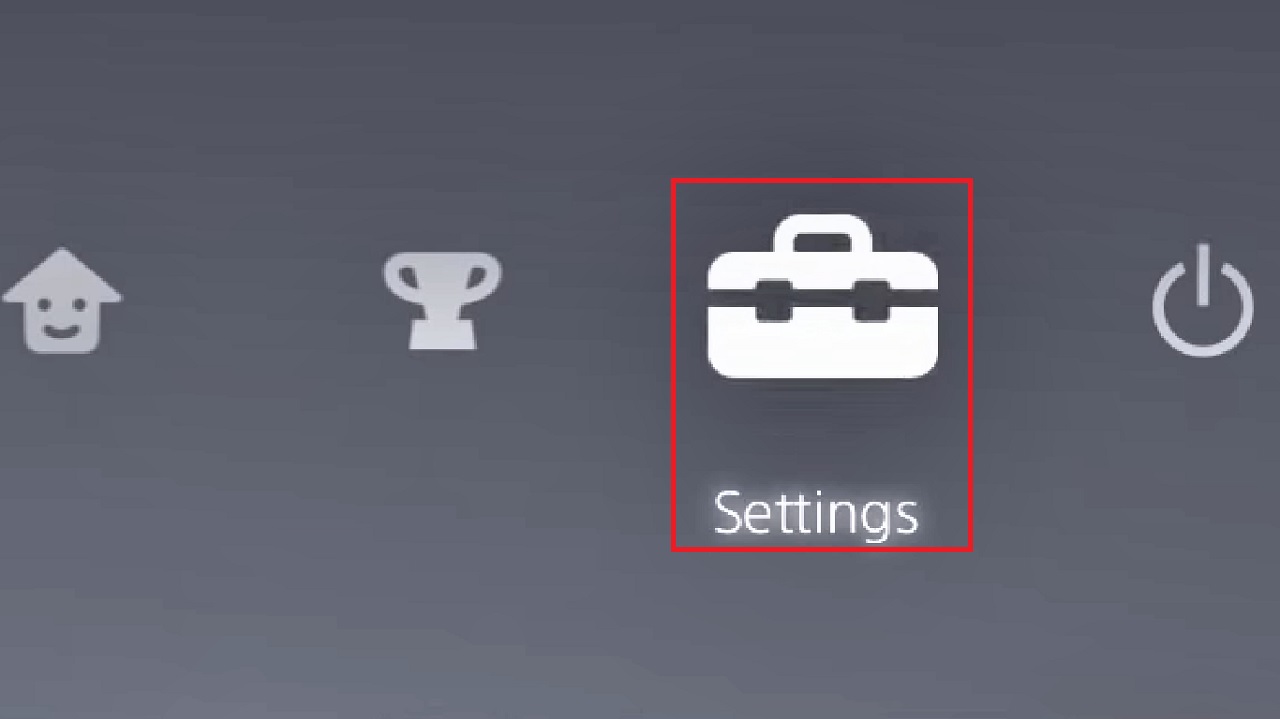
- Go to Settings in the next window.
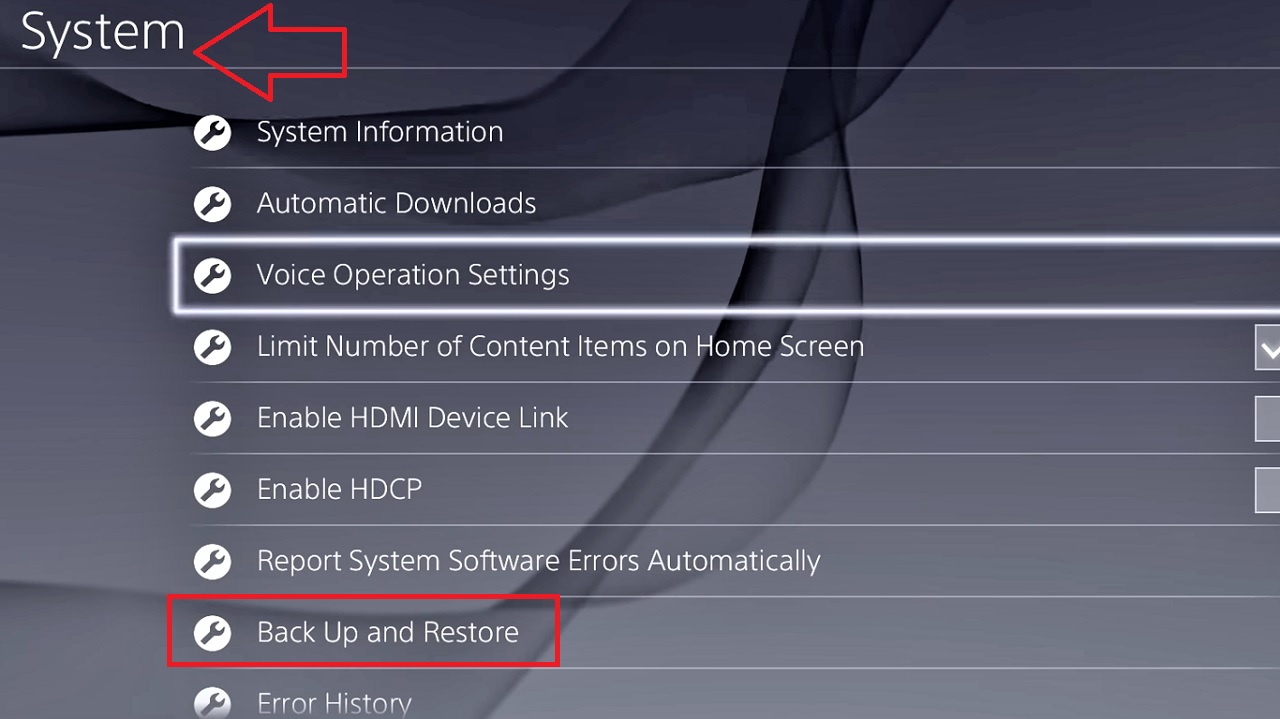
- Select System from the Settings window that pops up next.

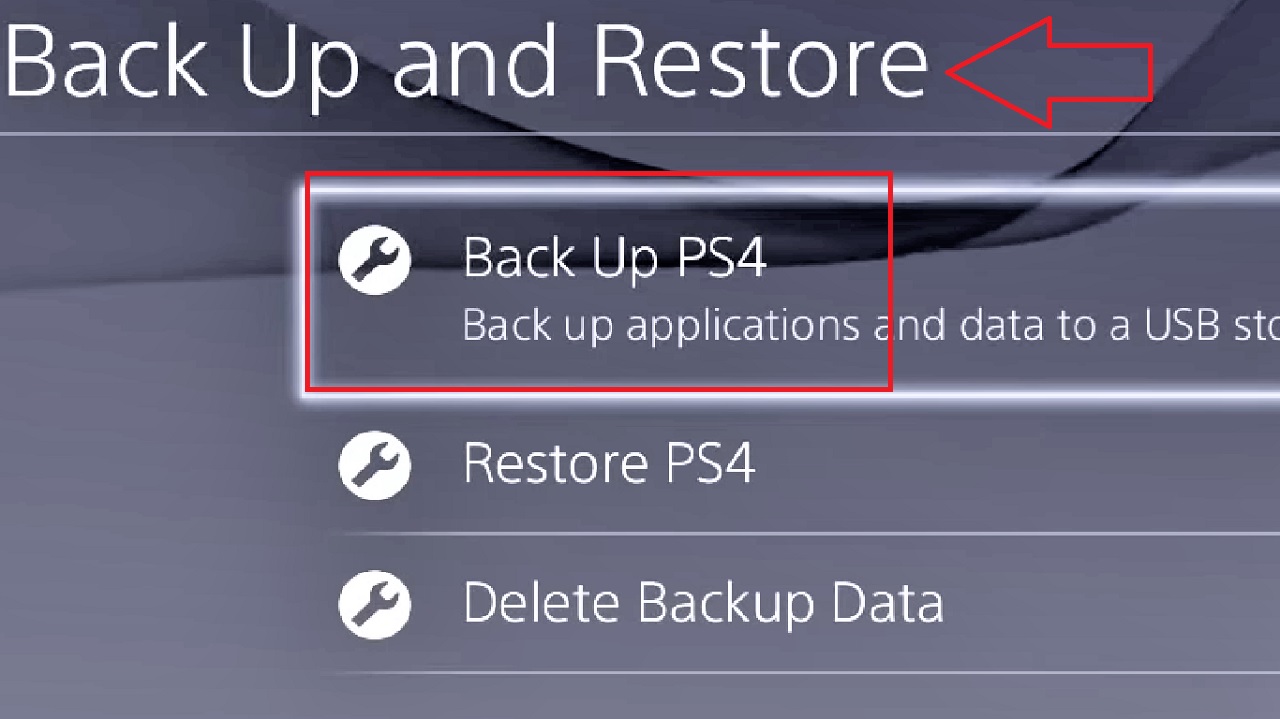
- Select Back Up and Restore from the System window.
- Click on the ‘Back Up PS4’ option from the Back Up and Restore window that follows.
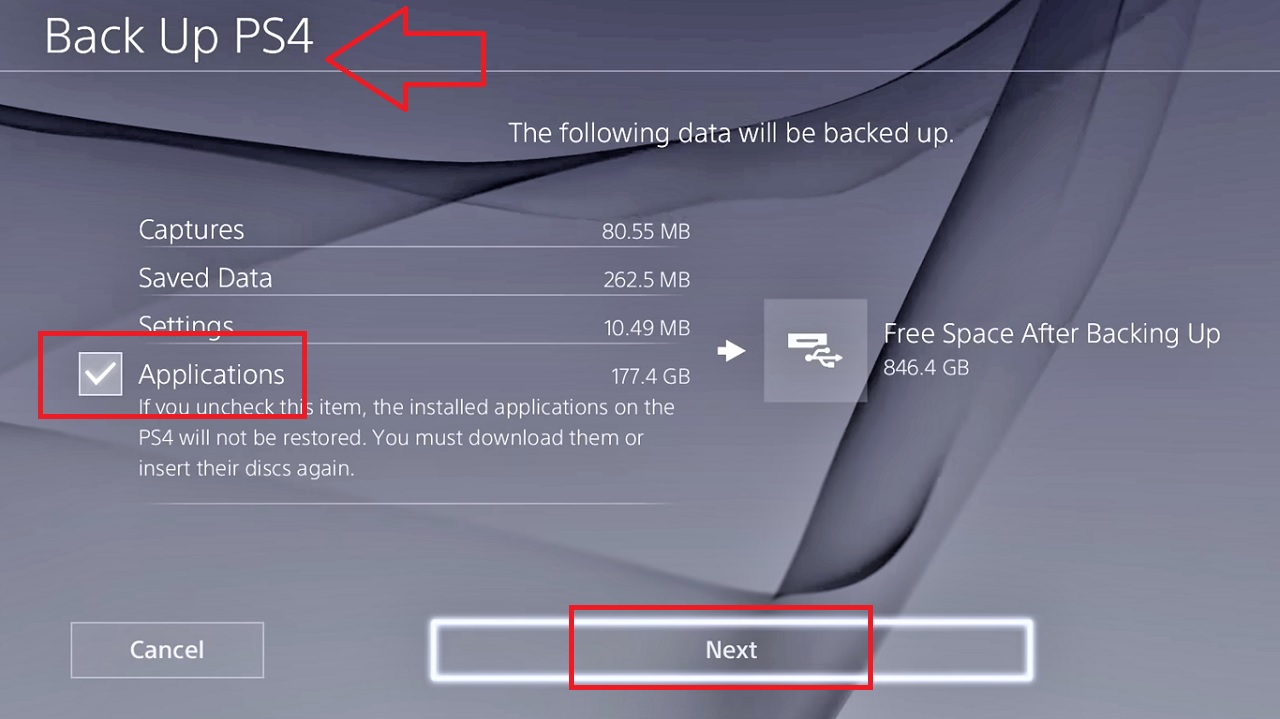
- Press ‘X’. This will add a checkmark in the box next to the Applications in the following Back Up PS4 window to save it.
- Click on the Next button below.
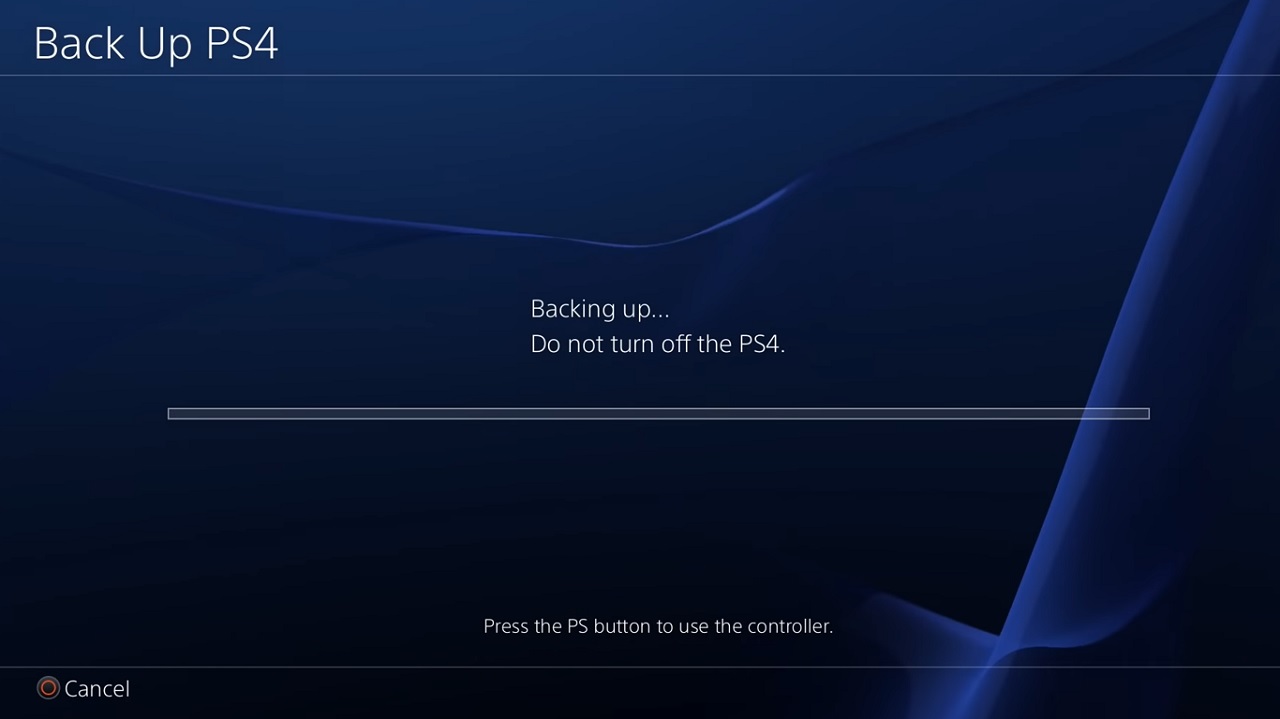
This will start Backing up all the data. Depending on the number of games and files you have stored in your system, the process will take some time to complete.
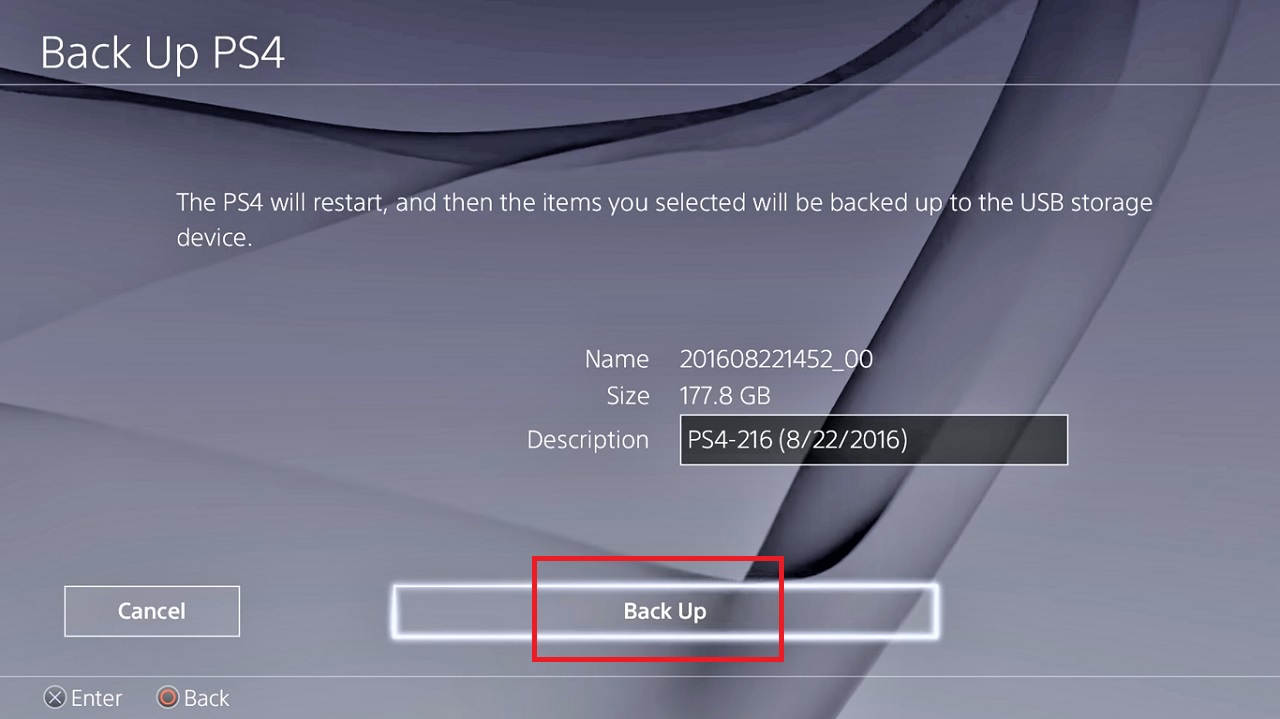
This will restart your PS4 system so that the backup is created. You will need to click on the Back Up button to confirm the action.
Stage 2:
The next stage of the process involves installing the SSD. The steps to follow for this are:
- Turn the power of the PS4 off and unplug it from the mains.
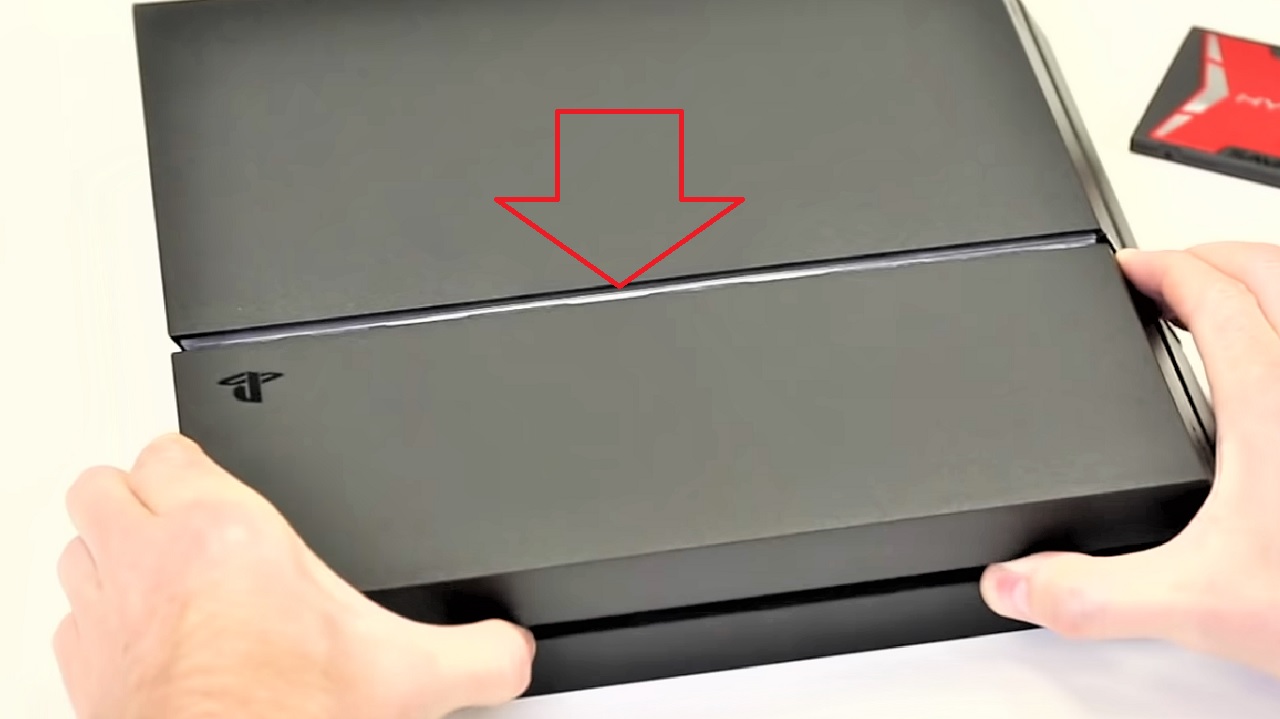
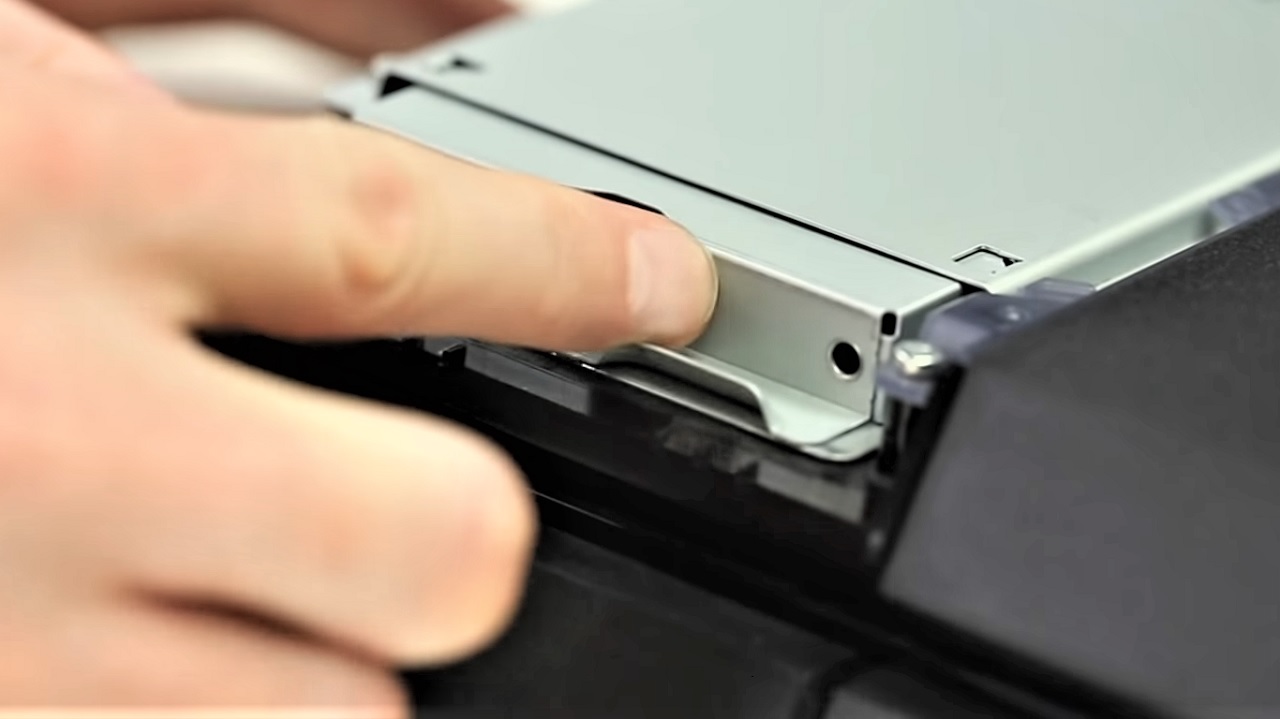
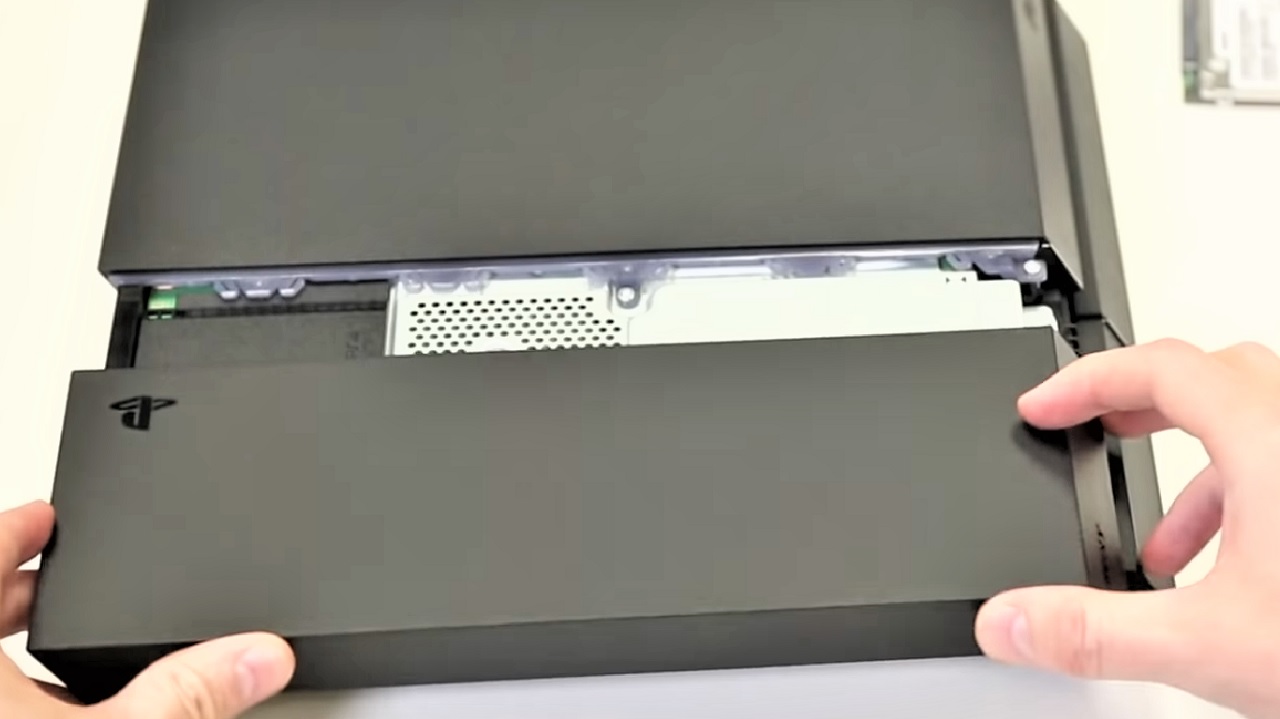
- Slide open the cover on the hard drive bay to remove it.
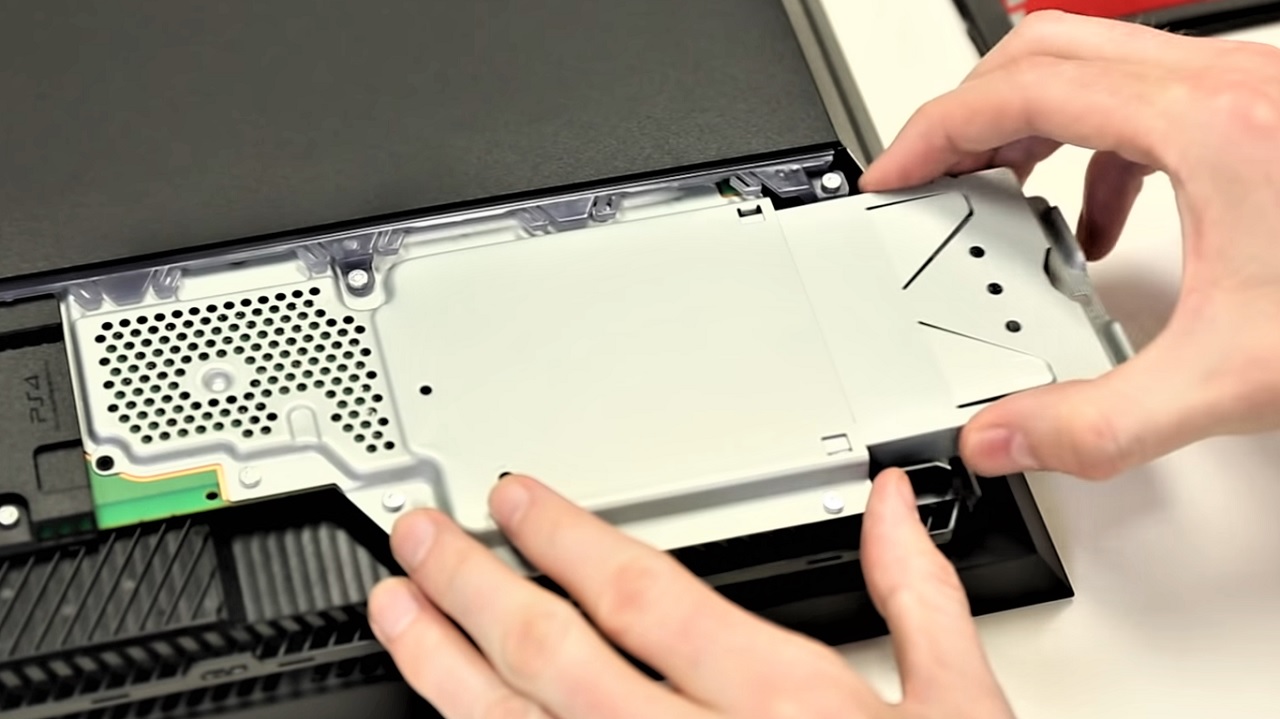
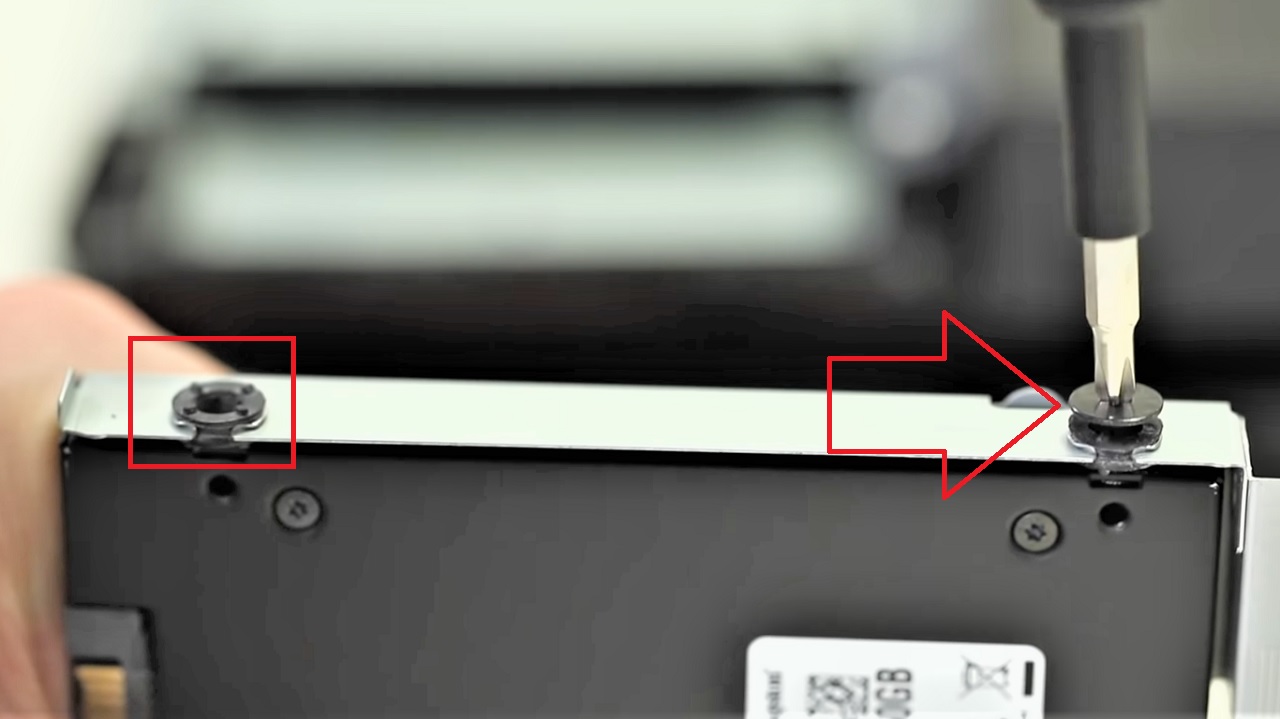
- Remove the screw holding the hard drive tray.

- Slide the hard drive mounting tray out.
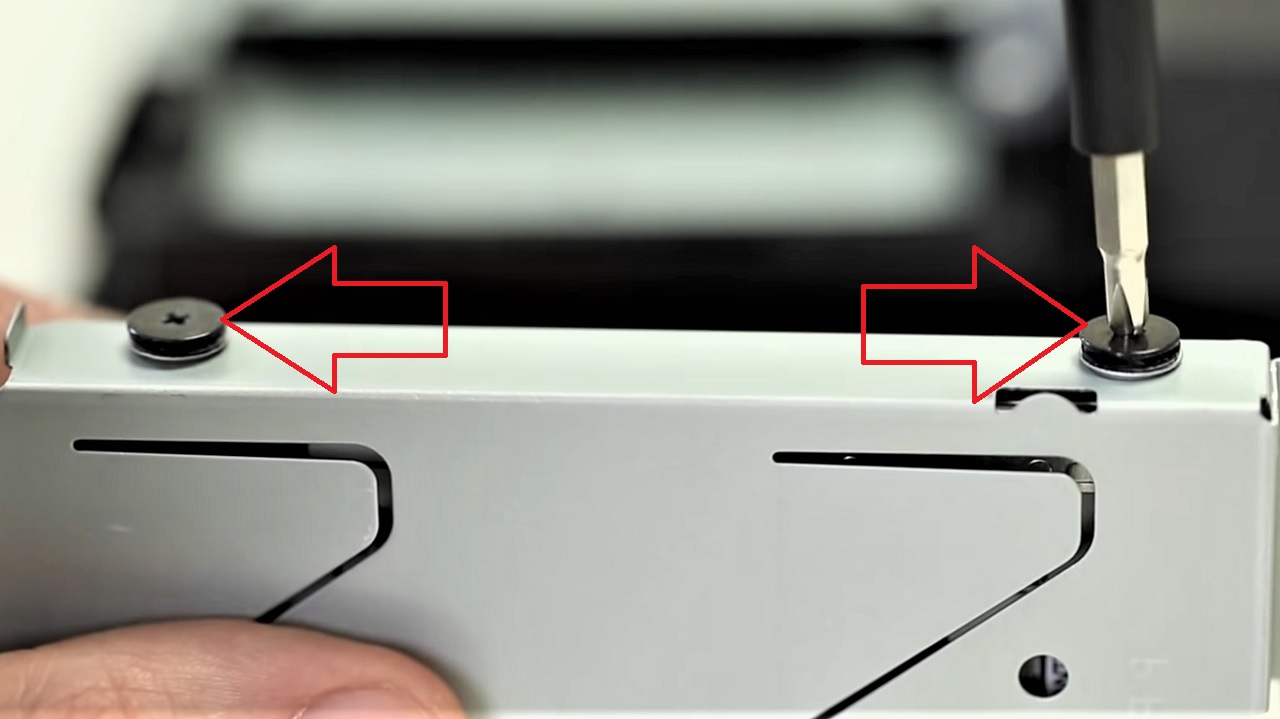
- Now remove the screws from the mounting bracket that holds the hard drive. There will be four such screws.
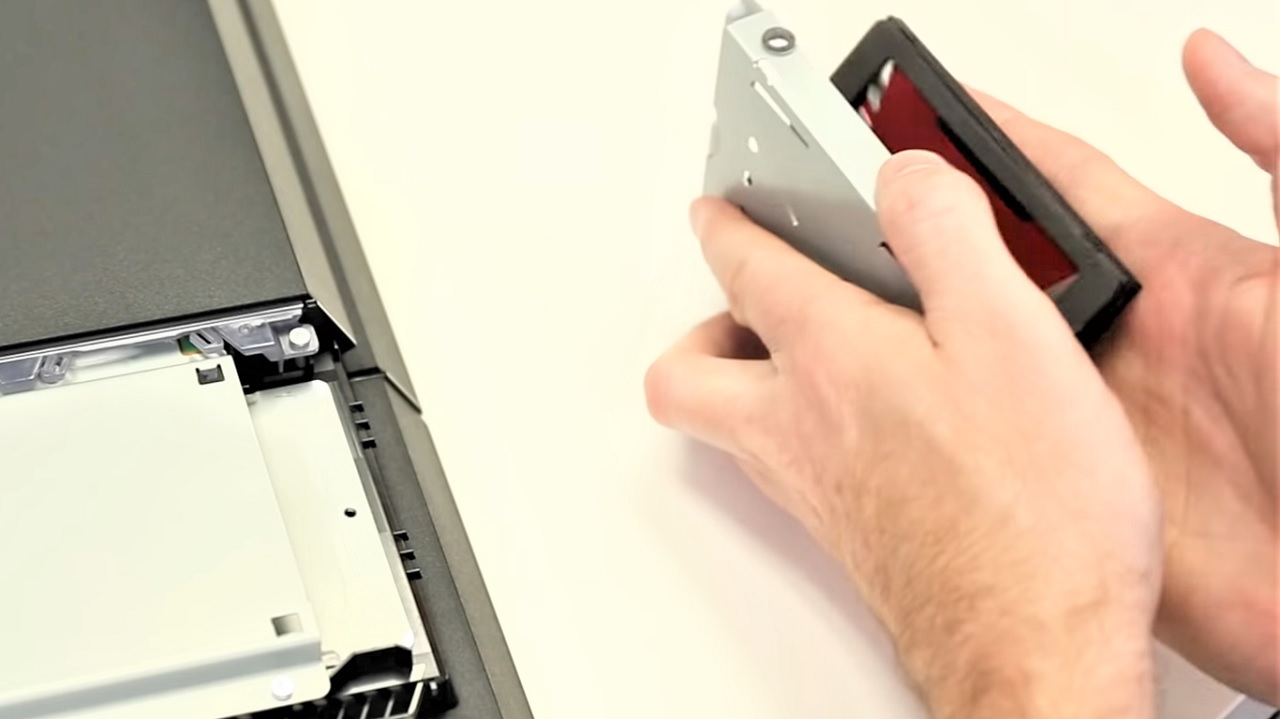
- Place your SSD in the mounting bracket.
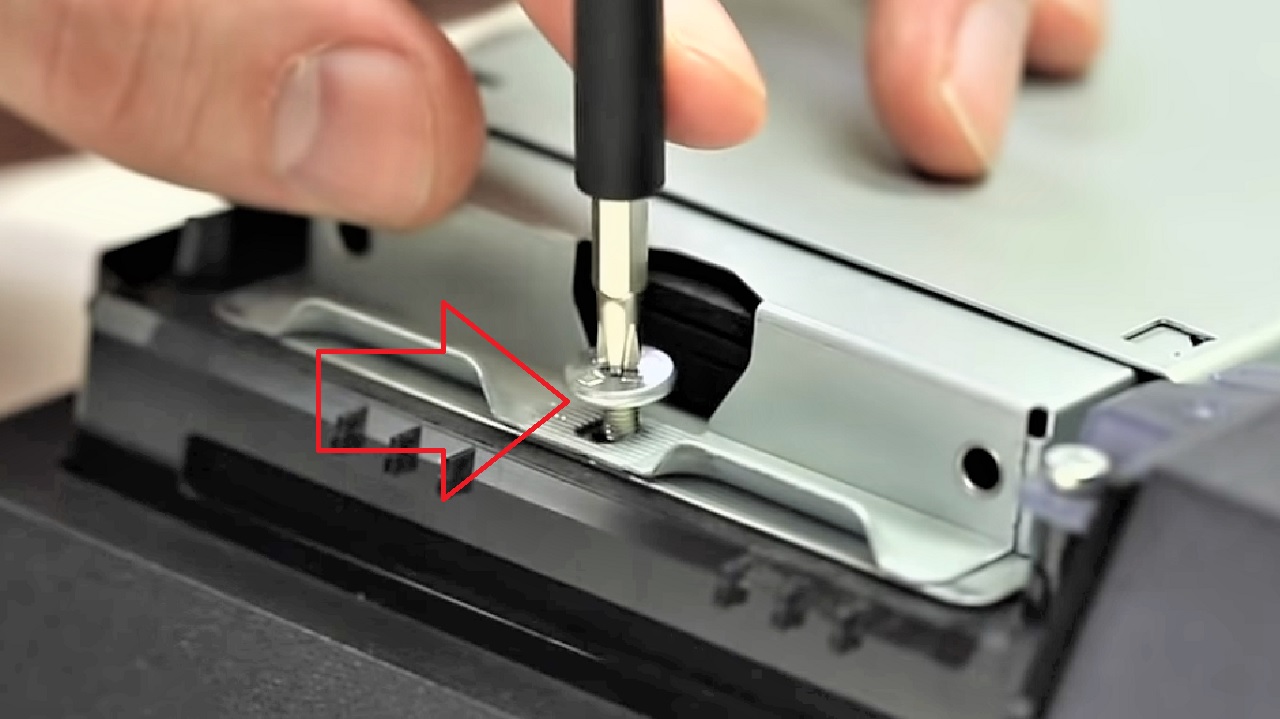
- Replace the screws in their respective holes and tighten them.
- Replace the mounting bracket in the drive bay, now with the SSD attached to it.
- Replace the screw.
- Slide the cover back to its position to cover the hard drive.
Stage 3:
The third phase of the process involves reinstalling the system software. Use your computer and go to the link https://www.playstation.com/en-us/support/ and download the latest system software in a USB drive with at least 1 GB of free space.
When the downloading process is complete, follow these steps:
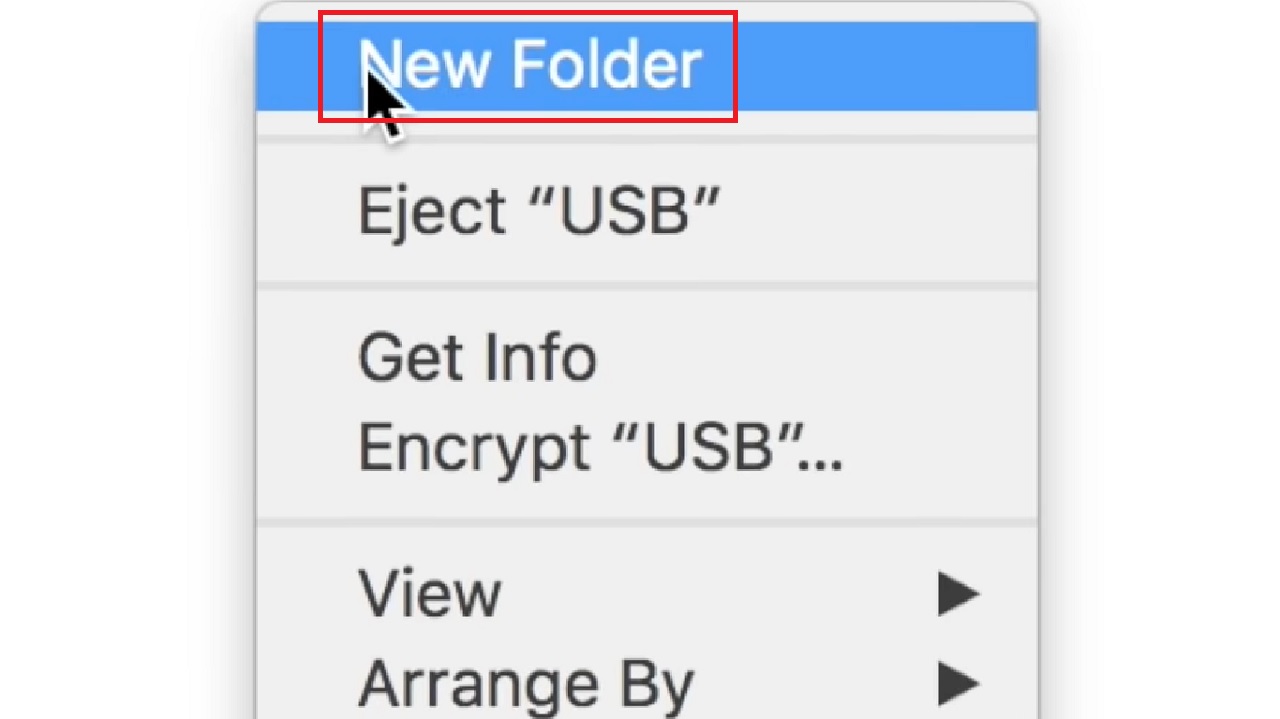
- Right-click on the USB drive and create a New Folder in it.
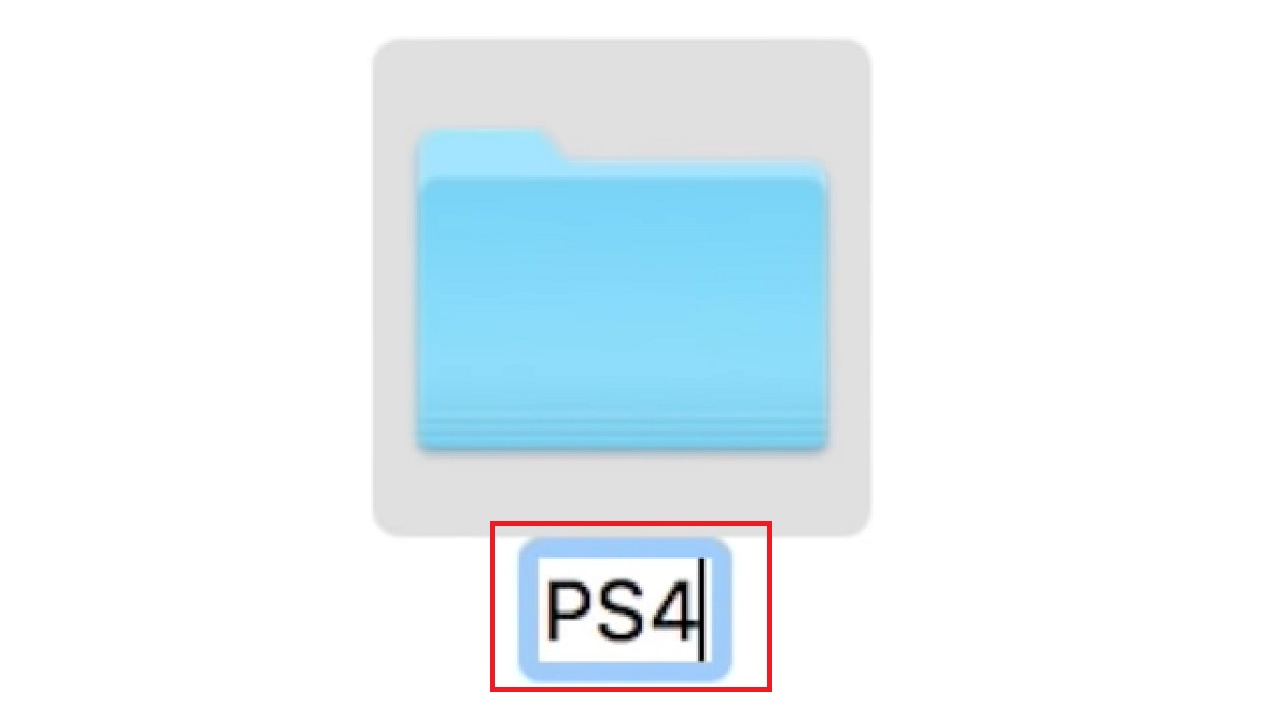
- Name the new folder ‘PS4’ or anything you like.
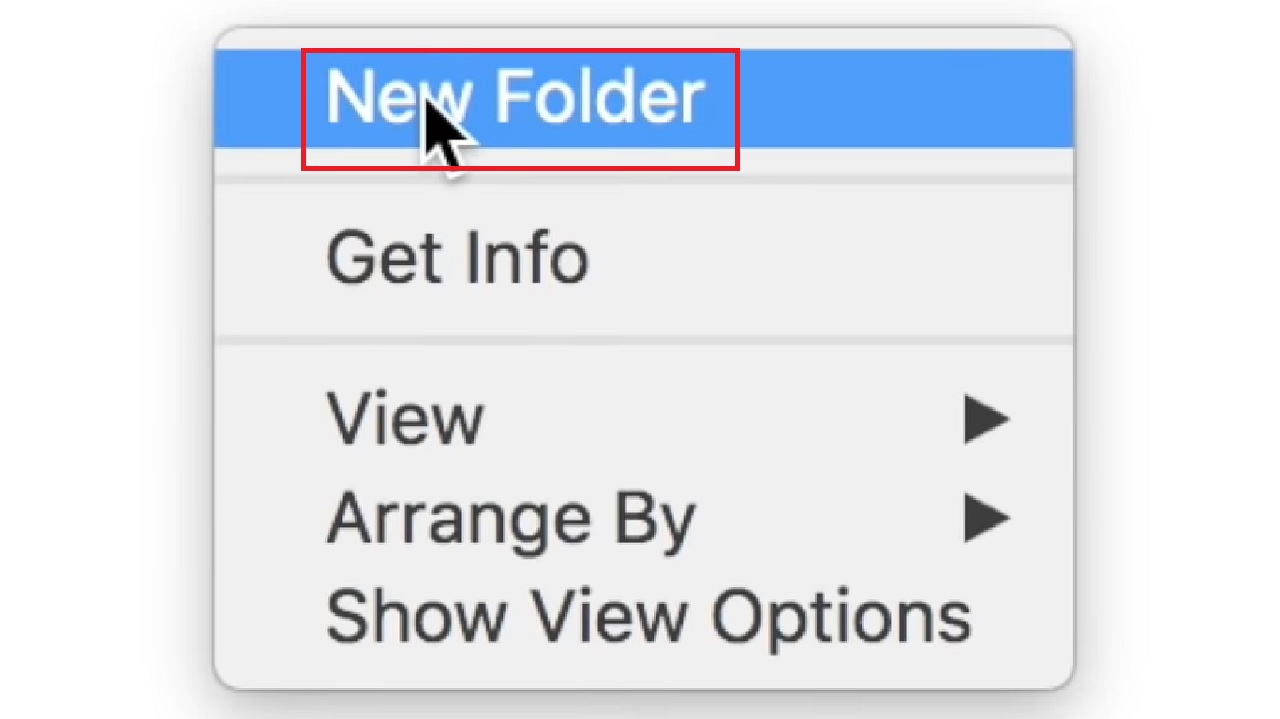
- Right-click on this folder and create another New Folder inside PS4.
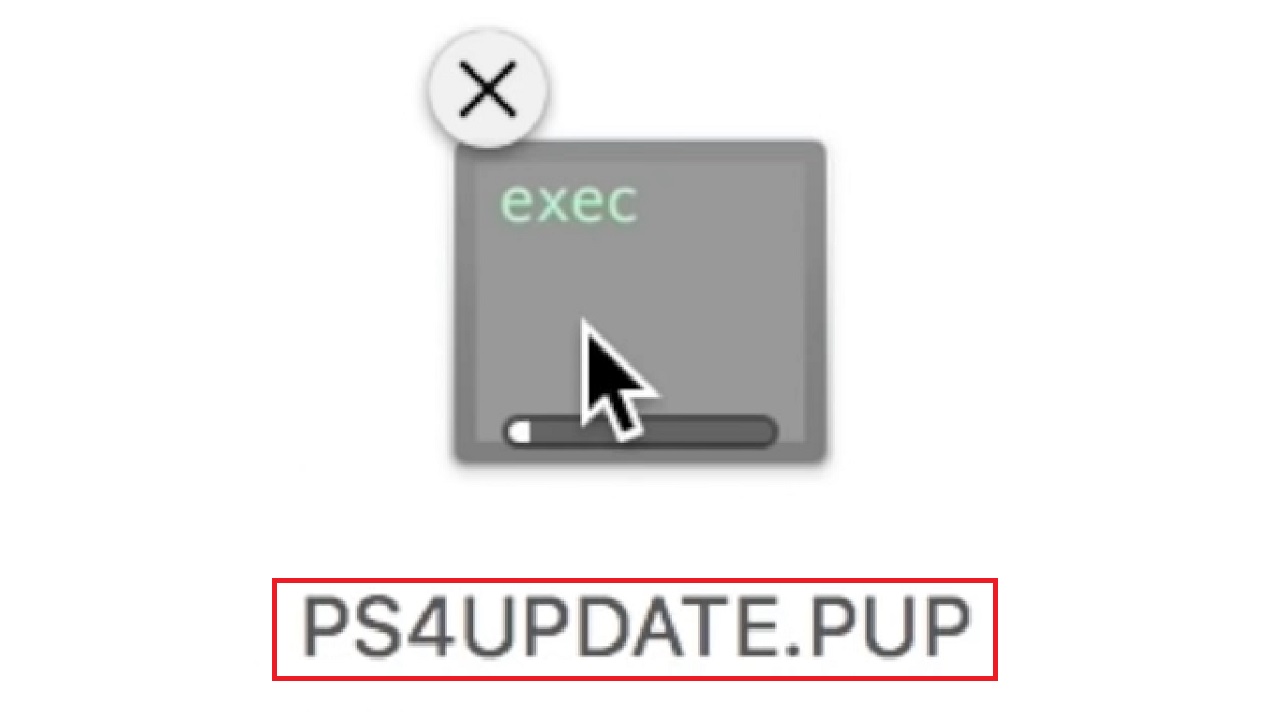
- Name it ‘UPDATE,’ as shown in this case.
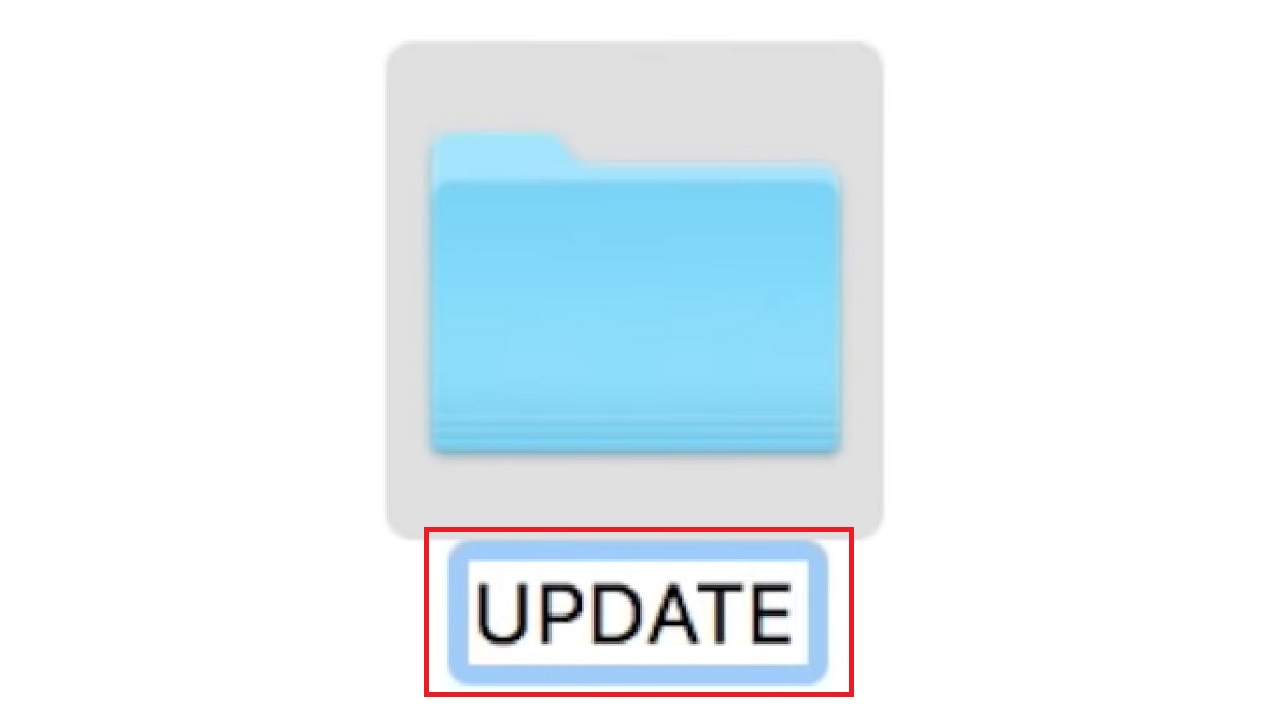
- Save the file into the new UPDATE folder. Name the file ‘PS4UPDATE.PUP’.
- Now go back to your PS4 system.
- Check that it is not powered on.
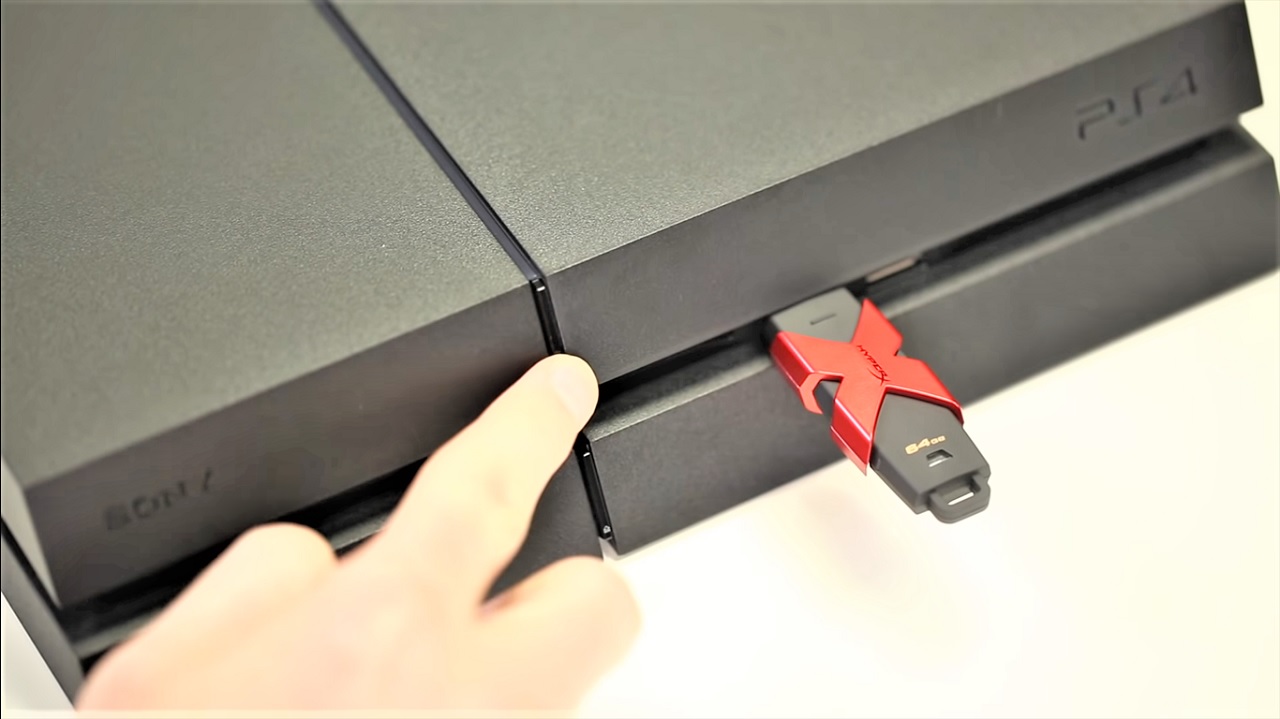
- Insert the USB drive into the PS4.

- Press the Power button and hold it down for about 5 to 7 seconds.
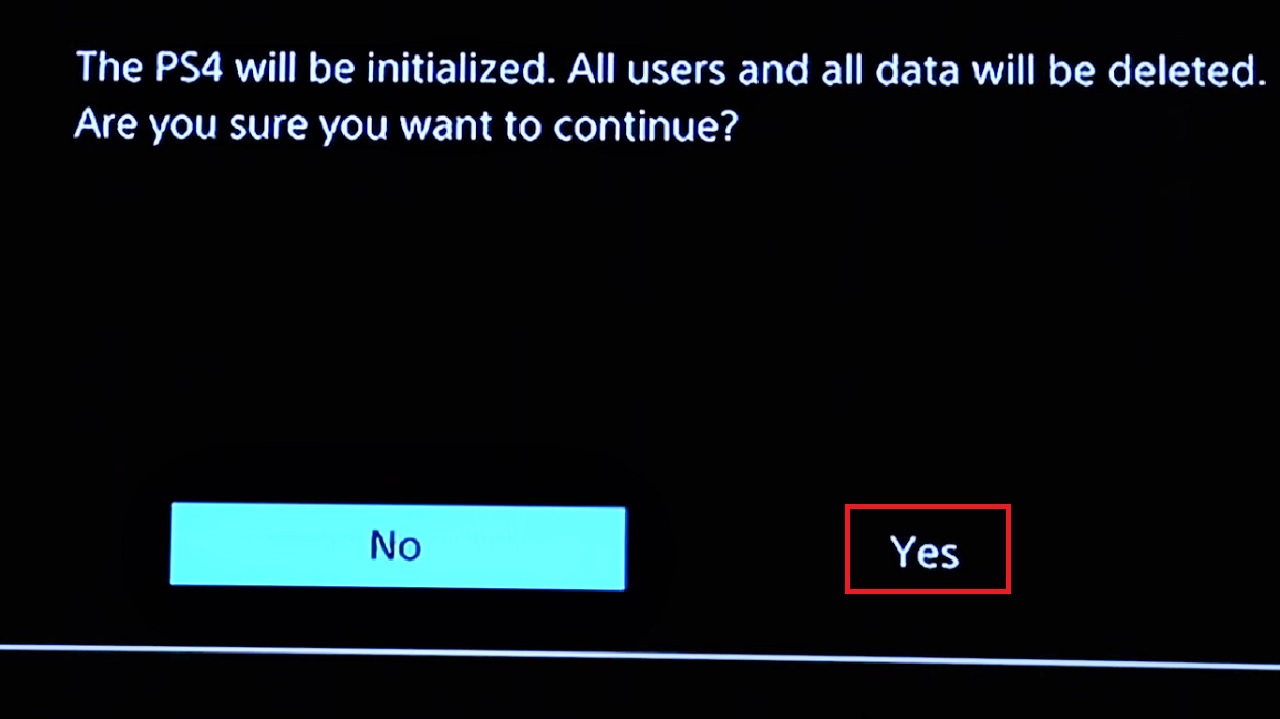
- From the window that pops up select and click on the Yes button to Initialize PS4.
This will reinstall system software. Follow the instructions on your screen to complete the process.
Stage 4:
The final stage of this process involves restoring your data.
- Now connect the external hard drive with the saved data.
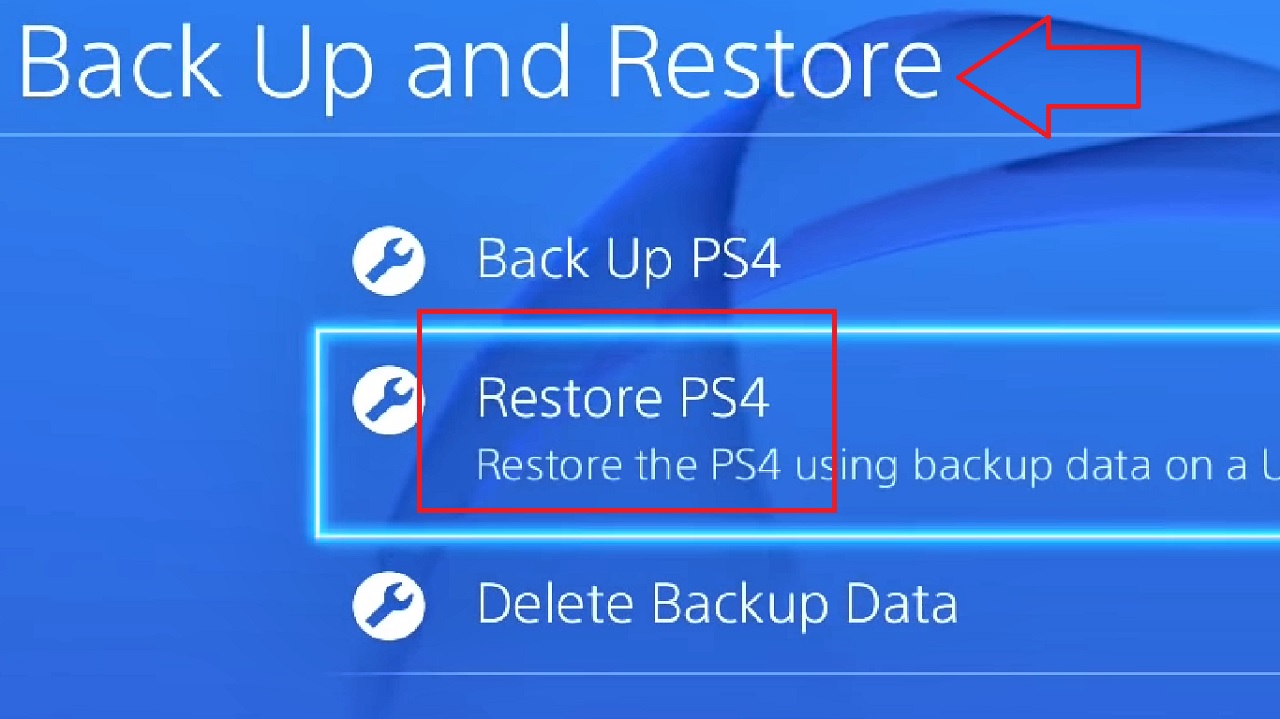
- Go to Settings > System > Back Up and Restore.
- However, this time select Restore PS4 from the Back Up and Restore window.
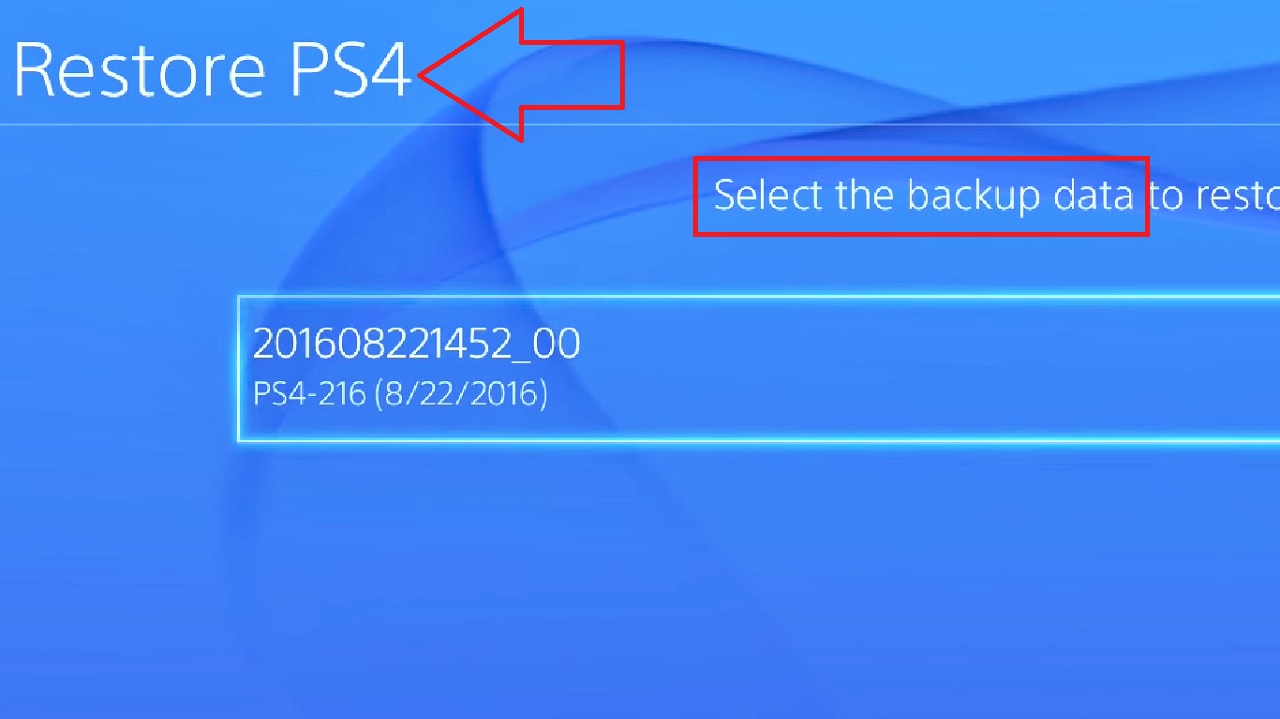
- Select the backup data from the Restore PS4 window that follows.
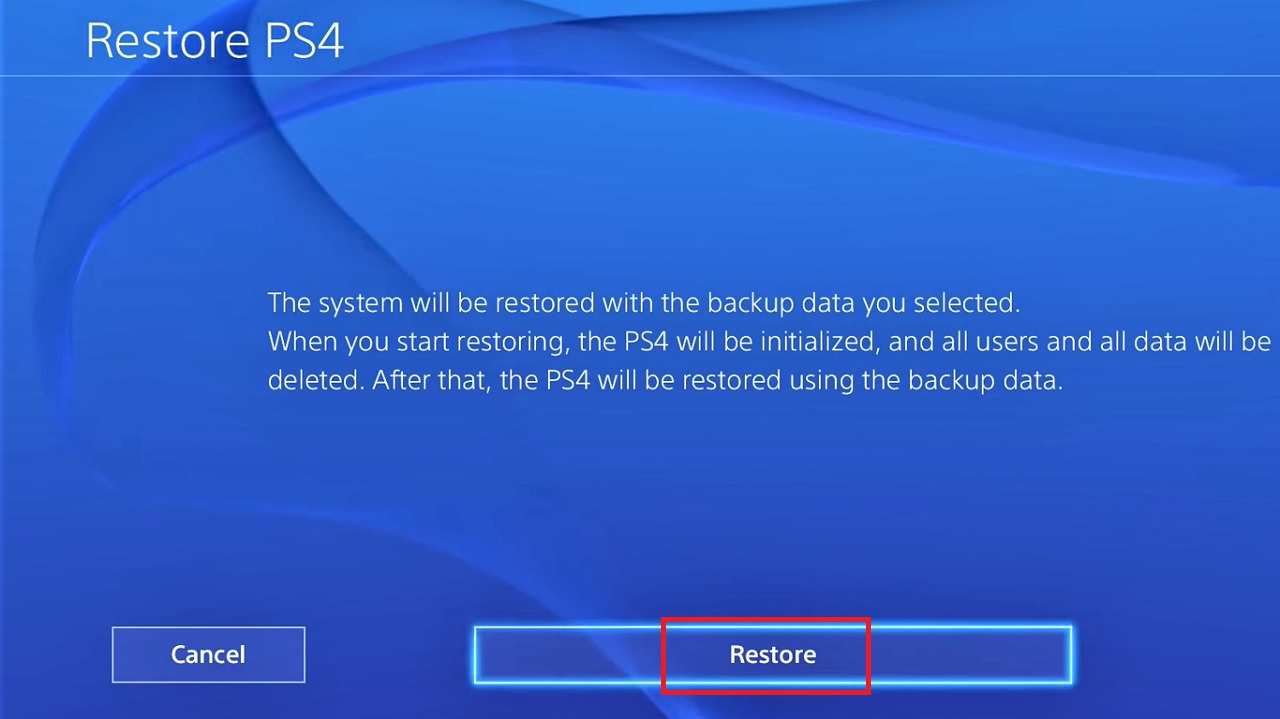
- Click on the Restore button in the next window.
- On the final window, click on the Yes button for confirmation of the action.
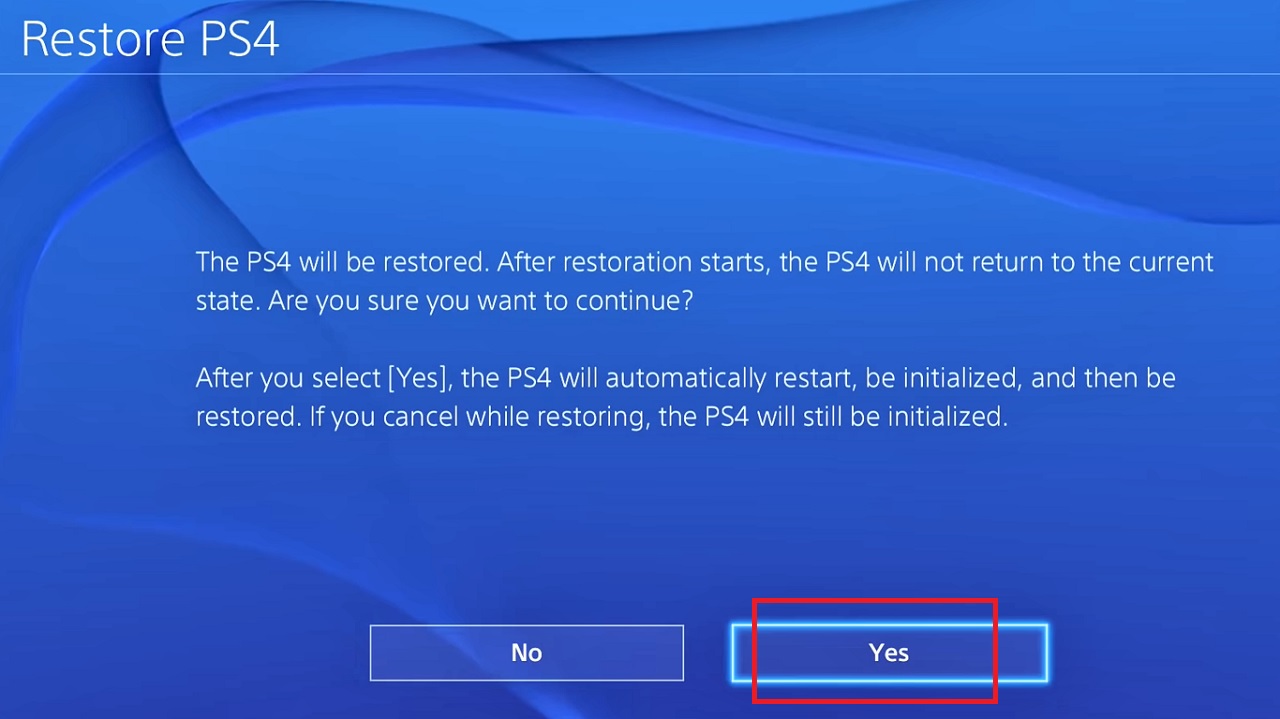
Now you will have your PS4 hard drive upgraded to an SSD.
Conclusion
So, that is all you have to do to upgrade the PS4 hard drive with an SSD.
Just make sure that you follow every step very carefully so that you do not lose any data or file and also do not damage the system or the drive in the process.