
You can Trim an SSD on Windows through the Command prompt and on a Mac system through Terminal.
Most users do not Trim their SSD because they are either apprehensive or do not know the right ways to do it.
This article will clarify all your doubts and guide you through the easy process.
In This Article
KEY TAKEAWAYS
- Trim is actually an Advanced Technology Attachment or ATA command that erases data blocks and facilitates storage management.
- Optimizing the SSD on a regular basis if the Trim feature is enabled will enhance the life of the drive.
- You can enable the Trim feature on your computer by running specific commands in the Command Prompt.
- Use the Terminal feature to do the same in Mac systems.
Why Trim an SSD?
If Trim is enabled, the controller of the SSD erases the data blocks that are not used for better storage space management.
When you trim an SSD, it helps the drive to know the specific data blocks that are not in use any longer.
By trimming, these data blocks are deleted, which eventually extends the life of the Solid-State Drive and also increases the read and write speed of it.
This is because the Trim feature helps to remove the data block from the SSD permanently and write new data easily.
Whenever new data is entered, the SSD will create and save the new data block directly, instead of having to do it through multiple stages of erasing and writing.
Ways to Trim an SSD
You can enable Trim for your SSD on your computer by running a few commands in the Command Prompt.
If you are using a Mac computer, you can do it from the Terminal feature.
Here are the steps to follow in both.
Method 1: Check and Enable Trim and then Optimize (For Windows)
STEPS TO FOLLOW:
In order to Trim your SSD, you will first need to check whether it is enabled or disabled. Here are the complete steps to follow for it.
- Go to the search box and type cmd, choose Run as administrator, and hit Enter.
- In the Command Prompt, type in the command fsutil behavior query DisableDeleteNotify and hit Enter.
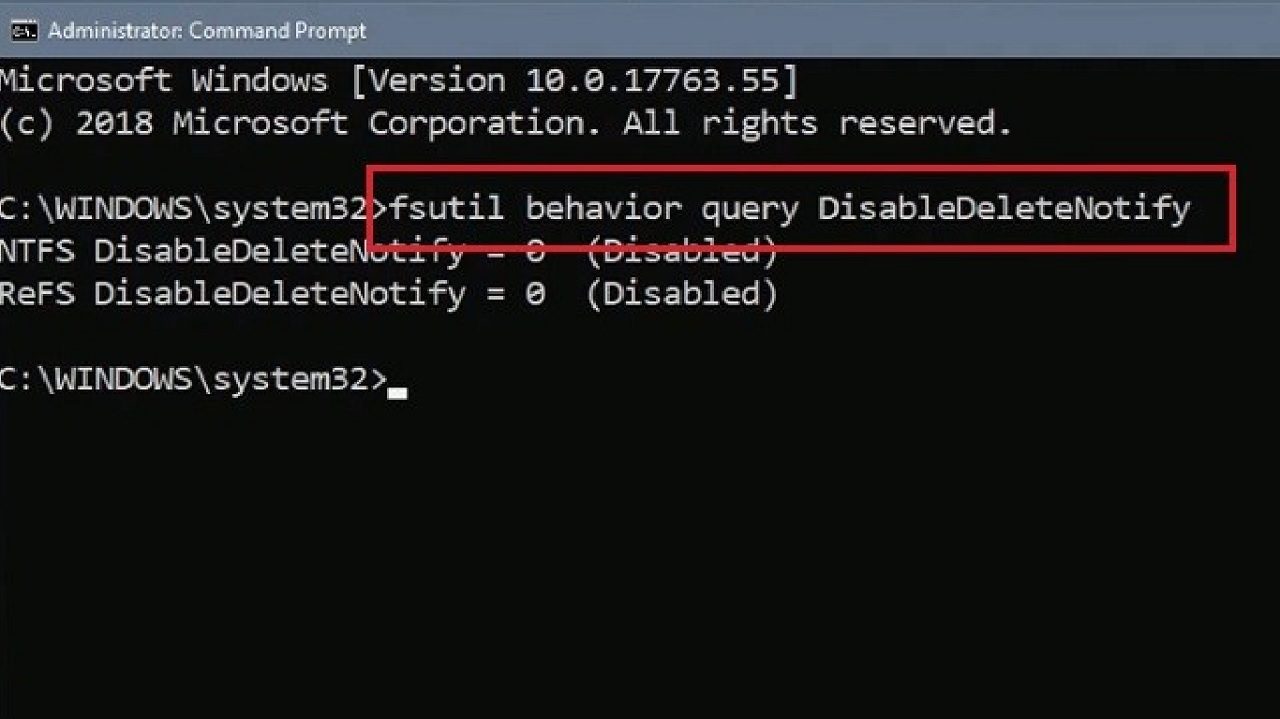
The return value will be either 0 or 1 indicating whether or not Trim is enabled or disabled.
It may be a bit confusing but when you see the disabled message, it refers to the normal feature which is disabled but the Trim feature is enabled. It is just the opposite when the command returns an enabled message with a value of 1.
If it is not enabled, you can enable it with the following command: fsutil behavior set DisableDeleteNotify 0 and hit Enter. You may also specify the file system type, NTFS or ReFS in the command before typing 0.
Now, once it is enabled, you should optimize your SSD, daily or weekly. To accomplish that, here are the steps to follow:
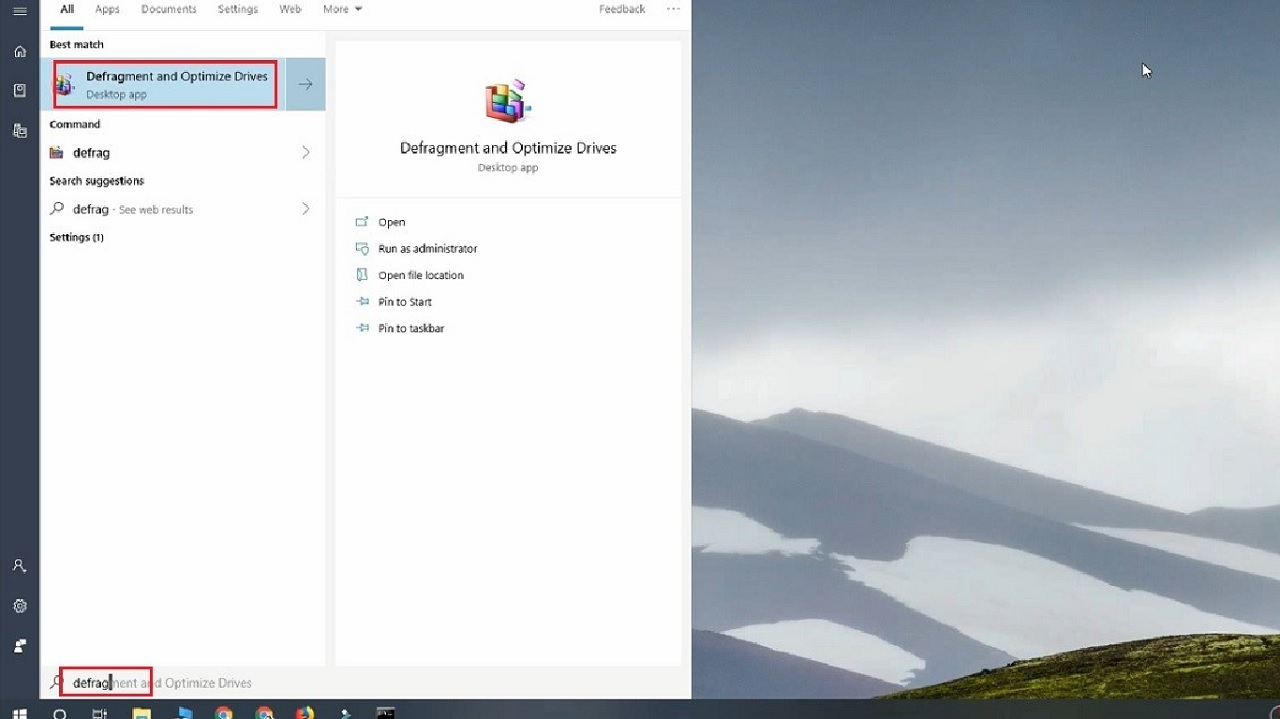
- Go to the search box and type defrag > click on the Defragment and Optimize Drives Desktop app.
- In the new Optimize Drives window that opens, click on the Optimize button.
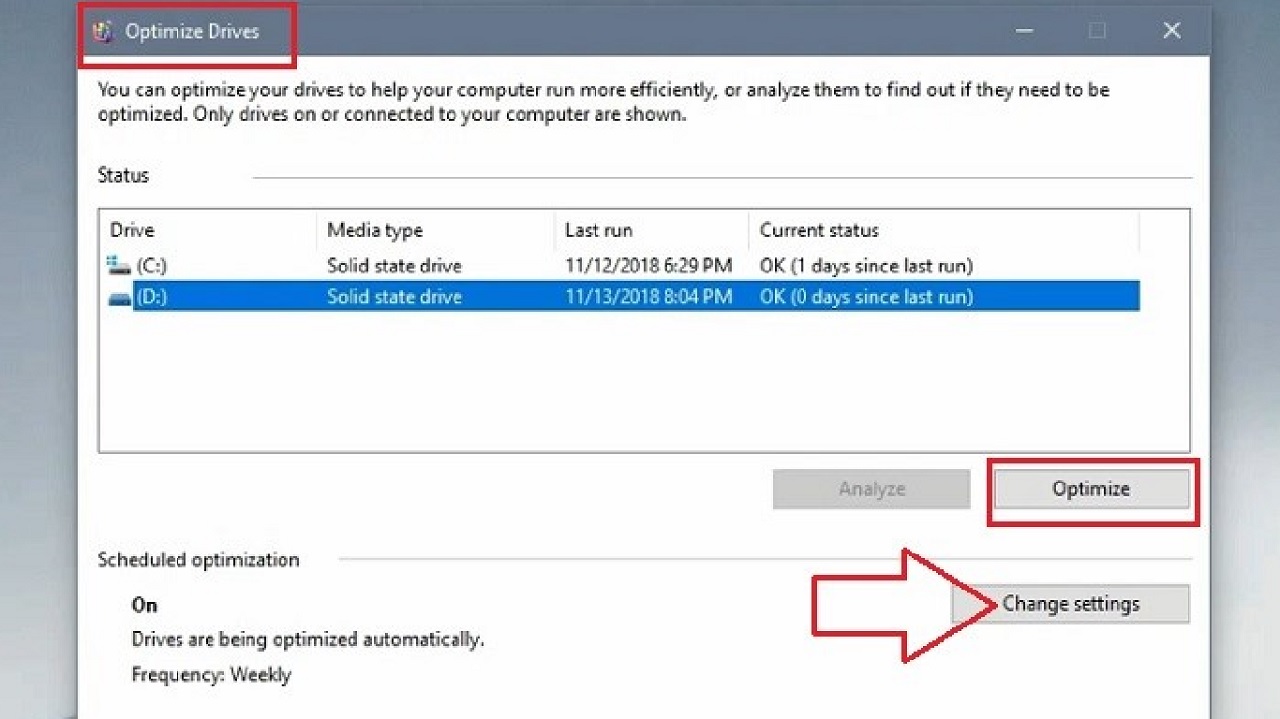
You can even schedule this action for better results and performance of the SSD by clicking on the Change settings button (shown in the image above with a red arrow.)
From the new window, you can choose the Frequency by clicking on the small downward arrow at the right side of the box next to it and choosing an option from the dropdown menu.
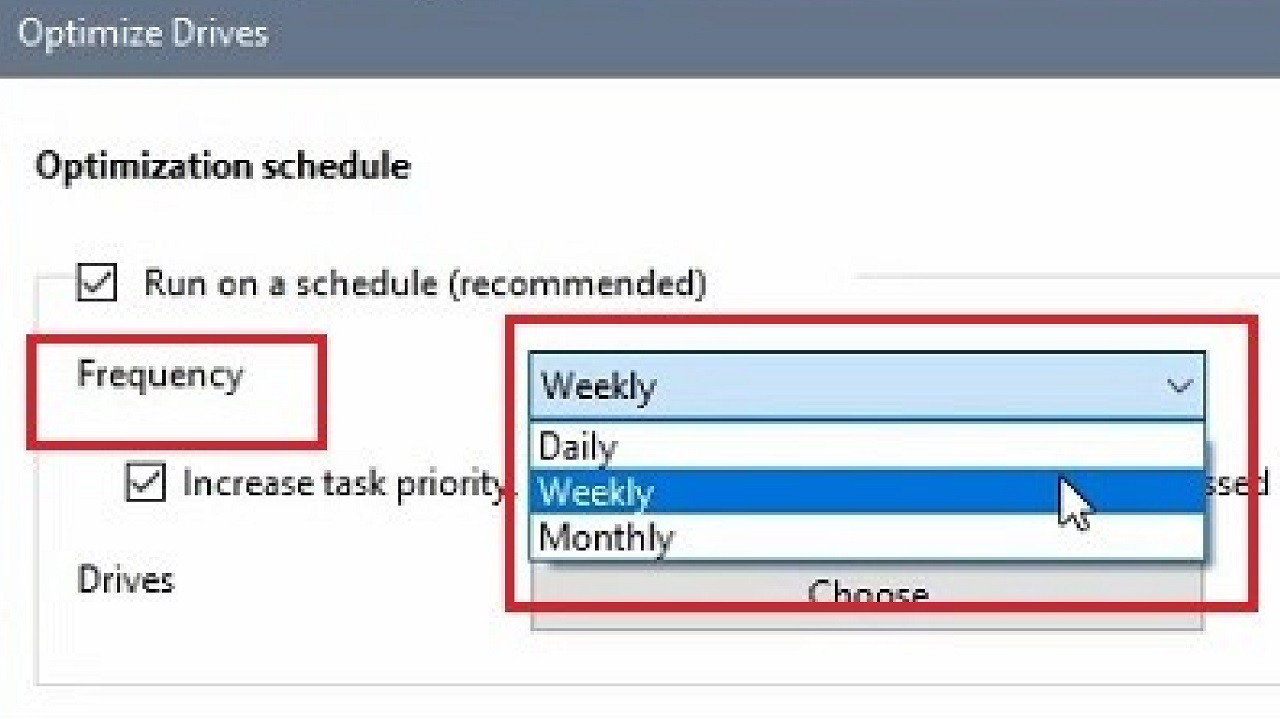
This will trim and optimize your SSD and prolong its life.
In Mac Computer
If you are using a Mac computer, you can enable Trim on your system as well to speed up its performance.
Method 2: From the System Report (For Mac)
In order to Trim SSD on a Mac, you will need to access System Report.
STEPS TO FOLLOW:
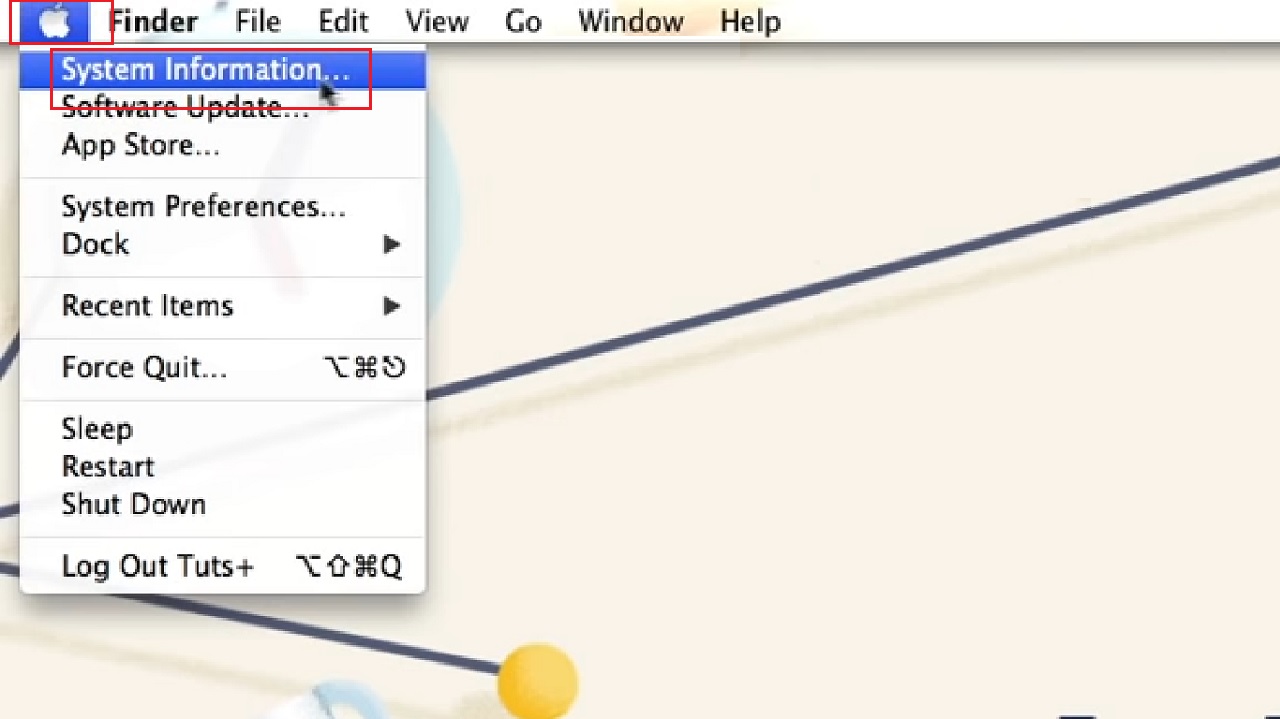
- Click on the Apple menu usually located at the top-left corner of your screen.
- Click on About This Mac or System Information from the dropdown options.
- Click on System Report on the new window that pops up.
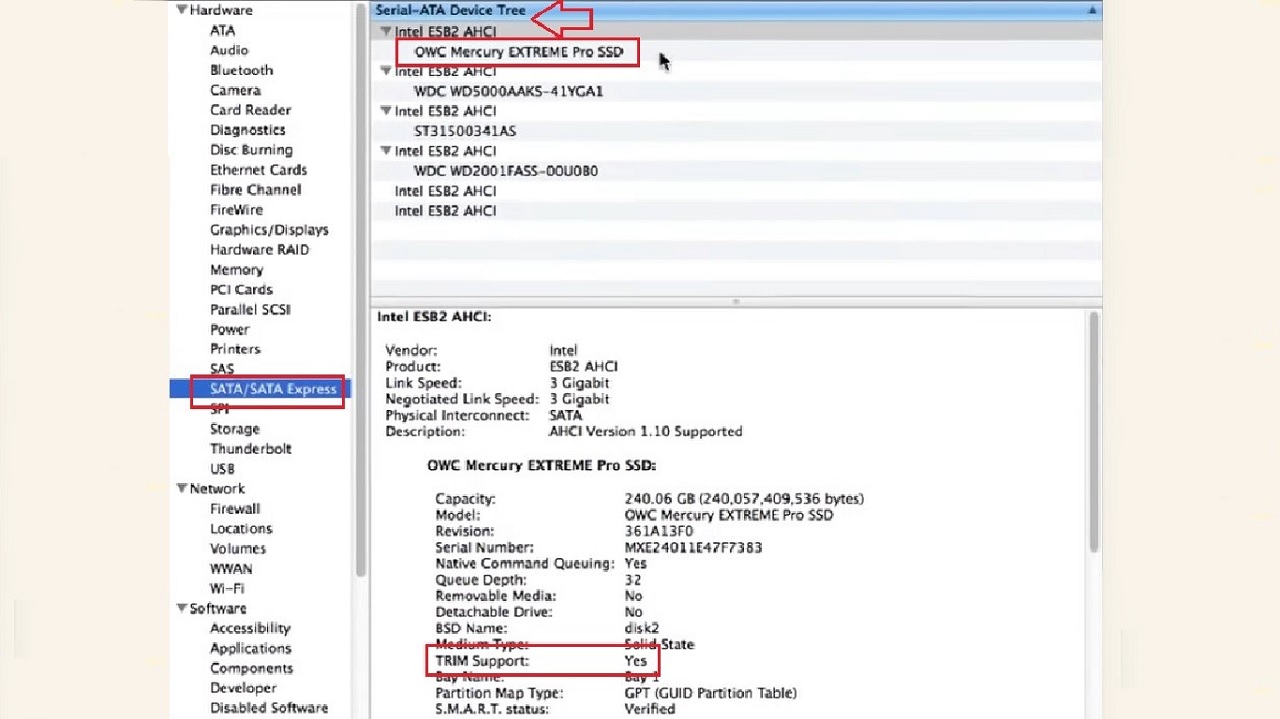
- Click on SATA/SATA Express on the left panel in the following window.
- Select the SSD usually located at the top of the following window under Serial-ATA Device Tree.
- Check below whether or not Trim is enabled (Yes/No).
If it is not, you will need to enable it by following these steps:
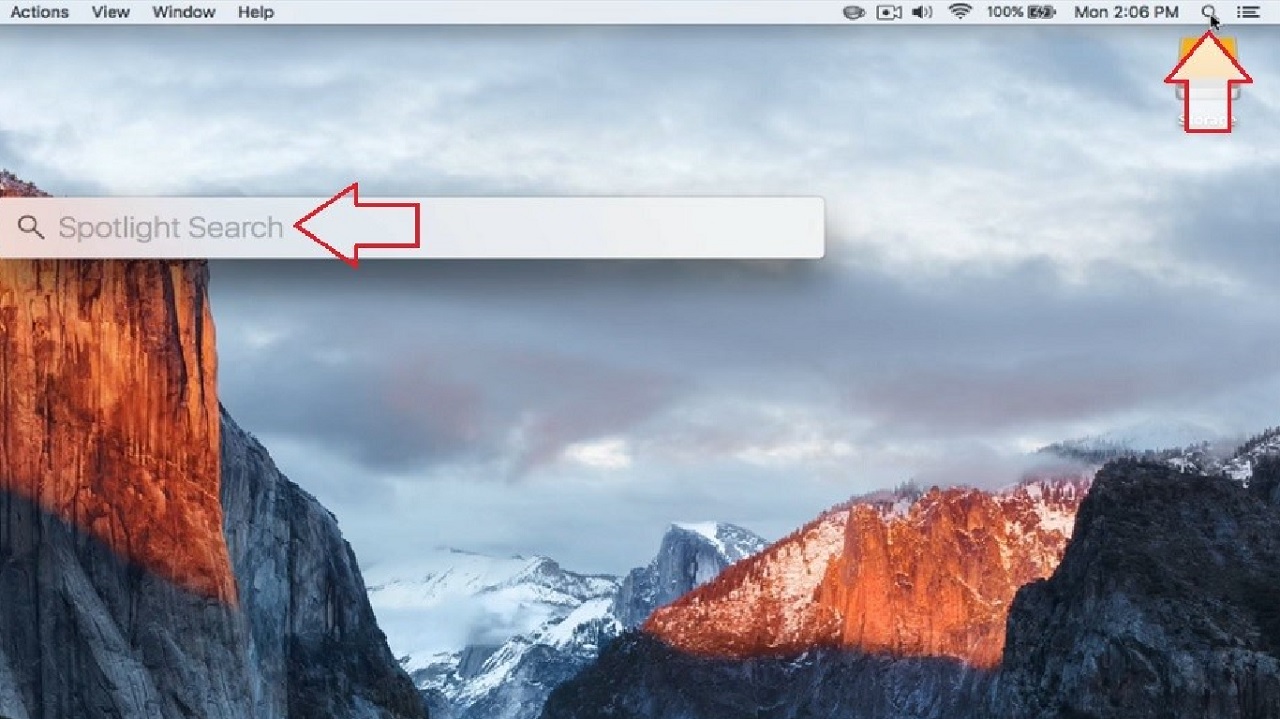
- Go to the top-right corner of your screen.
- Look for and click on the magnifying glass icon to open Spotlight Search.
- Type Terminal and click on the Terminal option from the dropdown options.
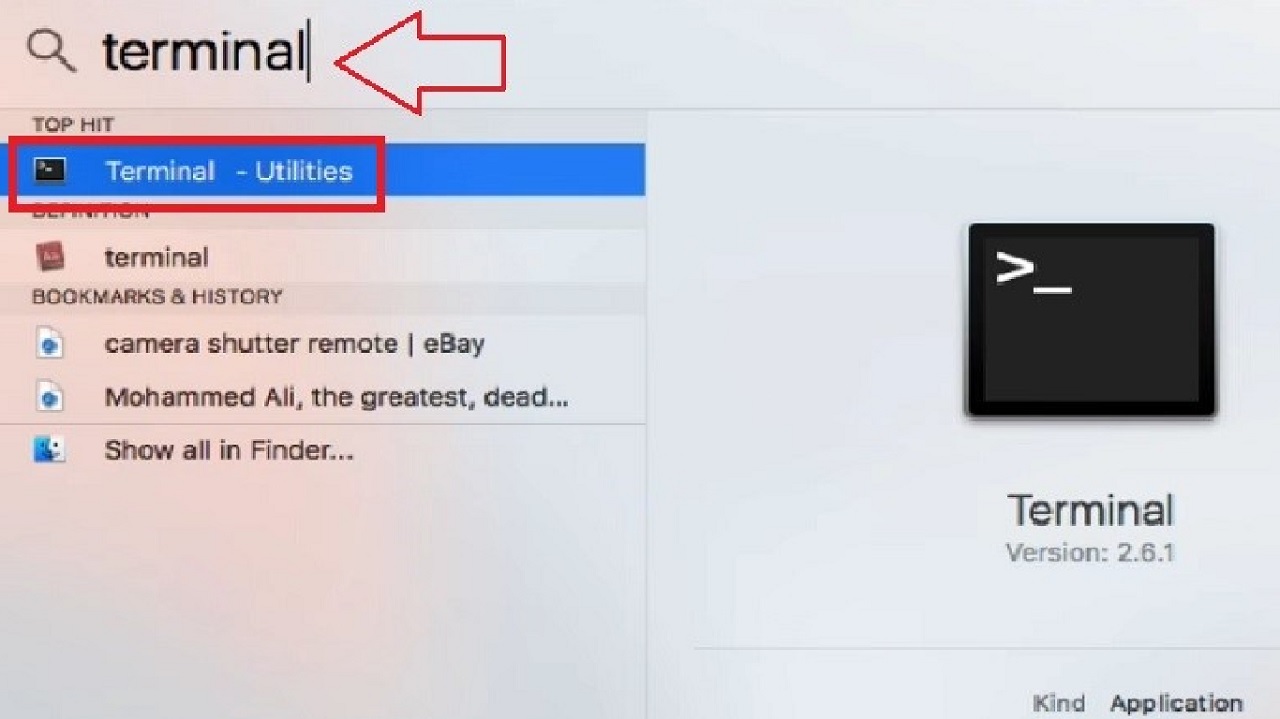
- In the Terminal widow, type in the command sudo trimforce enable and hit Enter.
- You will now be asked for the password. Type it in and hit Enter.
- Type Yes when you are asked whether you wish to continue.
- Type Yes when it asks that the system is going to reboot, whether it is OK.
After the system reboots, repeat the initial steps to check whether or not Trim is now enabled.
Conclusion
As you can see, enabling Trim on SSD is quite easy and it should be optimized regularly.
If you have not done it before, start today by following the simple steps mentioned in this article.