
In this increasingly connected world, you must have a reliable Wi-Fi connection for work or for leisure alike.
However, if the Wi-Fi repeater stops working, it will disrupt your internet connection and leave you frustrated.
In this article, you will learn about the common causes of this issue and a few practical solutions to fix it and make your repeater run smoothly and have a seamless wireless connection in your office or at home.
In This Article
KEY TAKEAWAYS
- Reposition your repeater to bring it closer to the router for a stronger signal.
- Check connections and power of the router, repeater, and your PC.
- Update router and repeater firmware by downloading and installing it from the manufacturer’s website.
- Make changes in the frequency and channel settings of the repeater to reduce interference.
- Reset and reconfigure the repeater from scratch following the instructions of the manufacturer.
Why is the Wi-Fi Repeater Not Working?
There can be some incorrect settings or some hardware issues in the Wi-Fi repeater which may hinder it from functioning properly.
In addition, a few other causes for this issue are:
- Router and repeater SSID are not the same
- Connection failure
- Distance issues
- High network traffic or other devices
- Interruptions caused by other external devices
- Mismatching firmware configurations
- Wi-Fi password, SSID or router name Forgot
- Incorrect router configuration
- Outdated router firmware
- Weak or unstable internet connectivity
The solutions to this issue are pretty simple.
Ways to Fix Wi-Fi Repeater Not Working
The issue of the Wi-Fi repeater not working can be addressed with some basic checks, such as ensuring a proper connection and matching the SSID of the router and repeater.
You may also make some changes in the settings, such as restoring the factory settings of the repeater.
A few basic fixes to try:
- Update router firmware
- Place the router close to the repeater
- Remove interfering devices
There are some other simple fixes you may try.
Forget and connect again: Press the Windows + I key together > Select Network & Internet > Wi-Fi > Manage known networks > Your Wi-Fi repeater > Forget > Wi-Fi icon in the taskbar > Connect again.
Power cycle router, repeater, and PC: Turn each of these devices off > Unplug from the wall socket > Wait for some time > Plug them back > Turn them on.
If these solutions did not resolve the issue of the Wi-Fi repeater not working, try the following fixes.
Method 1: Reset the Device to Factory Settings
One of the easiest ways to fix a Wi-Fi repeater that is not working is to press the reset button. This will reset it back to factory settings.
STEPS TO FOLLOW:
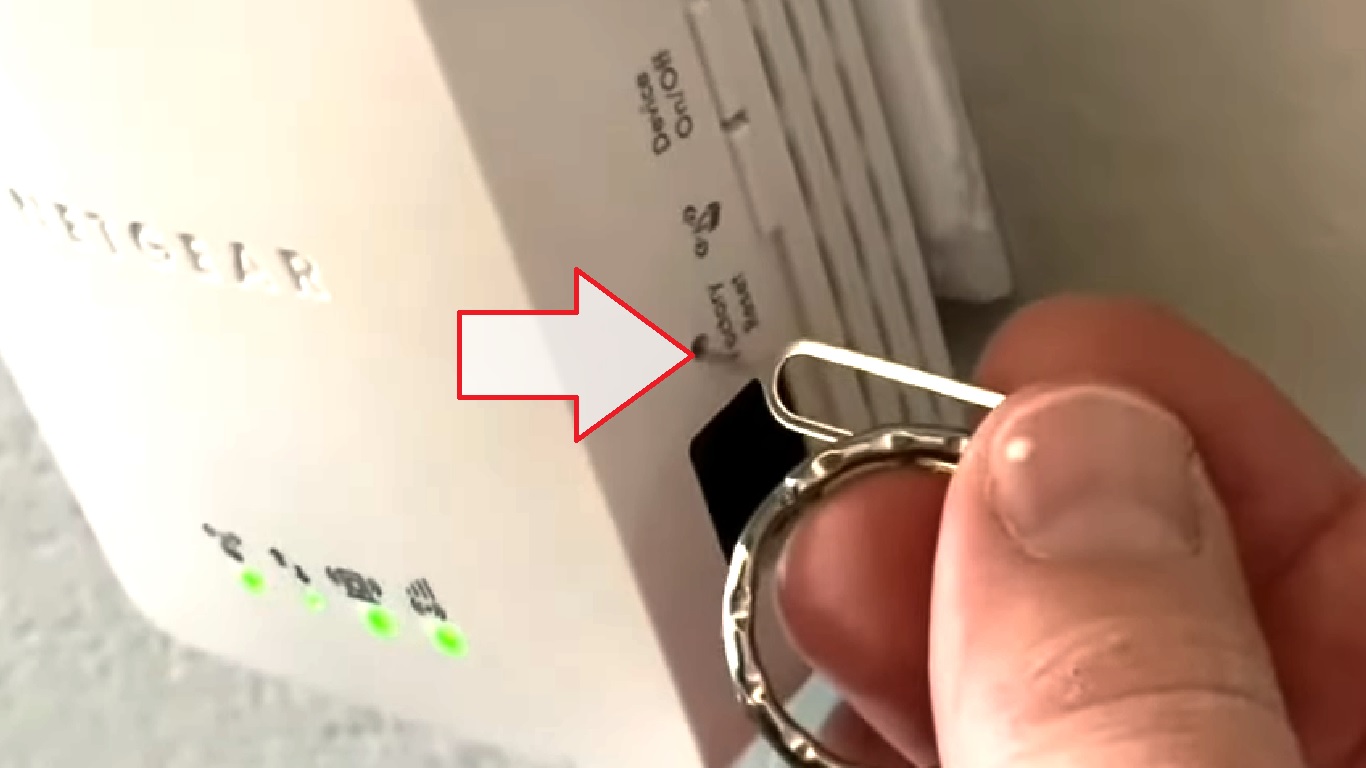
- Make sure that the repeater is plugged on.
- Insert a paper clip or anything pointed into the hole marked Reset.
- Press and hold for about 10 seconds.
Do the same if your device comes with a separate Reset button.
Now, check your Wi-Fi list and you will find that the factory default extender or repeater network name is displayed in the list.
Method 2: Remove the Faulty Component
If there is no power in the repeater in the first place, there must be some faulty component causing the issue, usually a faulty capacitor or the power connector. Replace whichever is at fault to make the device work again.
Note: If you do not have the right tools and expertise, skip this step. Take it to a professional for repair instead.
The design and layout of components may differ depending on the model of the repeater.
STEPS TO FOLLOW:
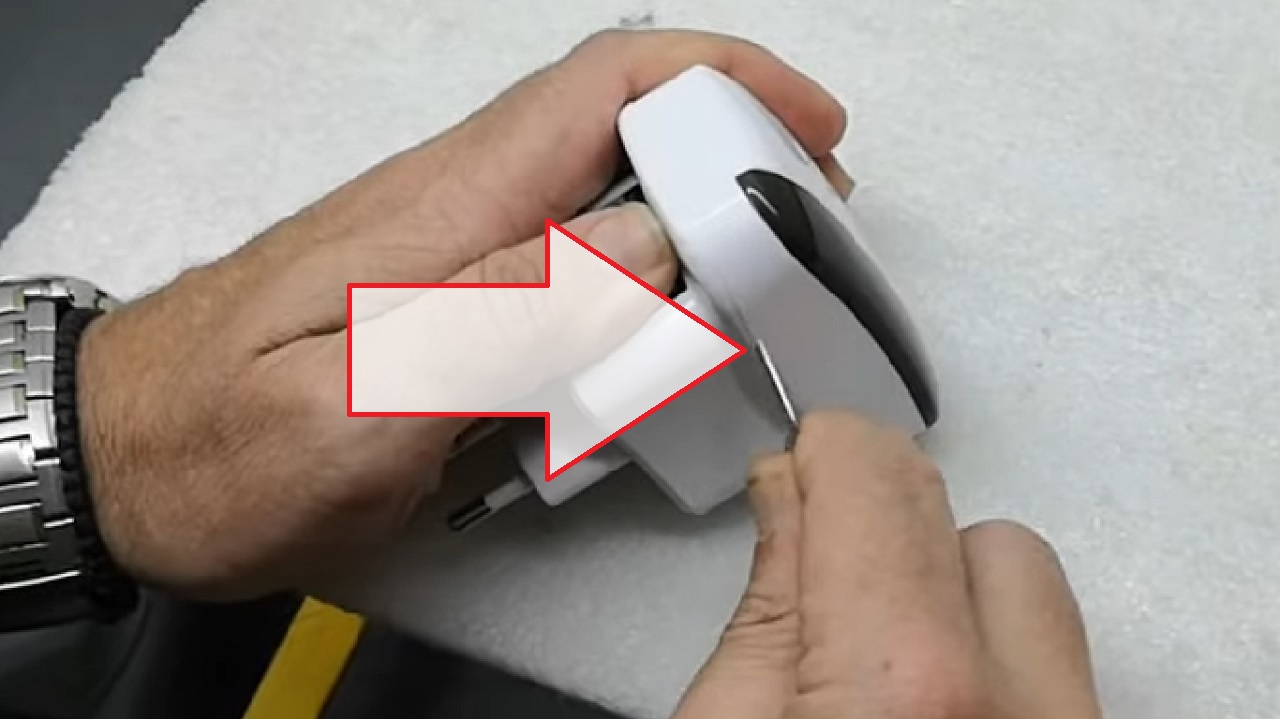
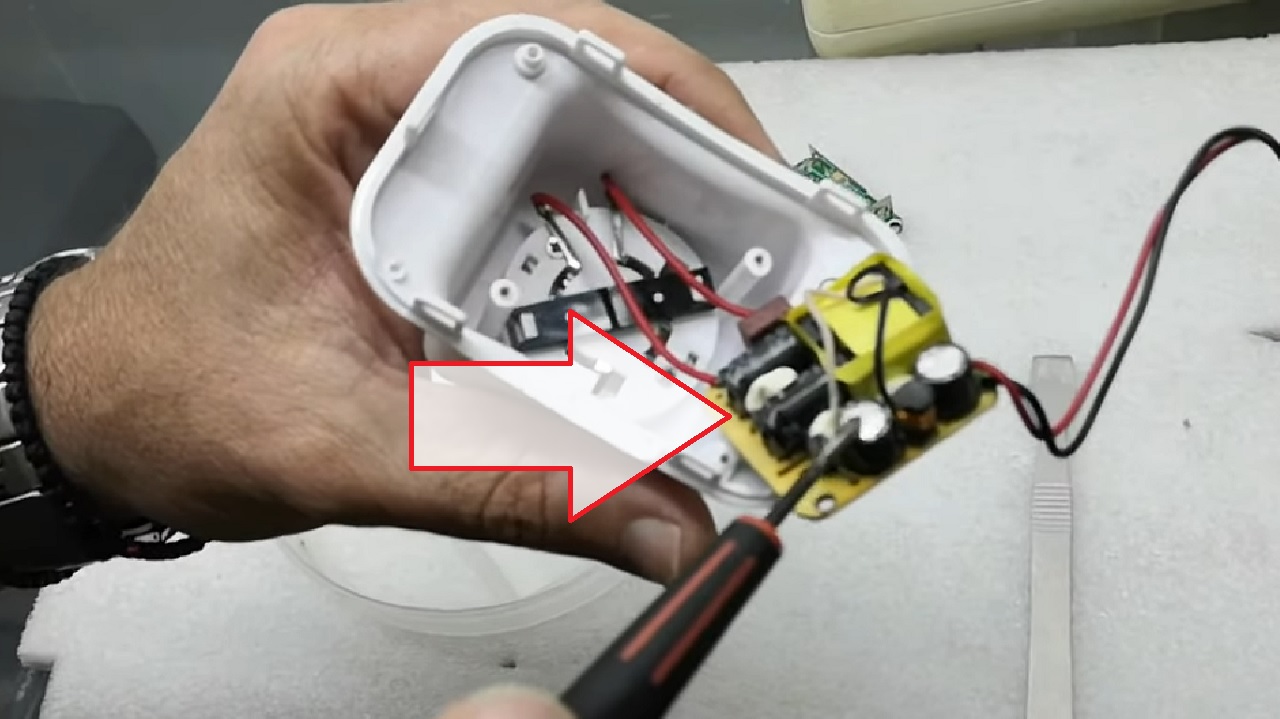
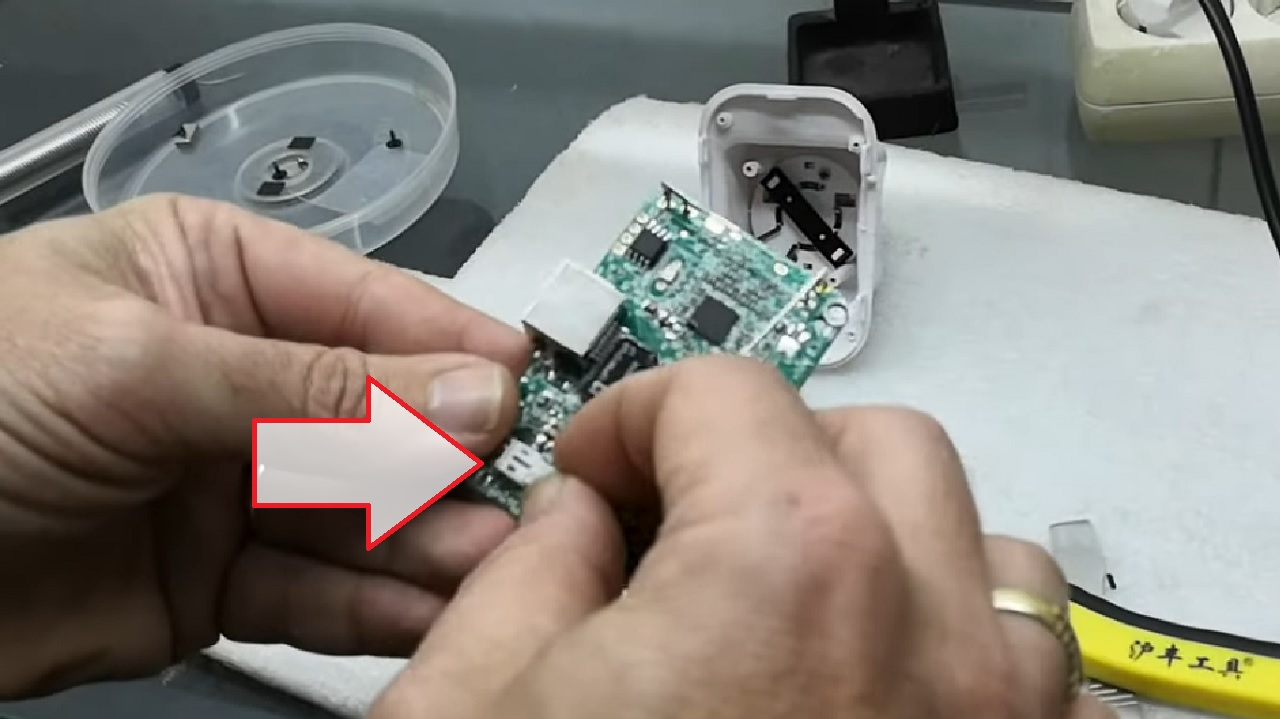
- Remove the enclosure carefully using a knife, a flathead screwdriver, or any other similar object.
- Check the Network Board.
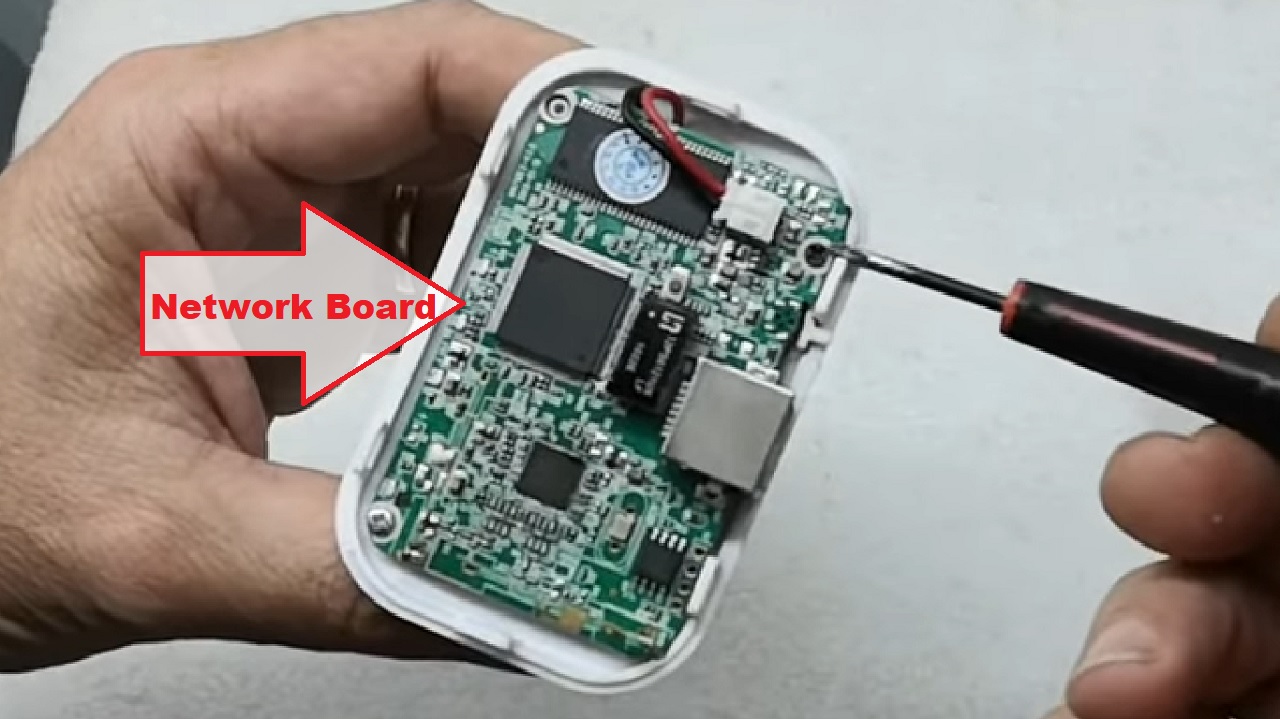
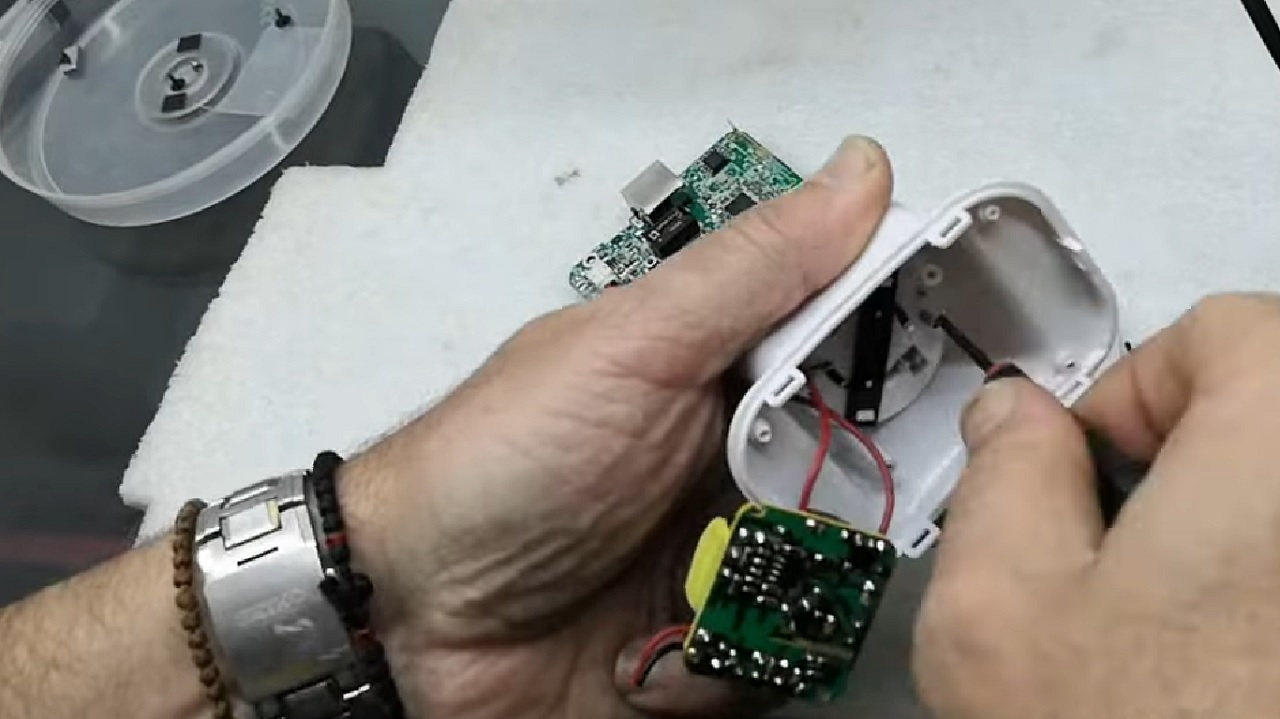
- Remove the screws of the Network PCB to reveal the power board.
- Unscrew the Power Board.
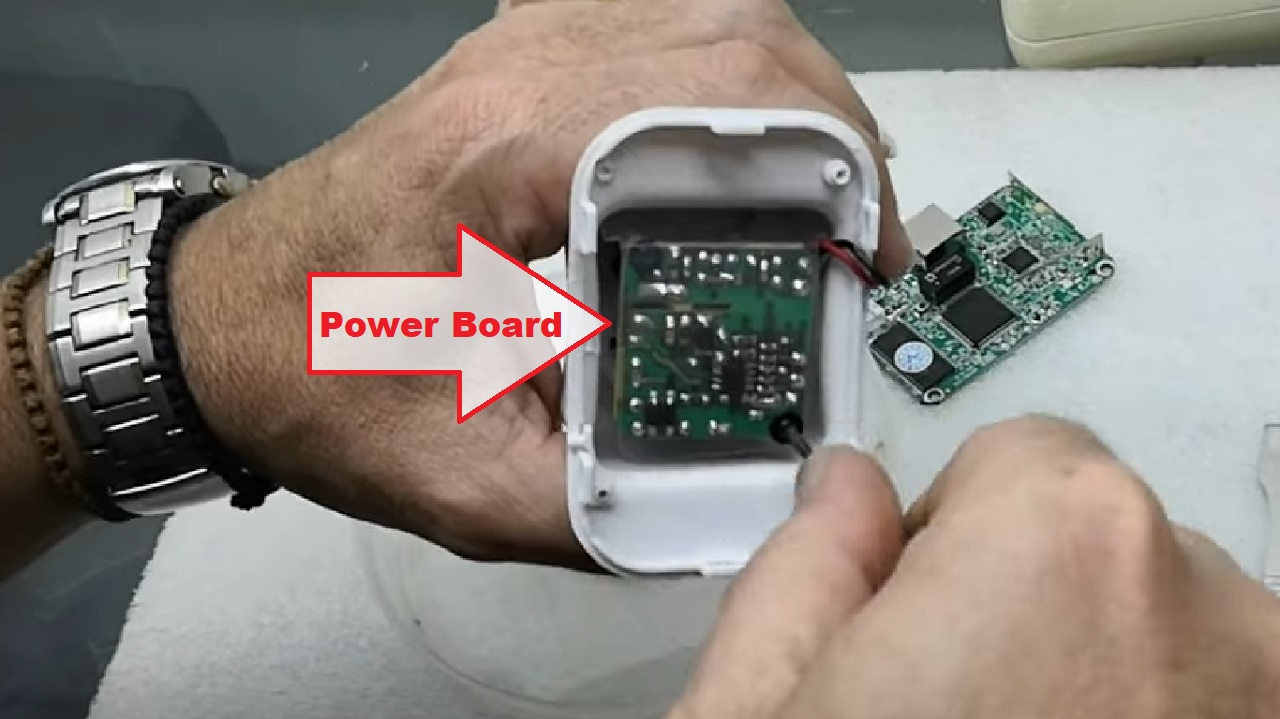
- Look for faulty components, a swollen capacitor for example.
- If you do not find anything, there might be an issue with the power supply.
- Plug in the repeater carefully. Make sure you do not touch anything with bare fingers.
- Check the power supply using a multimeter.
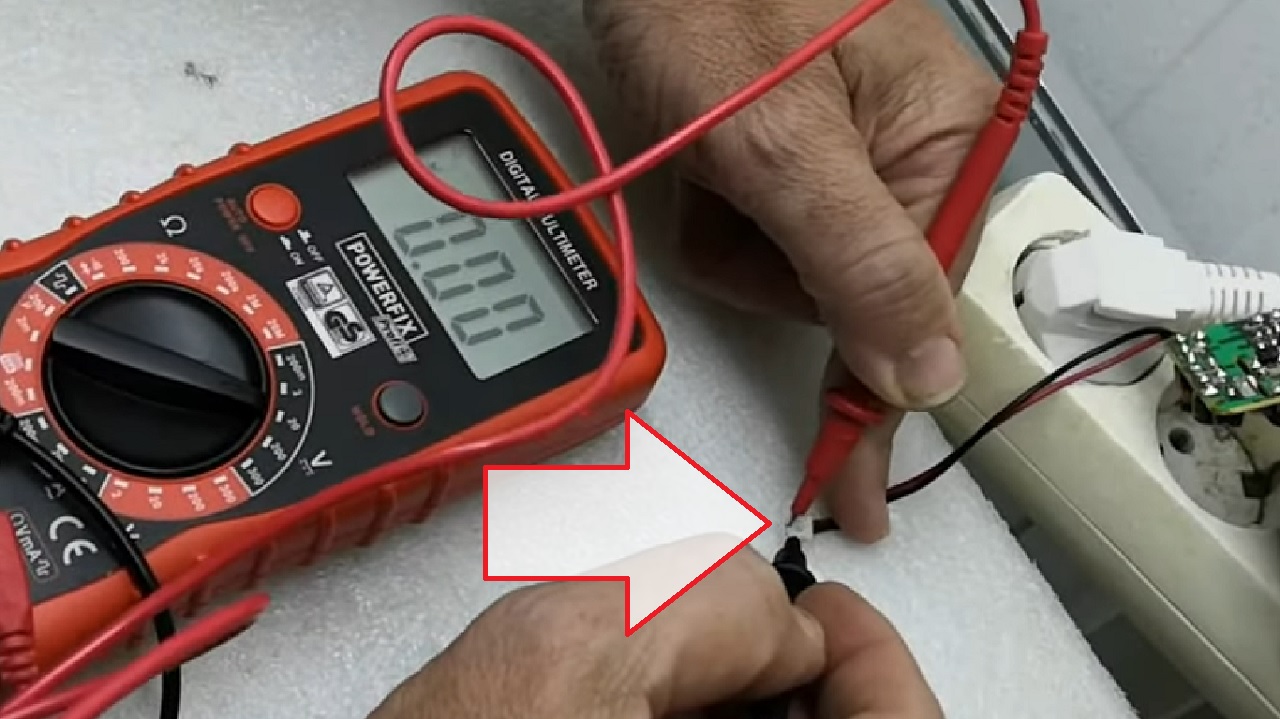
- If it shows no power or reading, you will need to replace it.
- Chop off the power connector of the repeater.
- Take an old charger that you use for charging your mobile phone.
- Chop off the connector of the charger.
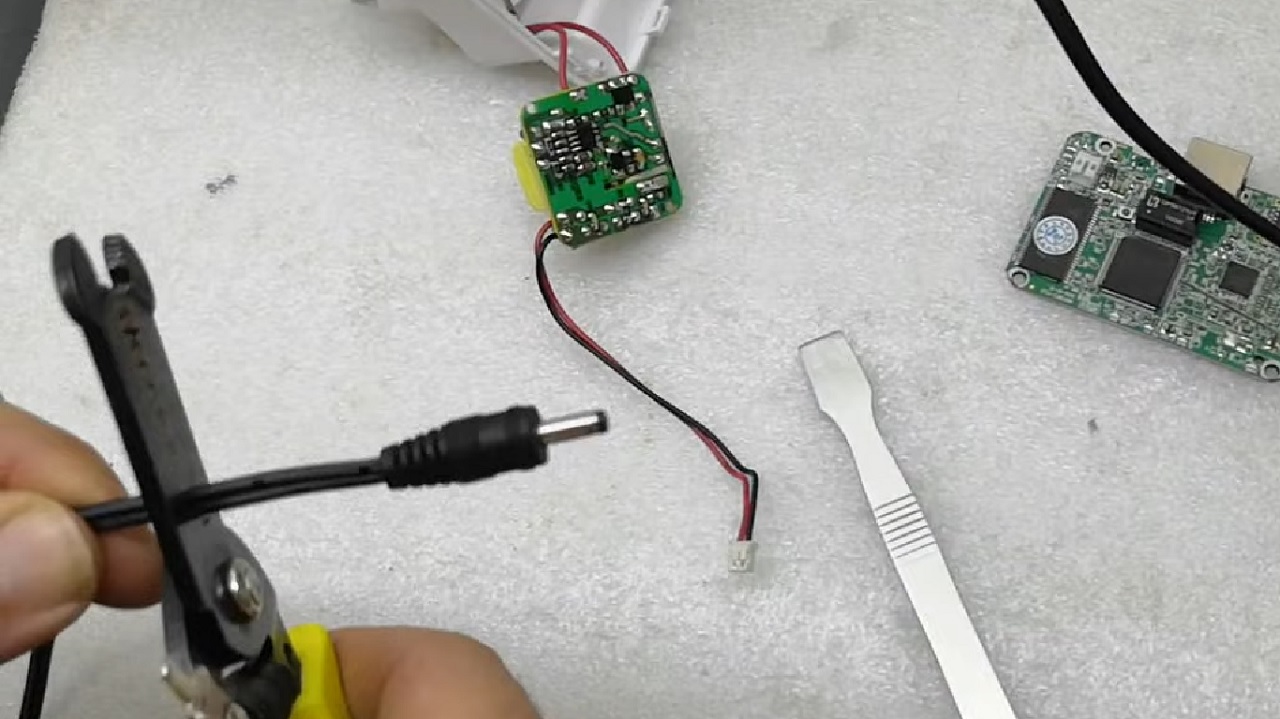
- Check the polarity of the two wires using the multimeter.
- Fix the power connector of the repeater to that of your mobile charger.
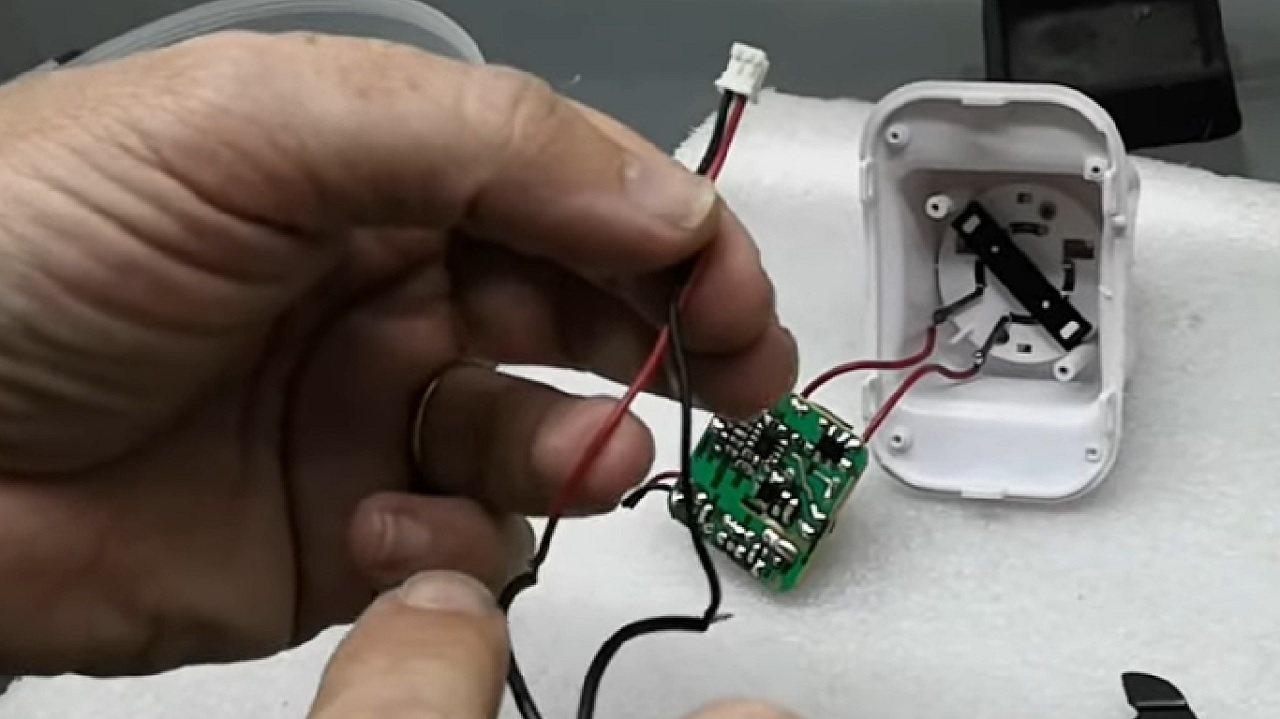
- Connect it to the network board to check it. Also, check whether it is showing in your Wi-Fi list.
- Remove the old power board from the repeater. You do not need it any more.
- Refix the network board.
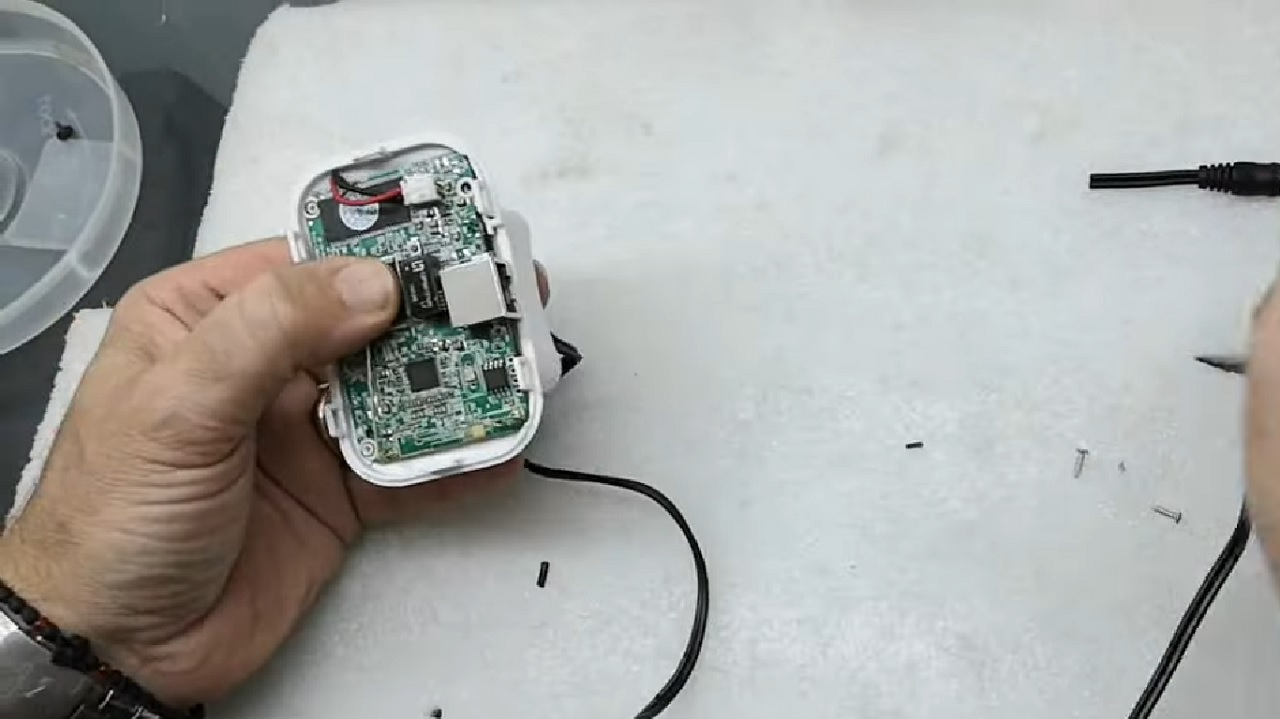
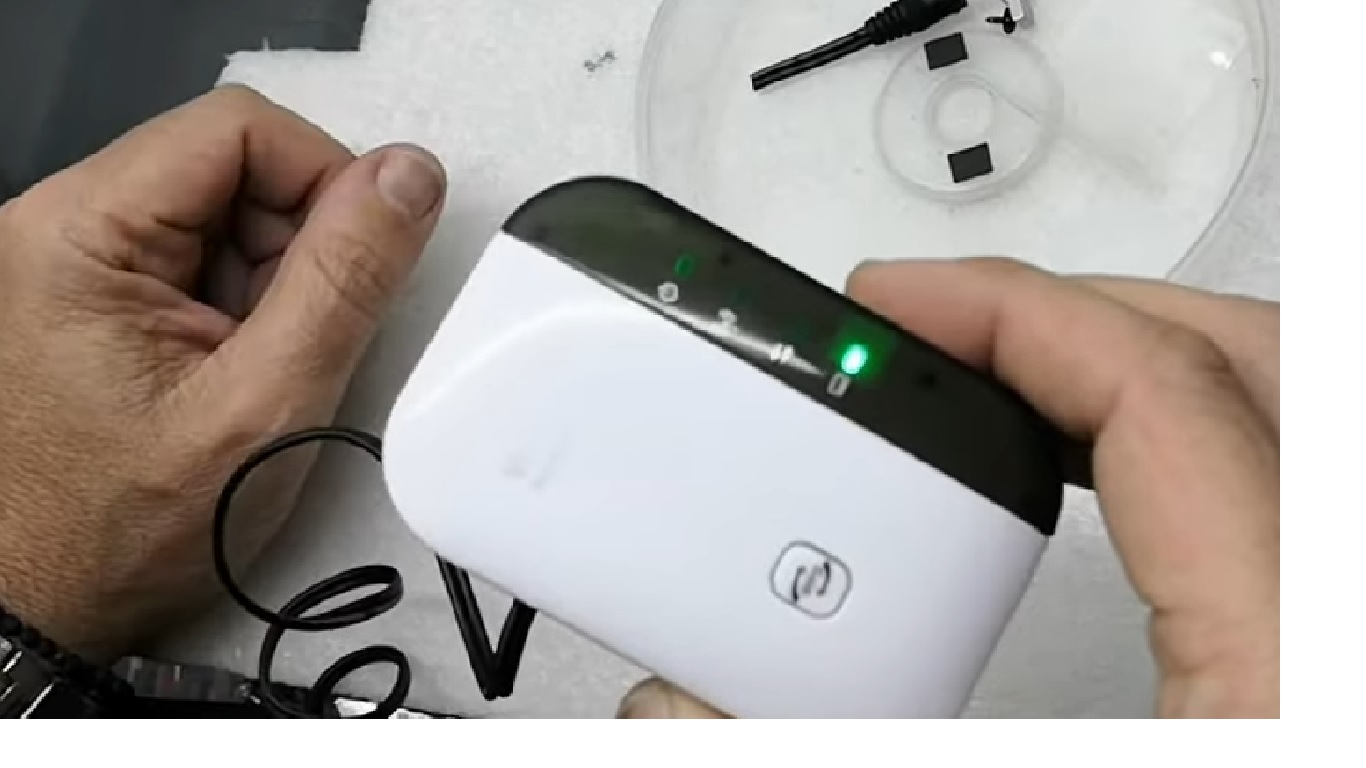
- Replace the enclosure.
- Plug the repeater in and check whether it is up and on, as shown in the image below:
Method 3: Enable the Repeater
Sometimes, the repeater may be disabled. You will need to enable it first in order to make it work after disabling the Wi-Fi connection.
STEPS TO FOLLOW:
- Connect a LAN cable to your repeater.
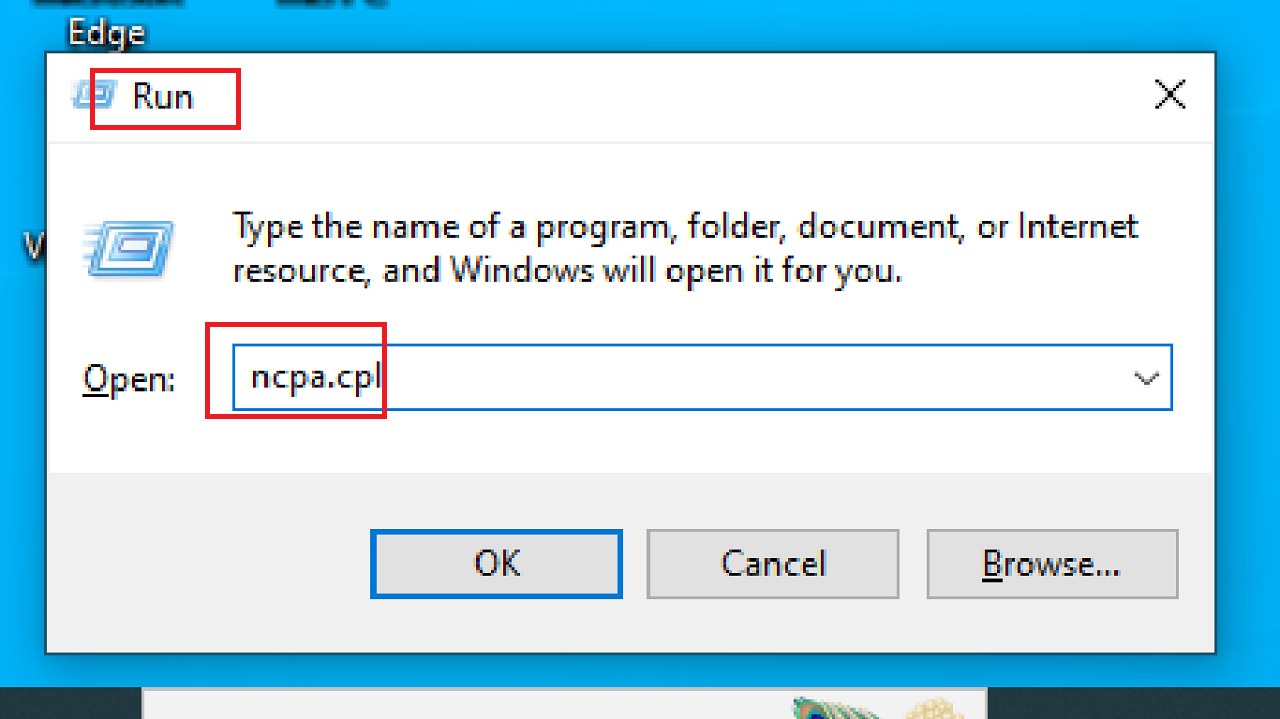
- Press the Windows and R keys together on your keyboard to launch the Run dialog box.
- Type ncpa.cpl and hit Enter.
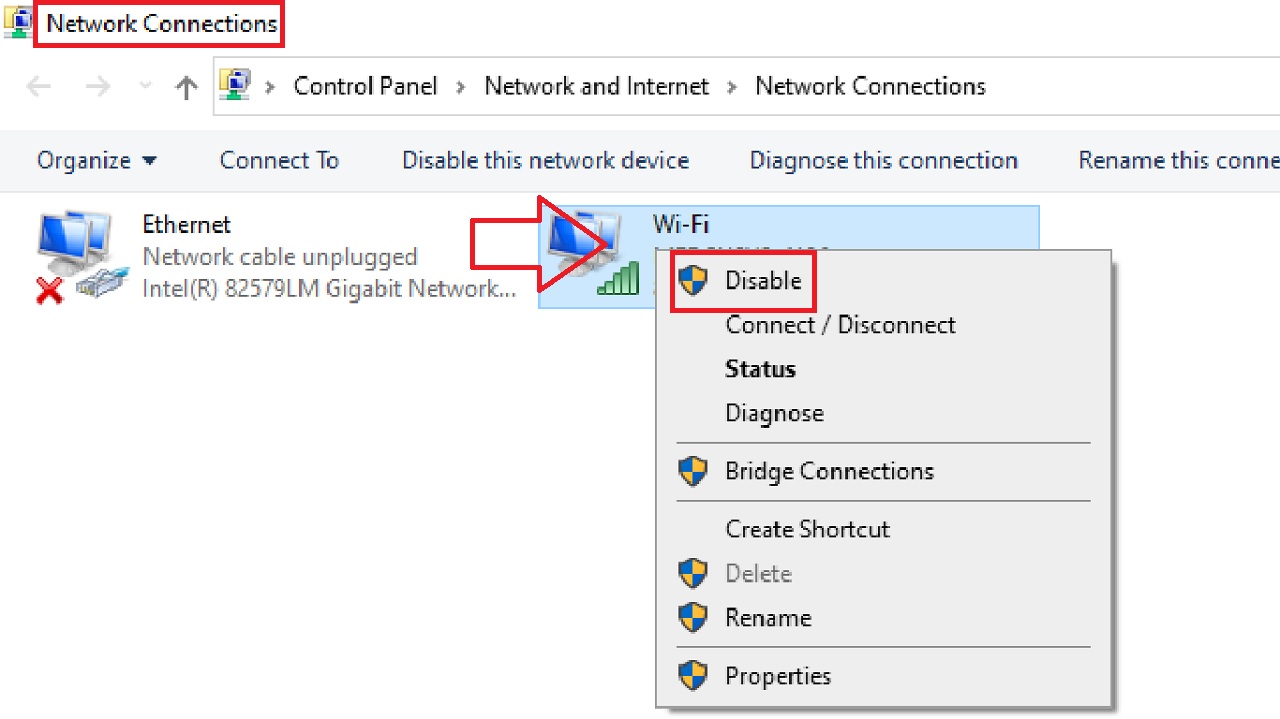
- Right-click on your Wi-Fi connection in the Network Connections window.
- Select Disable.
- Go to Internet Explorer.
- Type myrepeater.net in the address bar.
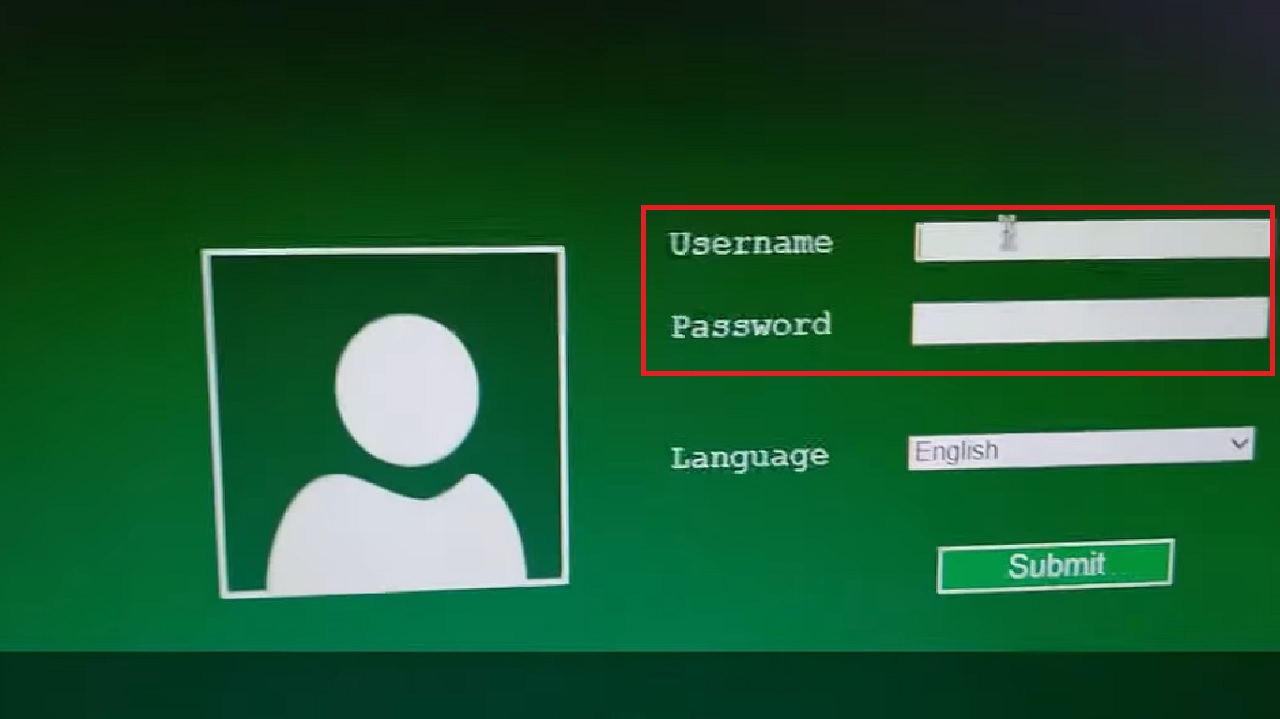
- Login using your Username and Password.
- Go to Basic settings.
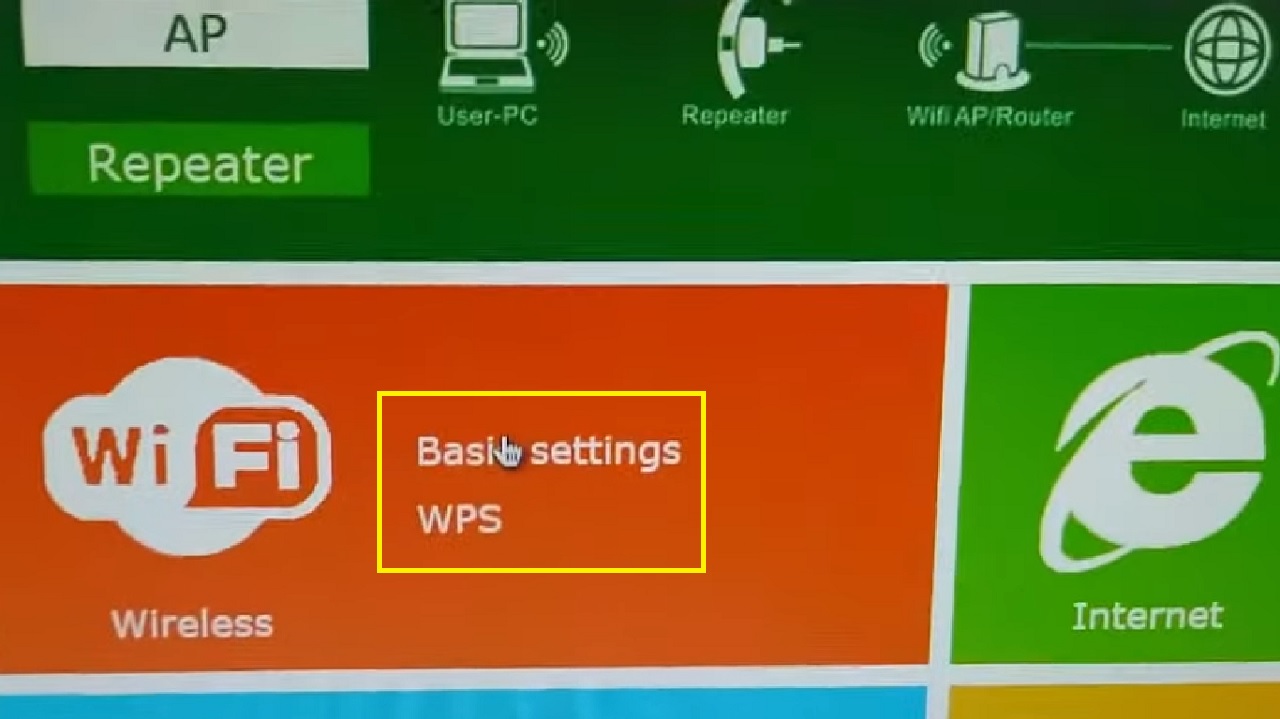
- Click on Disabled/Enable.
- Wait until the process is complete and then click on the Apply button.

- Your WiFi-Repeater will be Enabled.
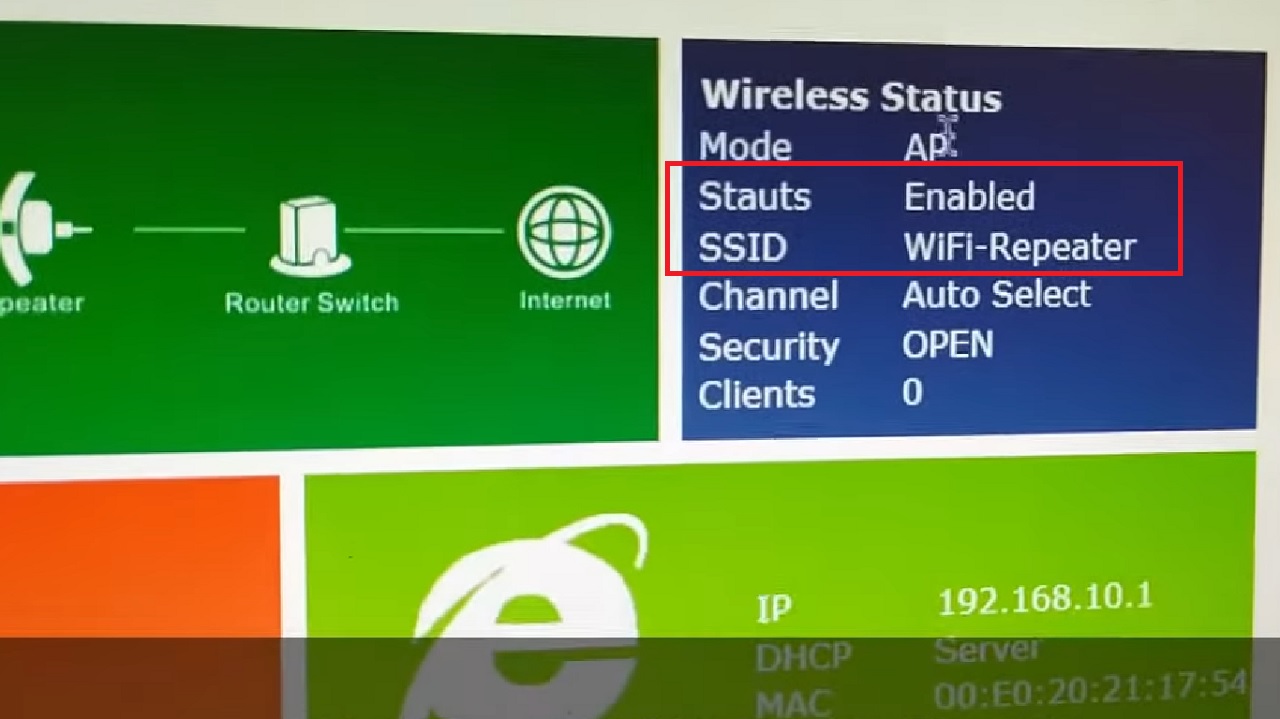
- Now, unplug the LAN cable.
- Enable the Wi-Fi connections from the Network Connections window.
It will be detected and working now.
Conclusion
In conclusion, fixing Wi-Fi repeater issues is vital for a reliable internet connection.
Effective solutions include relocating the repeater, performing a factory reset, adjusting frequency and channel settings, and updating firmware.
These straightforward fixes will restore normal operation and enhance your overall user experience.