
Fixing a broken router antenna is a straightforward process that can help restore functionality to your router.
This guide will provide you with the solutions and step-by-step instructions to address the issue.
In This Article
KEY TAKEAWAYS
- Replace the broken antenna with a compatible one following the instructions of the manufacturer.
- Repair minor damages in the antenna such as straightening bents and soldering disconnected parts or refixing them using adhesive.
- Check if the connection of the cable to the antenna and the router port is broken and solder it securely.
- Upgrade to a high-gain antenna if you still get poor signal coverage and strength after repair.
- Contact customer support if all your efforts fail for proper guidance.
What Happens If Router Antenna Breaks?
When a router antenna breaks, you’ll likely experience connection problems, frequent dropouts, dead zones, and a noticeable decline in signal quality leading to slower internet speeds.
Additionally, a broken router antenna can result in:
- Limited coverage area with weak or no signal
- Noise and interference disrupting device performance
- Increased vulnerability to security breaches and unauthorized access
- Higher stress on the router, potentially causing overheating and faster wear and tear
In summary, a broken router antenna diminishes user experiences and may lead to long-term router issues.
Ways to Fix a Broken Router Antenna
The easiest way to fix a broken router antenna is to replace it with a compatible one.
Alternatively, you can:
- Check and secure cable connections
- Upgrade to a high-gain antenna
- Contact customer support for further guidance or a replacement
- Repair minor damage by straightening, reattaching, or soldering
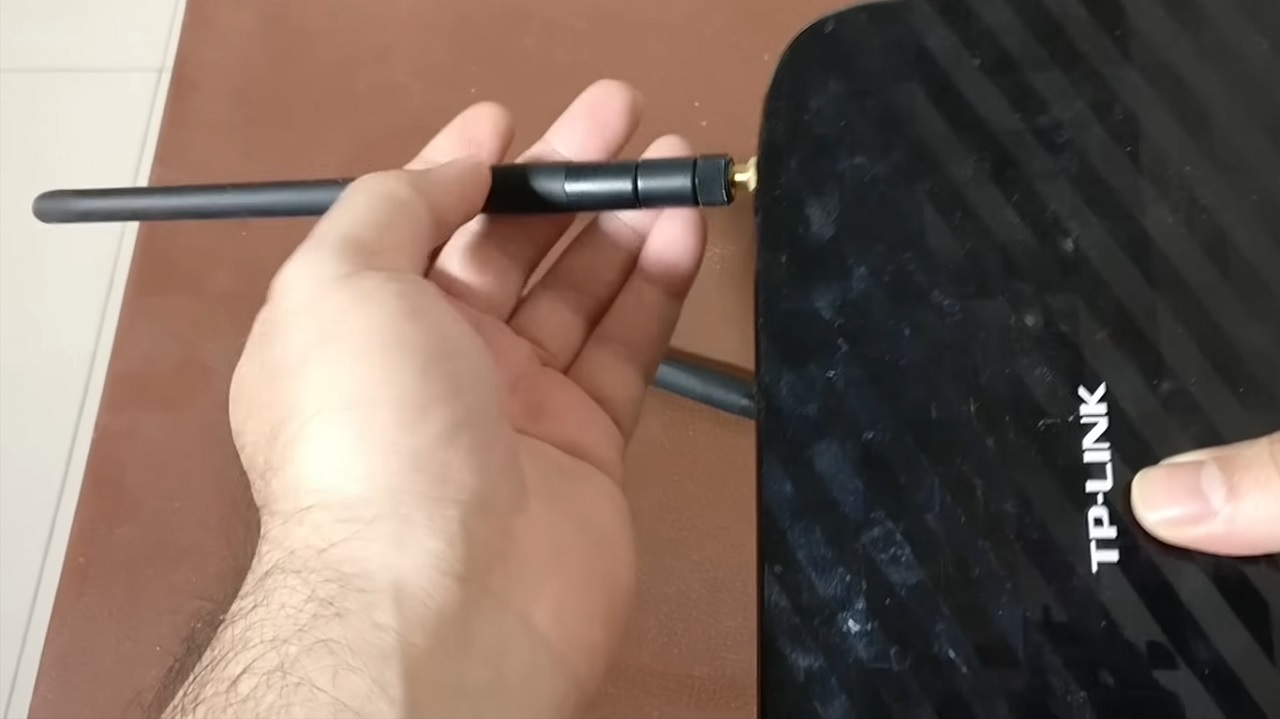
Method 1: Replace the Broken Antenna with a Compatible Antenna
If your antenna is simply broken and can be unscrewed, replacing the broken antenna with a compatible antenna will easily allow you to restore the normal functionality of the router.
STEPS TO FOLLOW:
- Identify the type of your router antenna, omnidirectional or dipole, by referring to your router user manual.
- Buy a similar replacement antenna that matches the specs and type of the broken original antenna.
- Turn the Router off and disconnect it from the power source for your safety.
- Unscrew the broken antenna carefully to remove it. Depending on the model type, it can also be removed by detaching it from the antenna port in the router.
- Gently screw the new antenna or attach it to the router’s antenna port.
Note: Secure the antenna but do not overtighten it.
Method 2: Repair Bent Elements
If you have the proper tools, you can make some minor repairs to the broken antenna, such as fixing the broken wires or the bent external elements.
STEPS TO FOLLOW:
- Remove the rubber caps on the screws, if any.
- Remove the screws from the router.
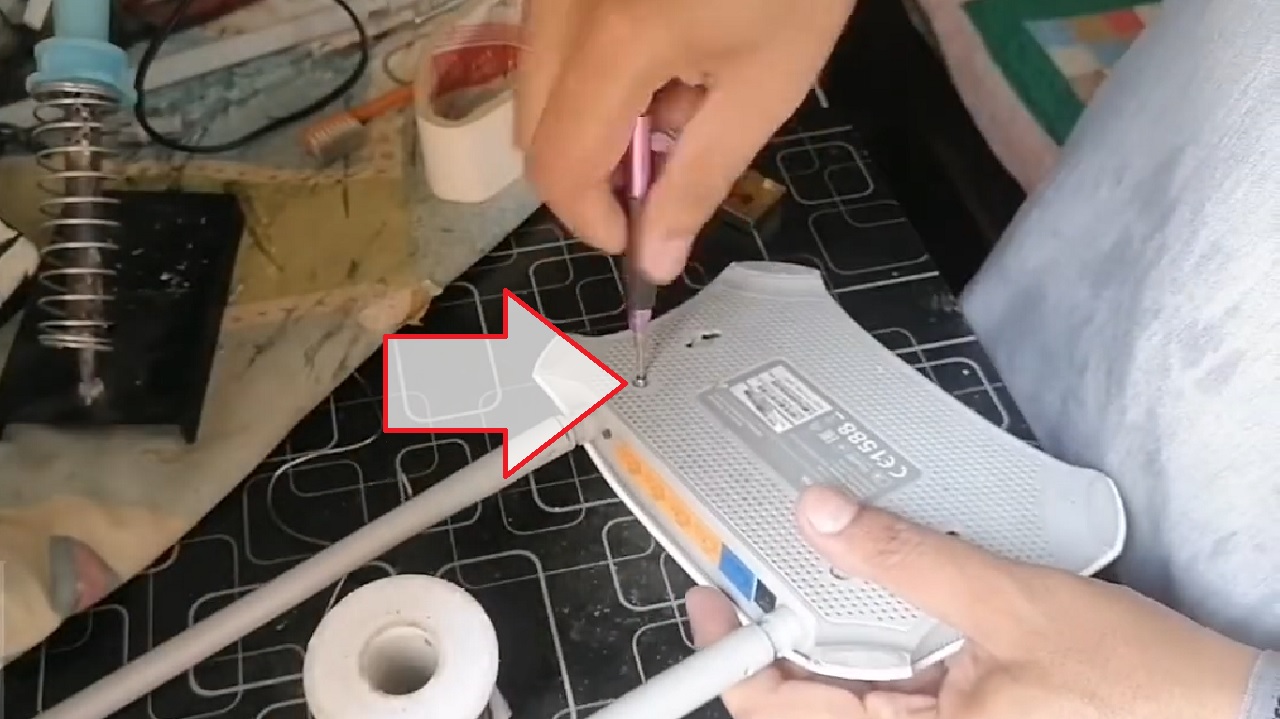
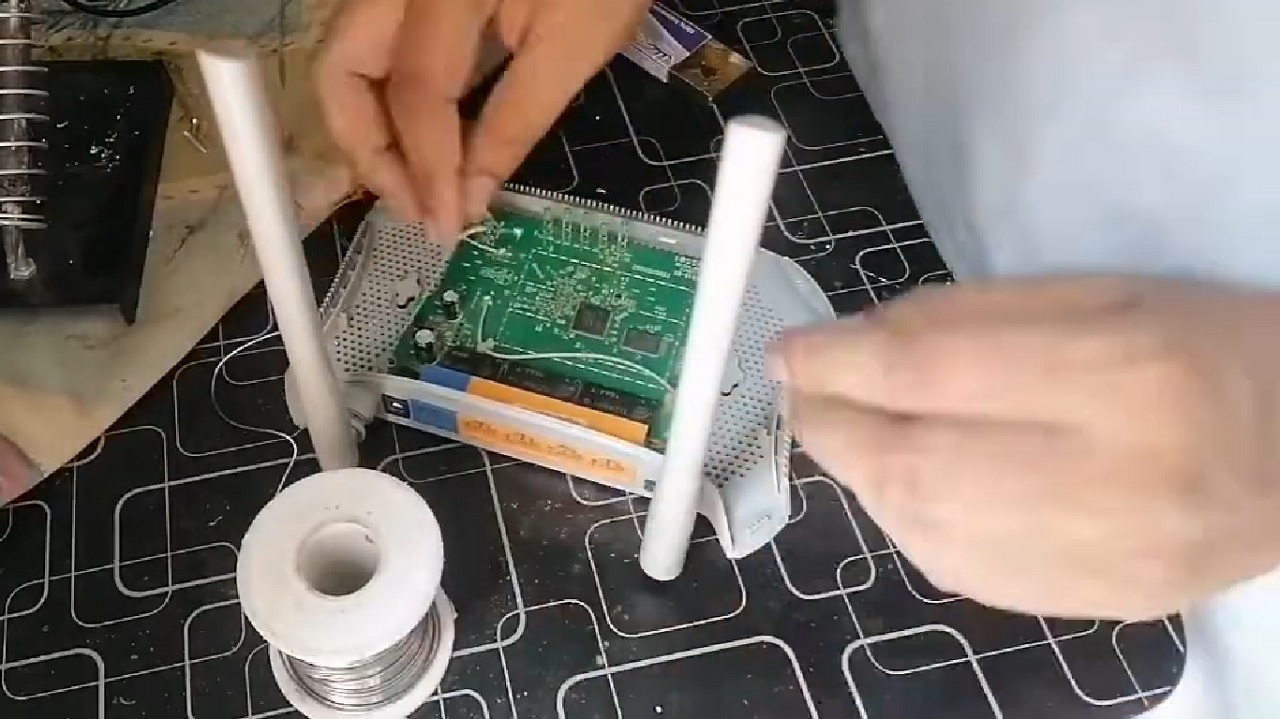
- Open the enclosure carefully.
- Remove and clean the Printed Circuit Board.
- Inspect the damage for loose parts.
- Solder the loose connections or broken wires.
- Reattach the parts of the antenna that have come loose back into place by using adhesive.
- If any bent antenna elements are bent, straighten or fix them carefully using pliers.
- Replace the PCB properly.
- Replace the enclosure and refix the screws and rubber caps on them.
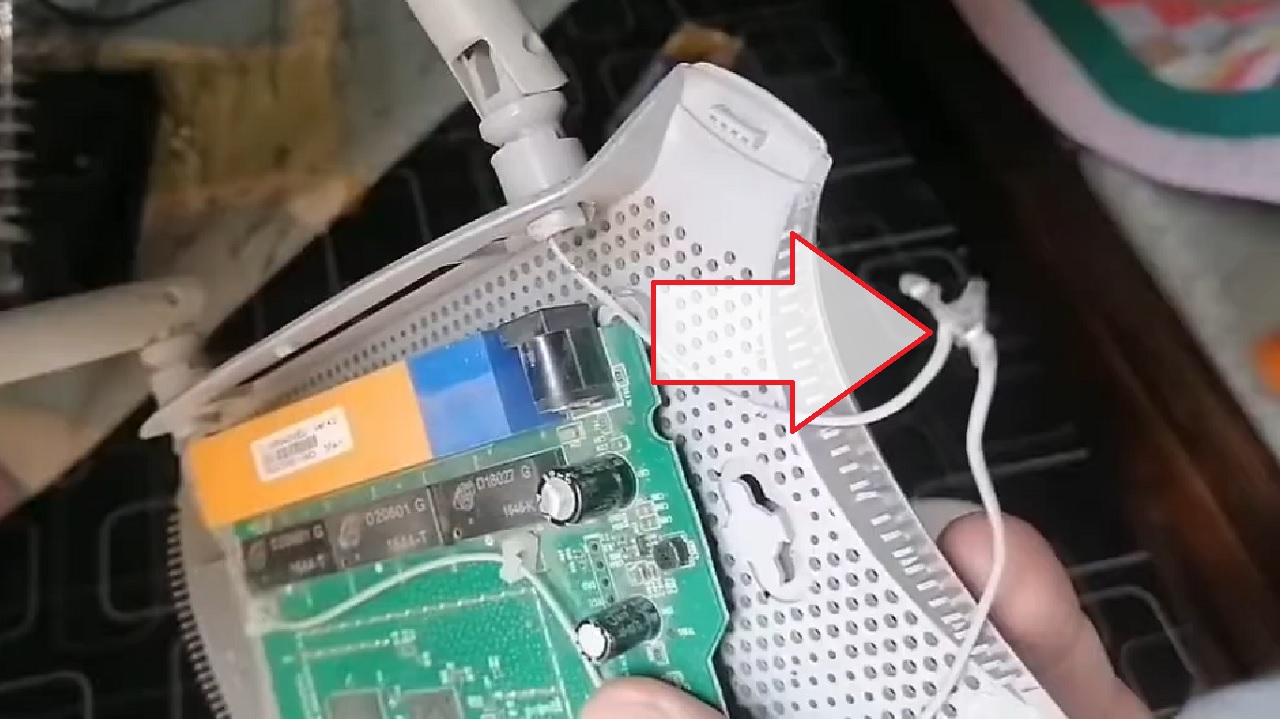
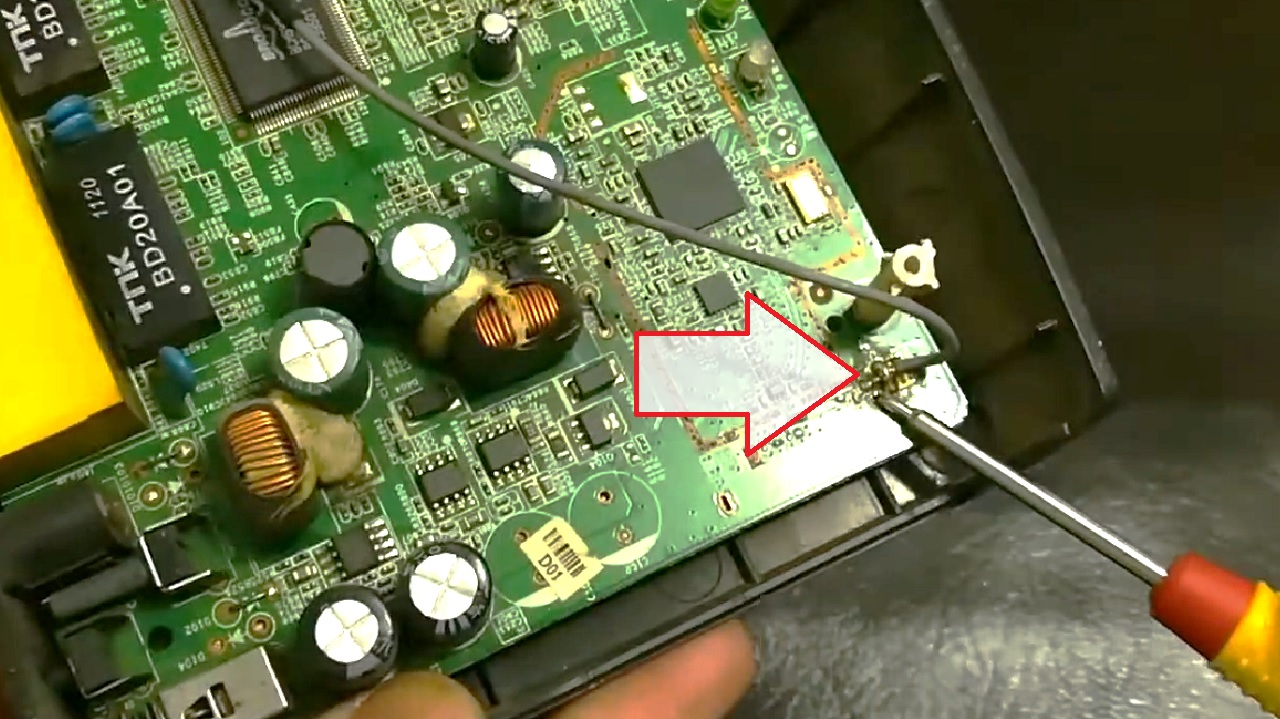
Method 3: Inspect and Secure Cable Connections
There may be some loose cable connections causing performance issues. Check the wires and solder them.
STEPS TO FOLLOW:
- Turn the router off and open the enclosure as before.
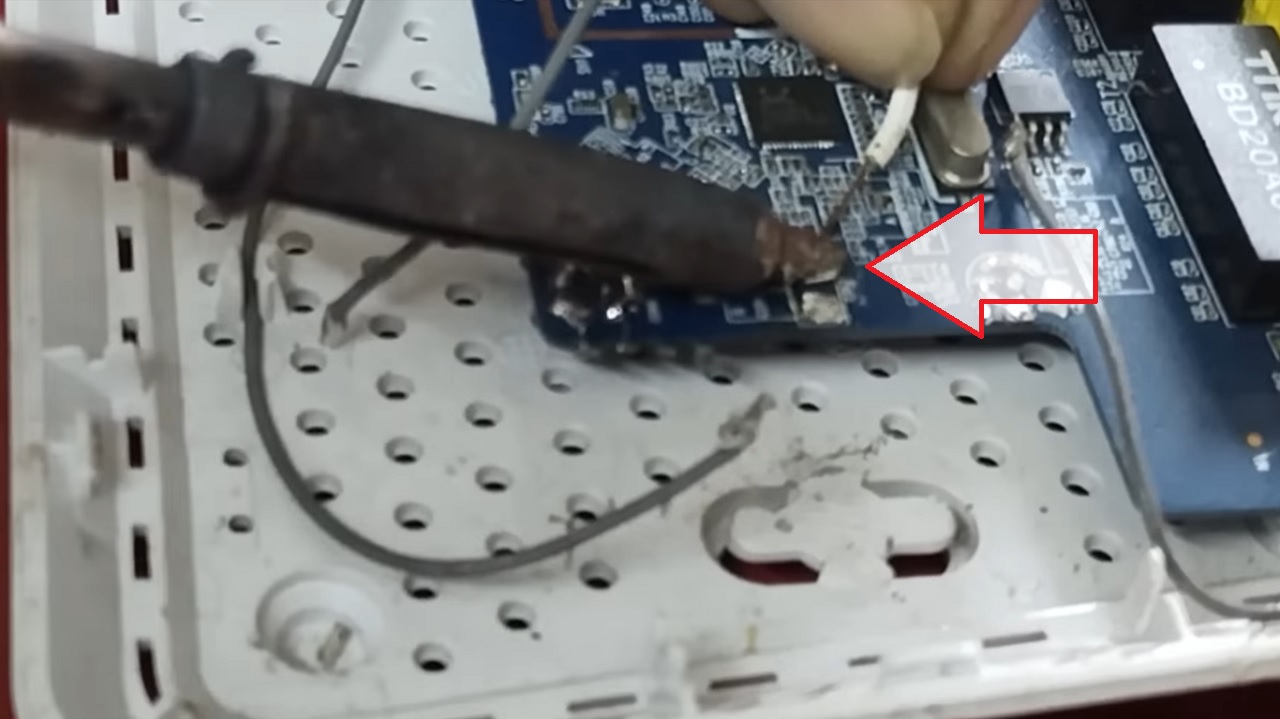
- Check the cable connections of the antenna to the router’s PCB.
- Use a soldering iron to remove them and then securely reaffix them on the PCB.
Replace the enclosure, fix the screws, and check the router.
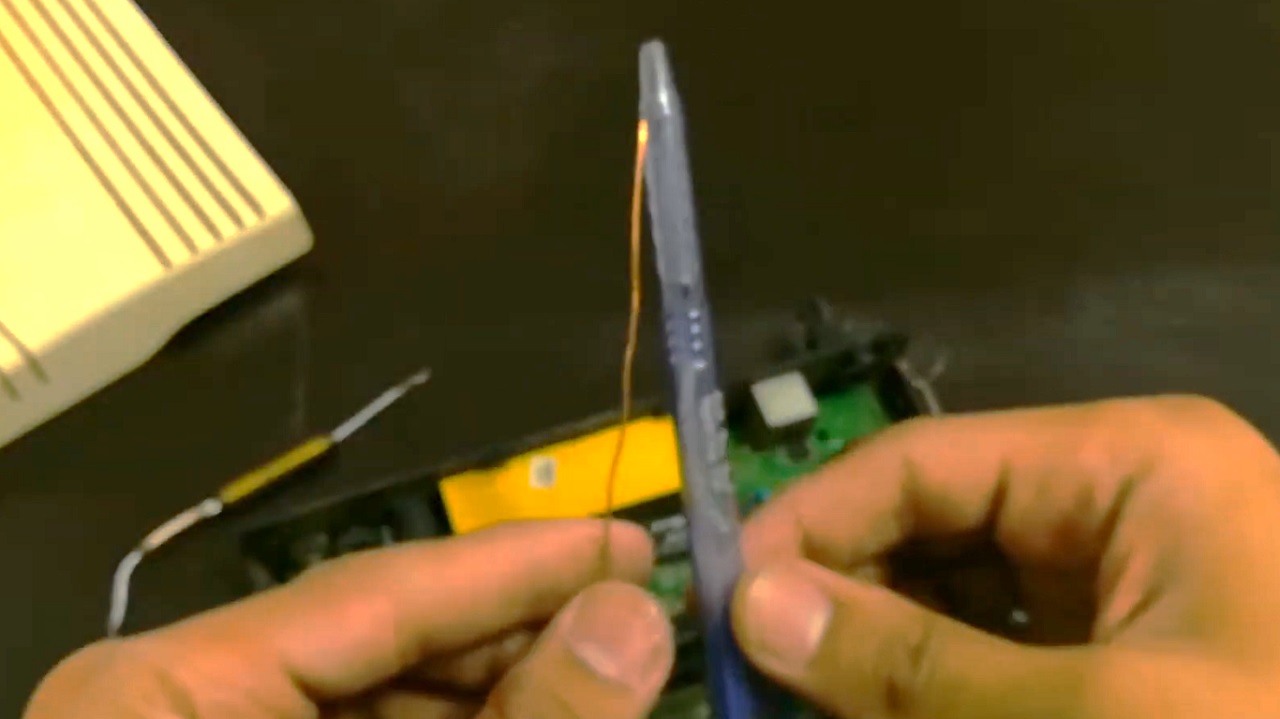
Method 4: Check the Internal Part of the Antenna
Check the internal part of the antenna. It can be broken or bent and affect the performance of the router.
STEPS TO FOLLOW:
- Unscrew the antennas.
- Open the internal part of the antenna from its joint.
- Straighten the wires, if they are bent.
- Replace the part inside the antenna enclosure.
- Refix the antennas.
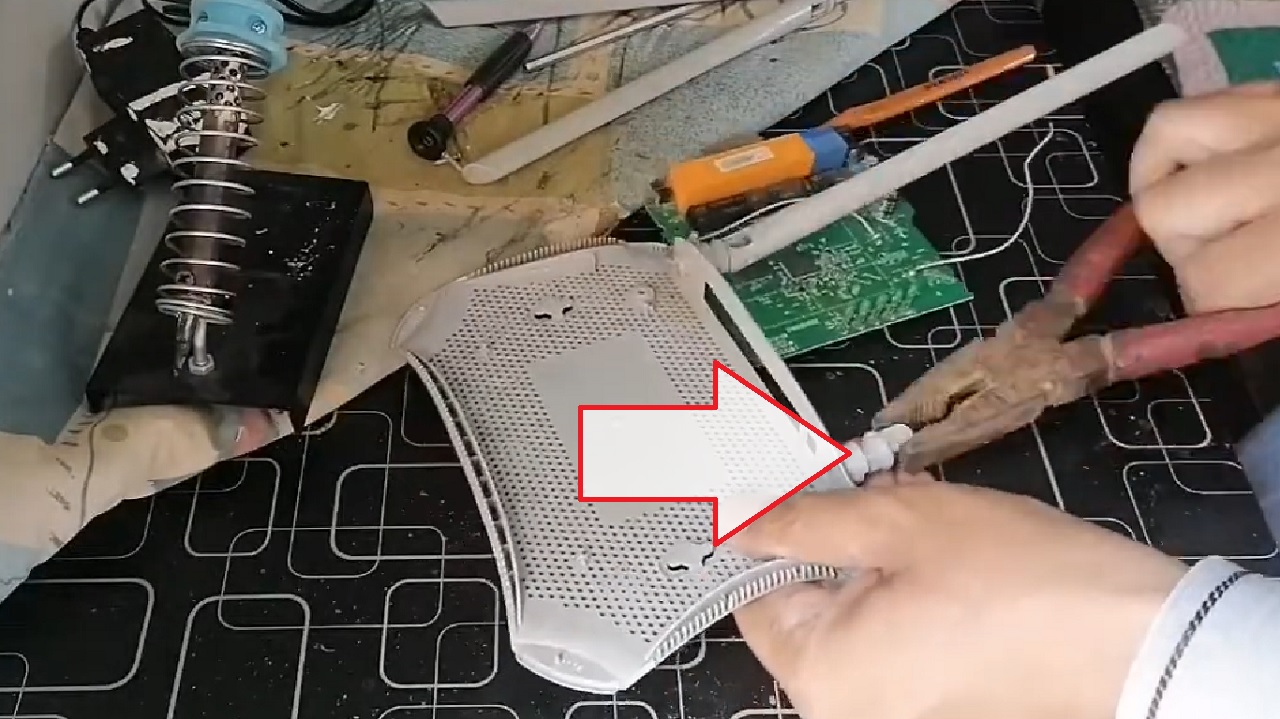
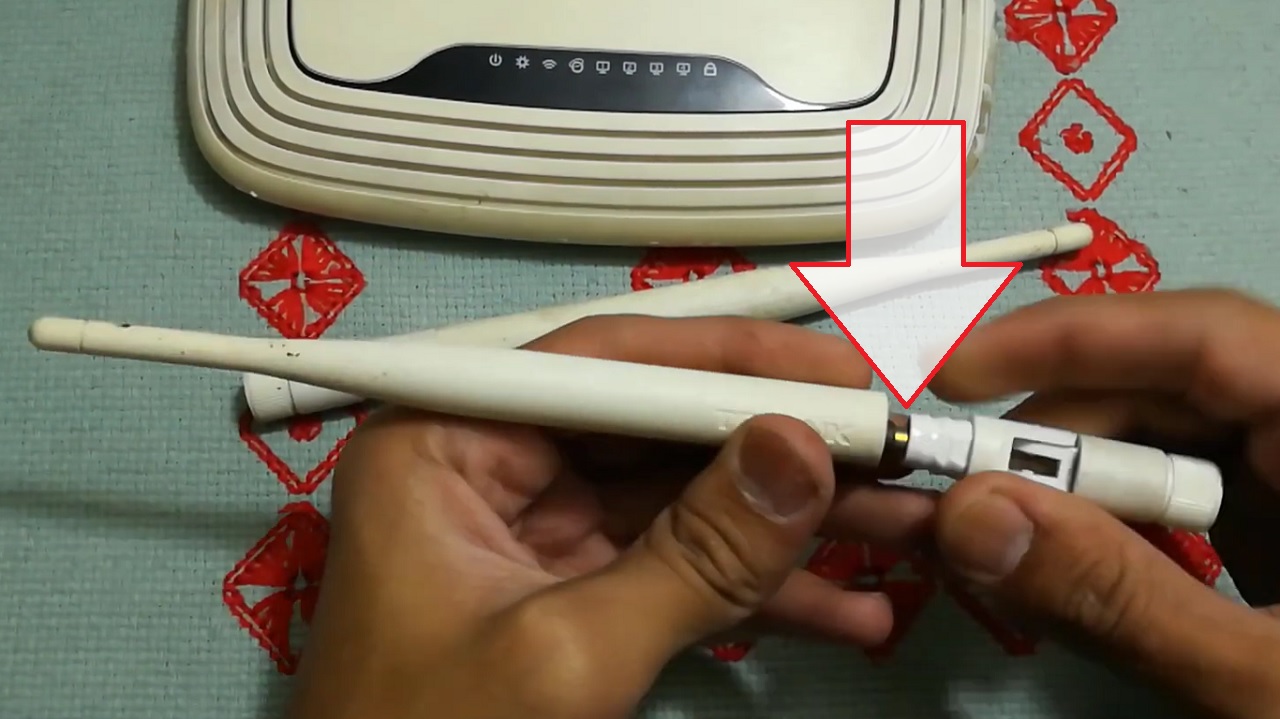
Method 5: Replace the Broken Antenna Enclosure
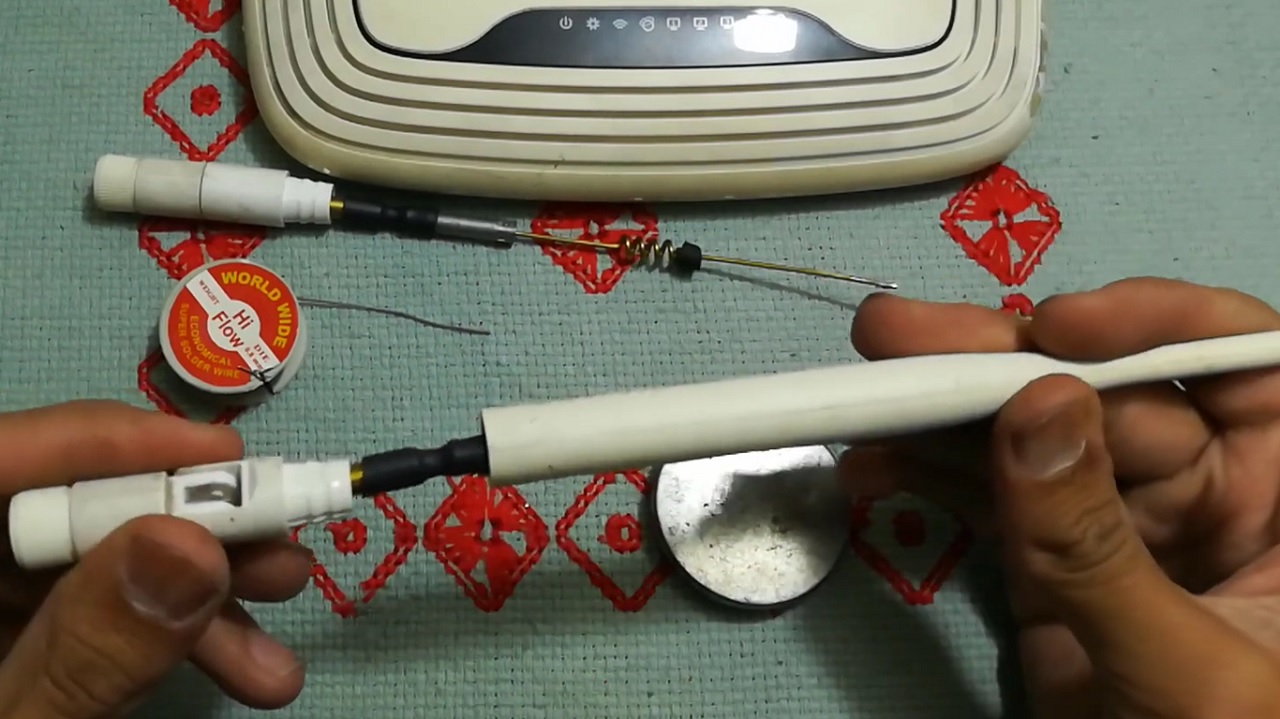
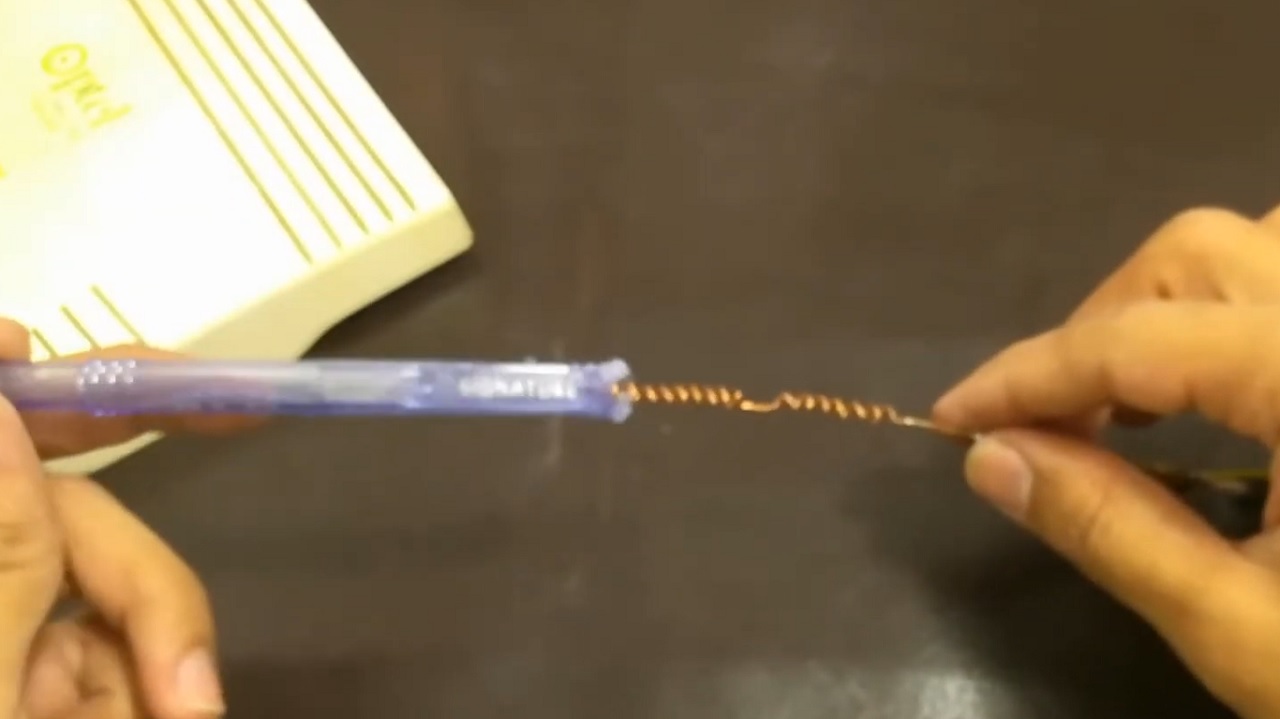
Assuming that a portion of the internal part of the antenna is okay and the enclosure is broken and irreparable, you can fix it quickly with this impromptu solution using the case of a ballpoint pen!
STEPS TO FOLLOW:
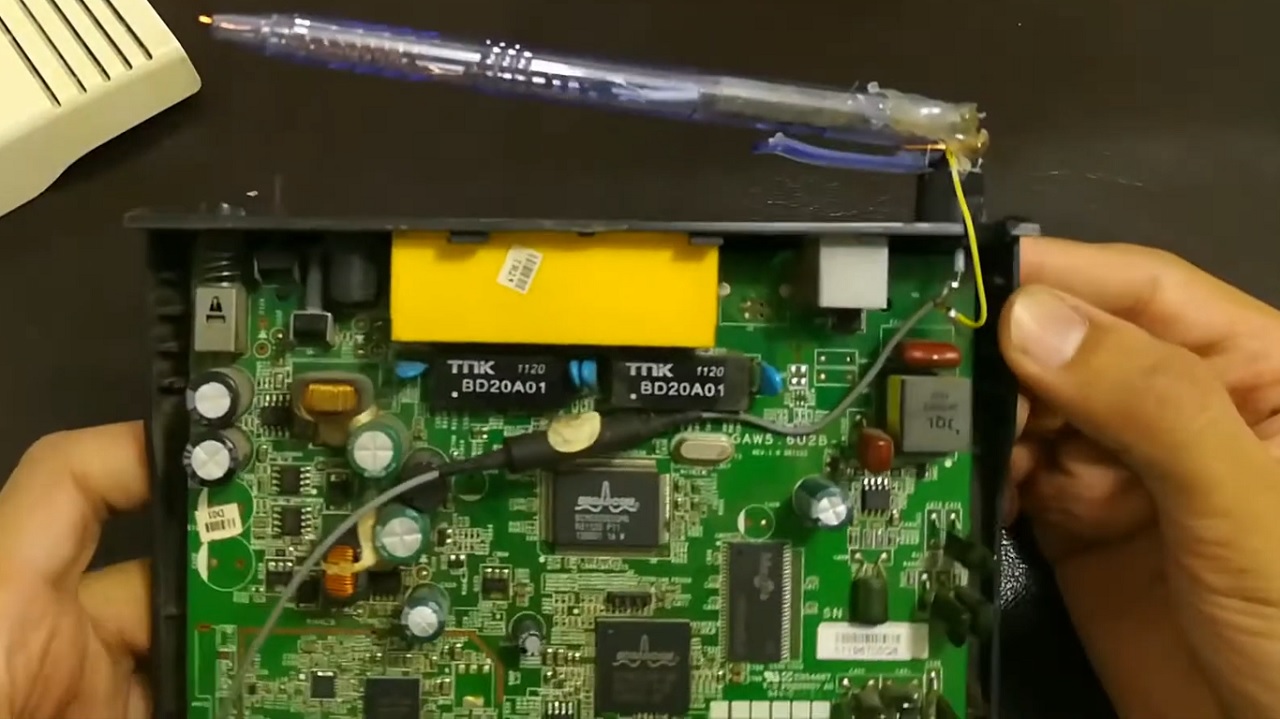
- Open the router.
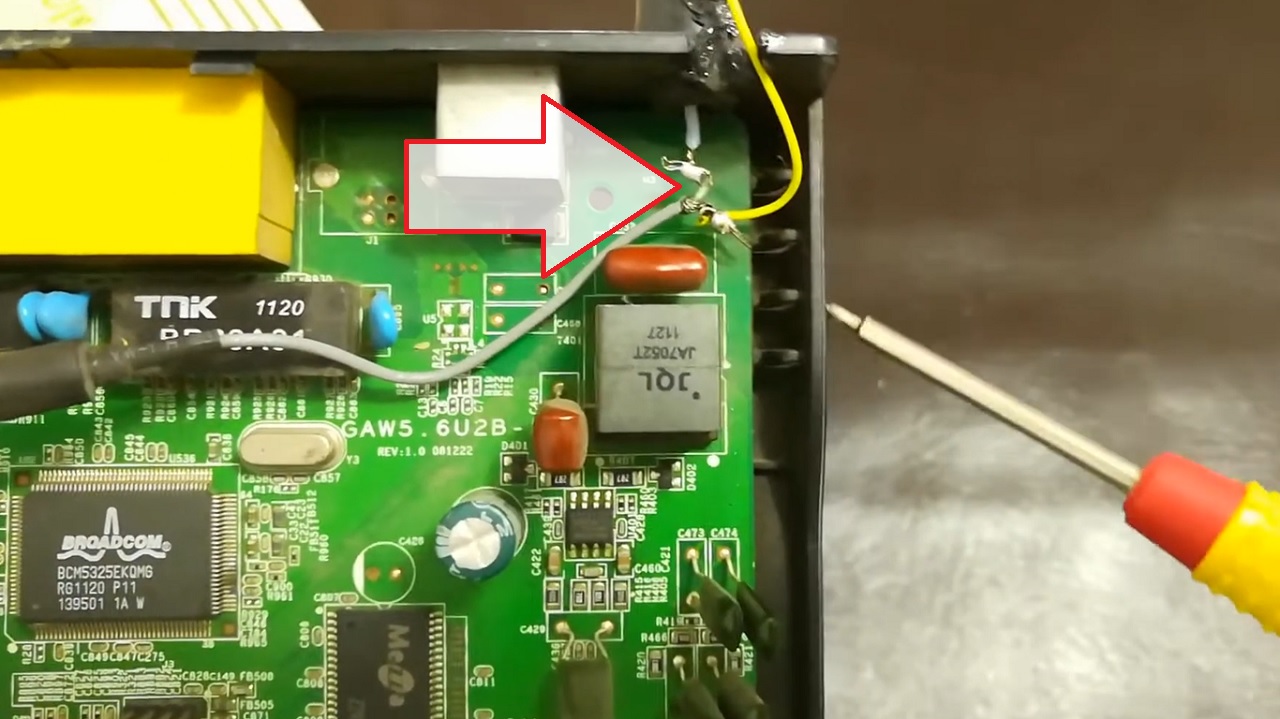
- Check the connection of the antenna wire on the PCB.
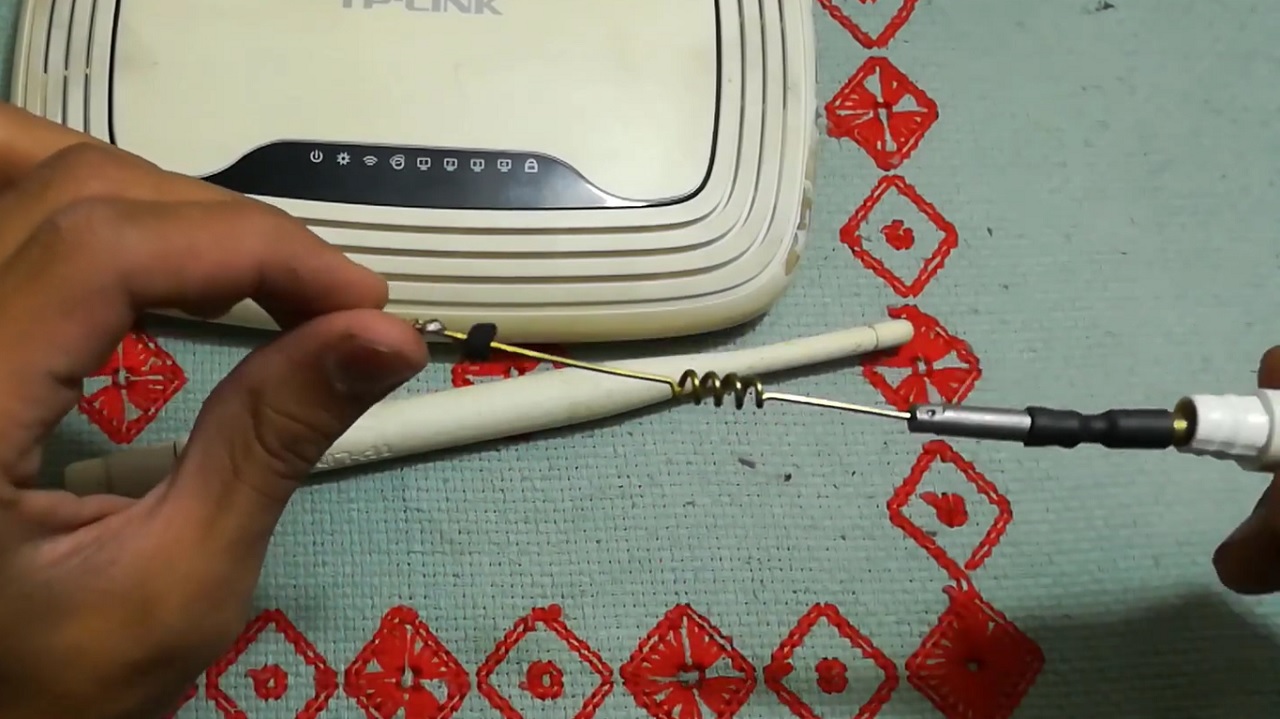
- Take a copper wire of considerable length measuring it with the pen case.
- Twist it like a spring.
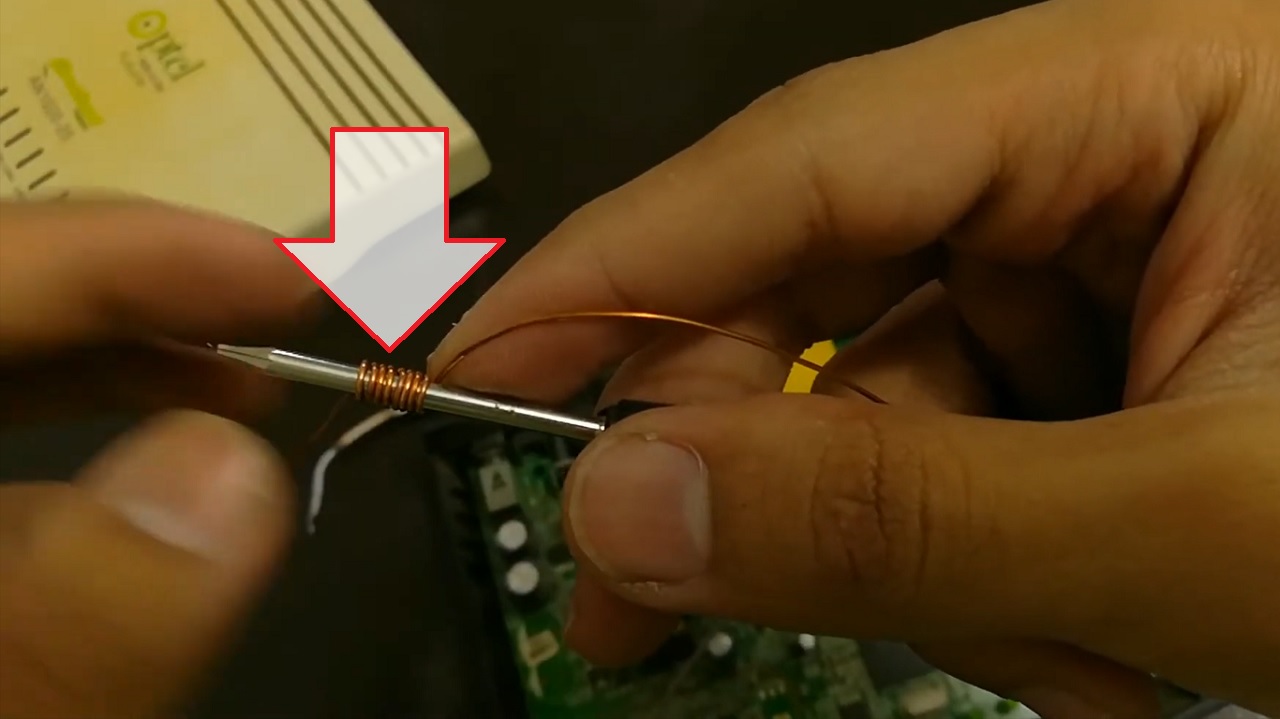
- Attach it with one end of the internal part of the antenna by soldering them together.
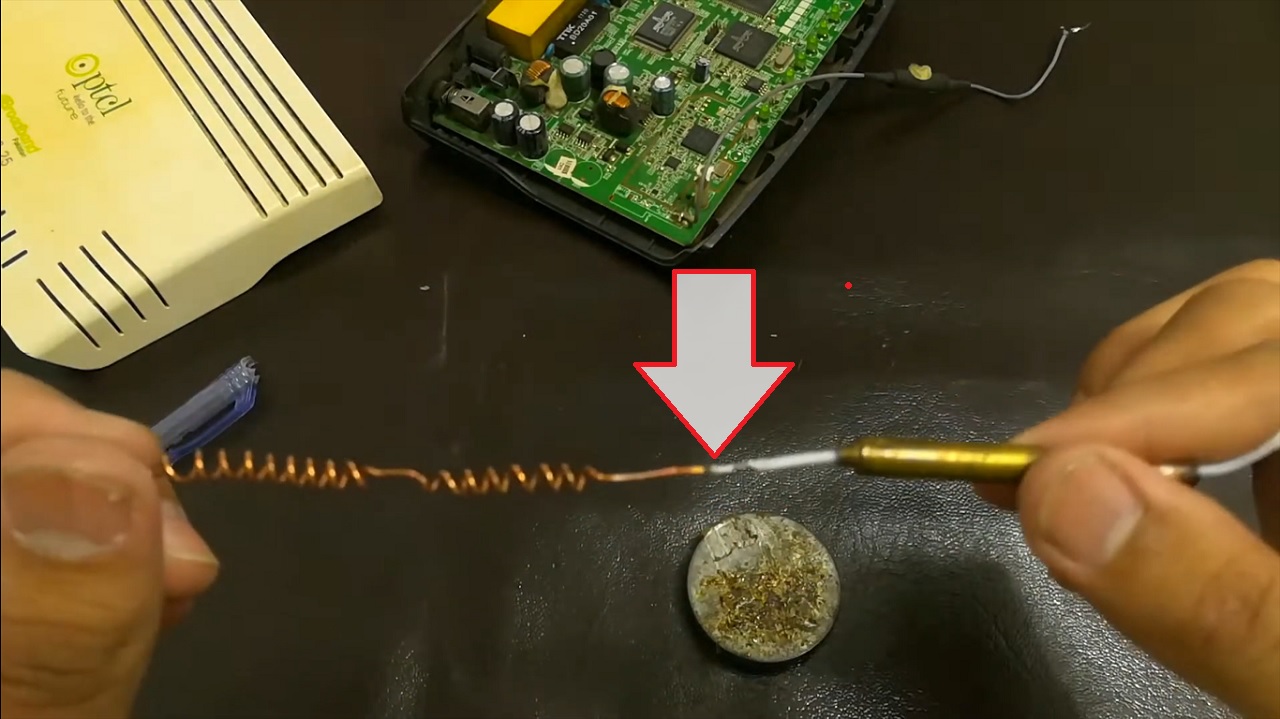
- Insert the internal wire (white) through the antenna slot.
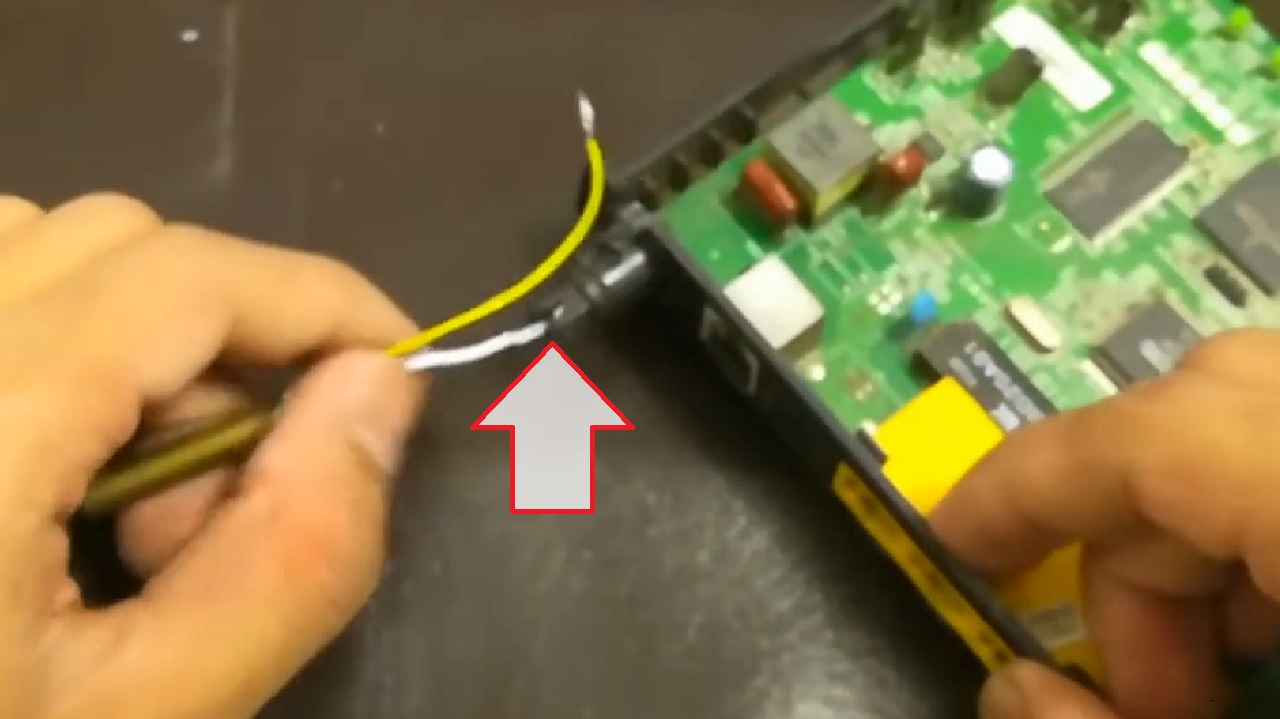
- Connect the two wires with the correct ends of the connector on the PCB very carefully.
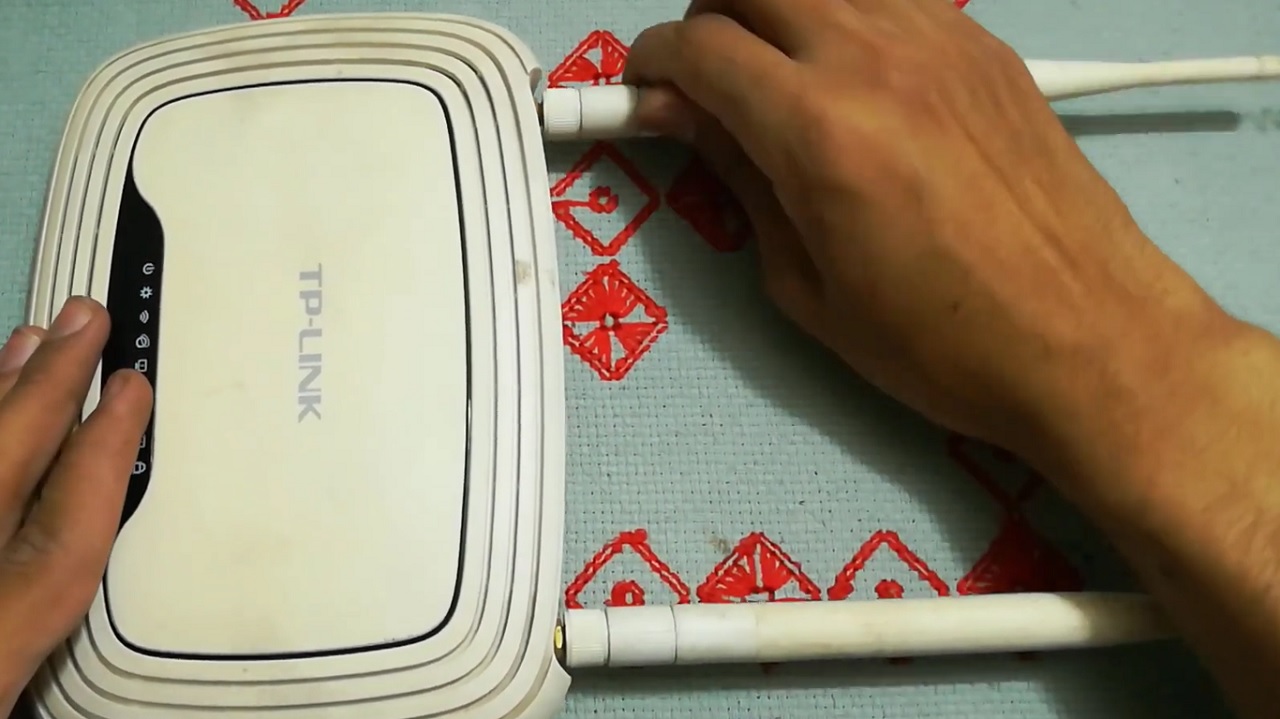
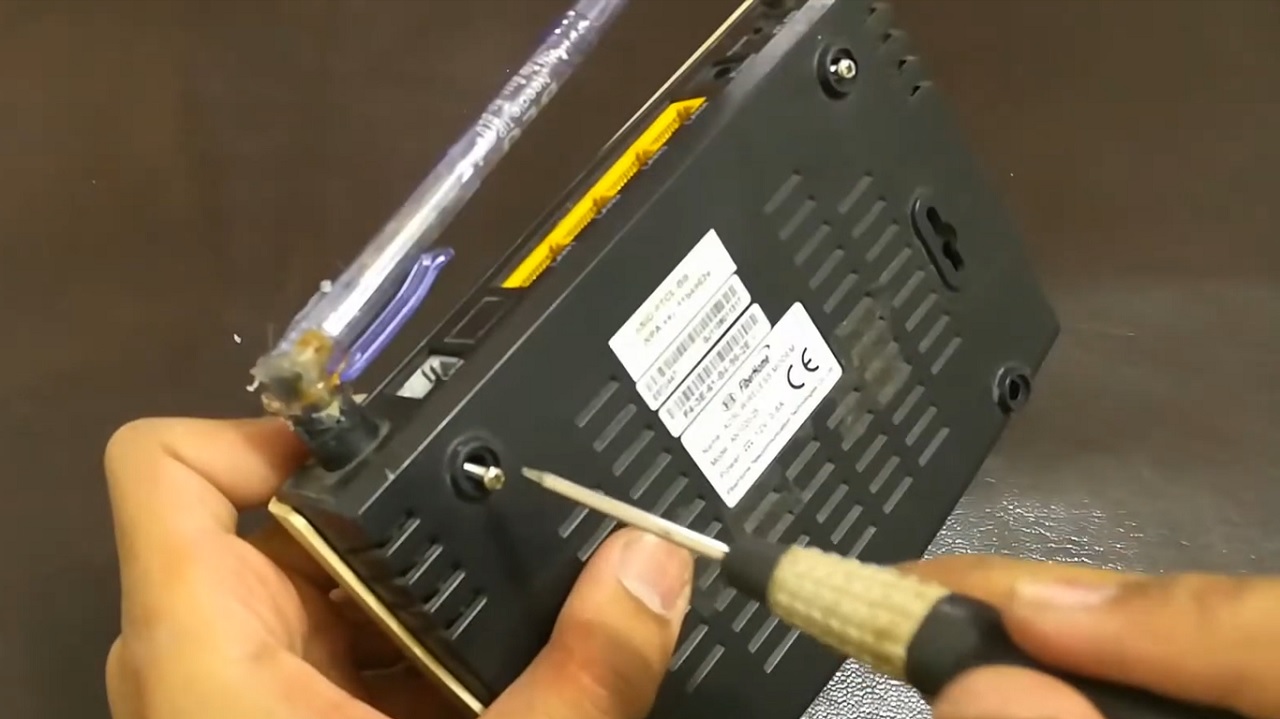
- Insert the antenna inside the pen case and fix it properly.
- Your antenna is fixed.
- Now, replace the cover and fix the screws.
Conclusion
To wrap up, fixing a broken router antenna is essential for a reliable internet connection.
This guide offers solutions through replacement, repair, or upgrading, with a reminder to secure cable connections and seek customer support if necessary.