
A computer monitor that is not recognized or displays anything will annul the advantage of using a PC, and this can be quite a frustrating situation, which is not supposed to happen.
This issue is, however, not complex or fatal and often happens when the system is updated, often erroneously, as well as when issues exist in the drivers.
Luckily, this is quite a common error and is easily fixable, as you will find out as you read on.
KEY TAKEAWAYS
- Checking for loose connections in the PC as well as the monitor along with the cable for any damages and fixing or replacing them may fix the issue.
- Configuring the BIOS settings will make the display recognizable by the PC most of the time.
- Updating the display driver adapter will also resolve the issue, as will checking the voltage selector switch.
- Checking and maintaining the display temperature tolerance limit is a good way to resolve the problem.
- Checking and repairing corrupted system files may also help in resolving the issue.
In This Article
What Causes a PC Not to Show a Display?
A PC that is updated recently and improperly may not detect the display, the second one or the only one. Also, a faulty display adapter driver may prevent the system from displaying any images.
Some other reasons for this specific issue to happen are:
- The cables connecting the display to the PC can be either damaged or connected loosely.
- The monitor may be faulty.
- The configuration, frequency or input source of the display can be incorrect.
- There may be issues with the Random Access Memory or RAM installed in the PC.
- The voltage selector switch may not be able to regulate the input and internal circuit voltages. Set it right.
- A damaged CMOS battery may remove all boot settings and result in such an issue.
- Overheating may cause the temperature threshold of the display to exceed. So, keep it cool.
- The Graphics Processing Unit or GPU may be problematic or faulty.
- The Basic Input Output System may be configured incorrectly.
- The power supply may not be proper.
- The Central Processing Unit or CPU may be damaged.
- There may be corrupted system files.
- The power supply to the graphics unit may be inadequate.
How to Fix PC Not Showing Display?
If your computer does not show the display, first stop panicking and look for the possible reasons first from the list above. Changing the cables, and checking the monitor’s power and ports, and trying it on another PC are some simple and quick fixes.
Then, you may do a lot of other things, such as force restart or reinstall the RAM and even reset the BIOS to default settings, just to name a few, to resolve the issue.
In short, when any Windows computer does not show the display, do not go for the apparent solution of replacing the monitor. Instead, try these simple solutions.
Method 1: Check the Monitor
Right from the power supply from the mains to the input source, there are lots of factors that may create issues in the monitor and hinder its normal functioning.
So, starting with checking the monitor will help you to deduce whether it is good or is the main problem.
STEPS TO FIX:
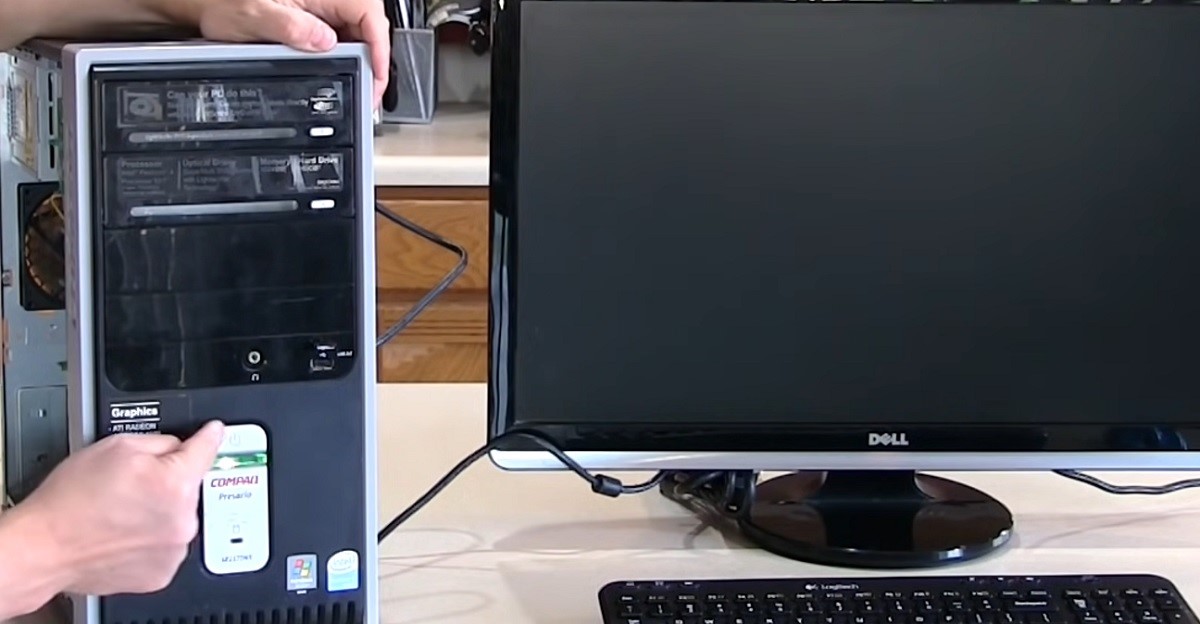
- Check whether the monitor is on by checking the small LED light on it.
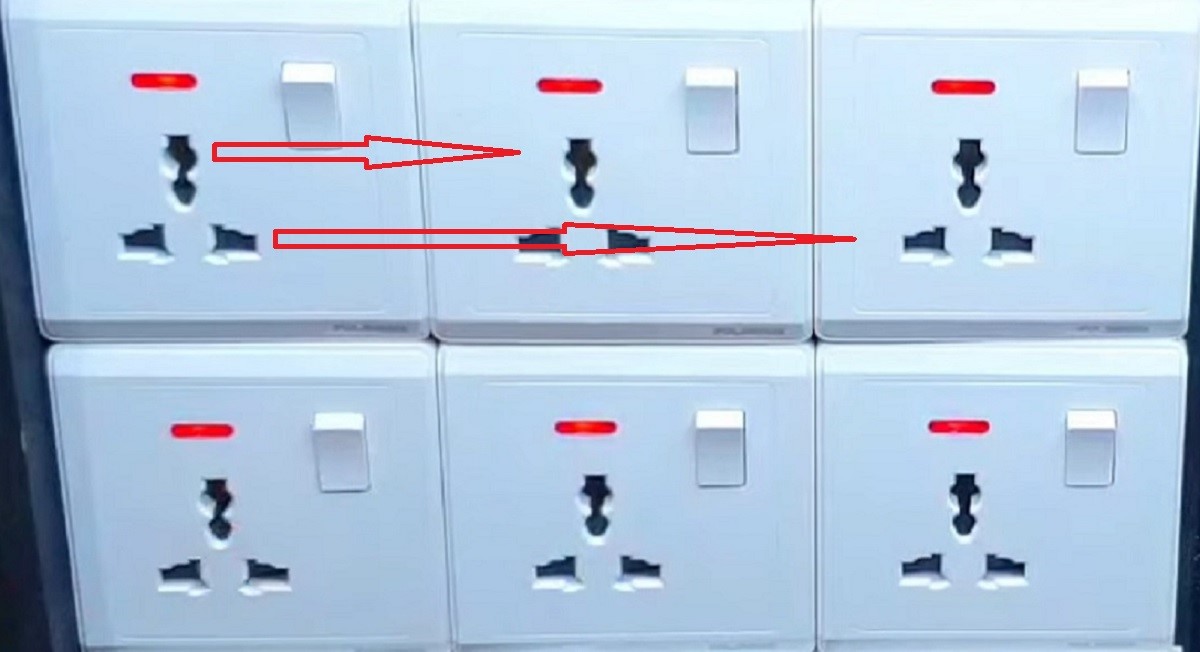
- Check the main power source. If the socket is loose, try a different one.
- Check whether it is set to the right input source using the monitor menu button.
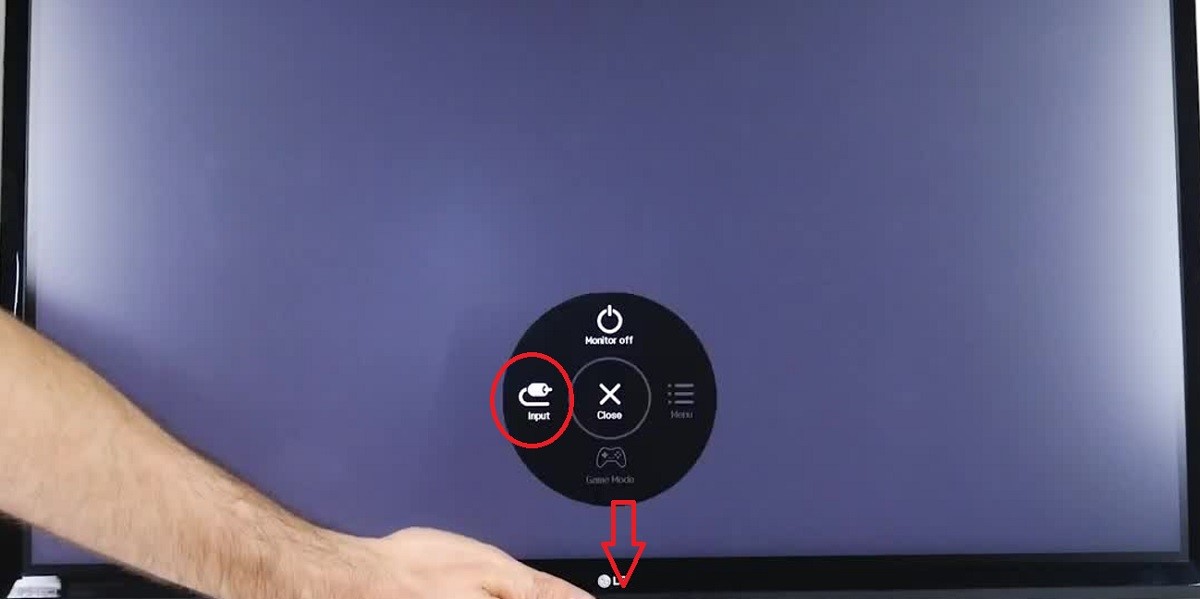
If the monitor is not connected to the right input source, change it to solve the problem.
If that does not work, connect the monitor to any other PC or gaming console in your home. If you get any on-screen display, then the monitor is all good. There are other issues to resolve, as mentioned later.
If it does not, try using a different monitor altogether. If it works now, then the monitor is the problem, asking for its replacement. This also proves that the PC port is good.
Method 2: Check the Cables and Adapters
If it is confirmed that the monitor is all good, then there may be issues with the cables and adapters attached to it that may prevent it from getting the right amount of power supply.
So, check them physically for damages, bent pins, and whether they are coupled firmly at both ends, that is, to the monitor and the PC.
STEPS TO FIX:
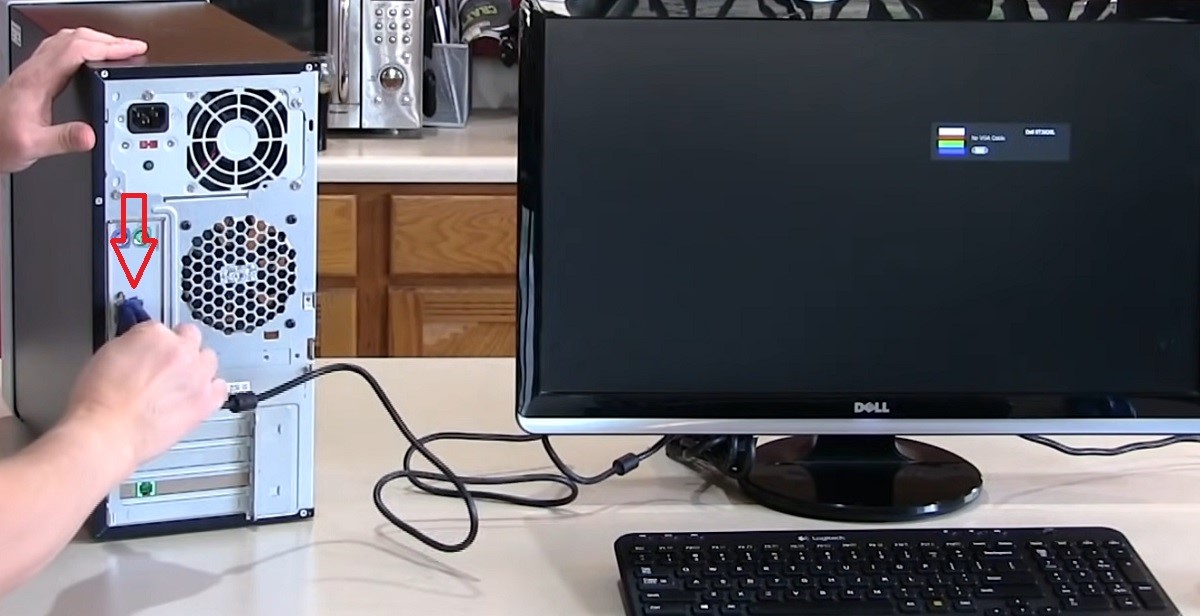
Pull gently the cable wire to check whether or not it is loose. It is better to detach it and then reattach the connector to be on the safe side.
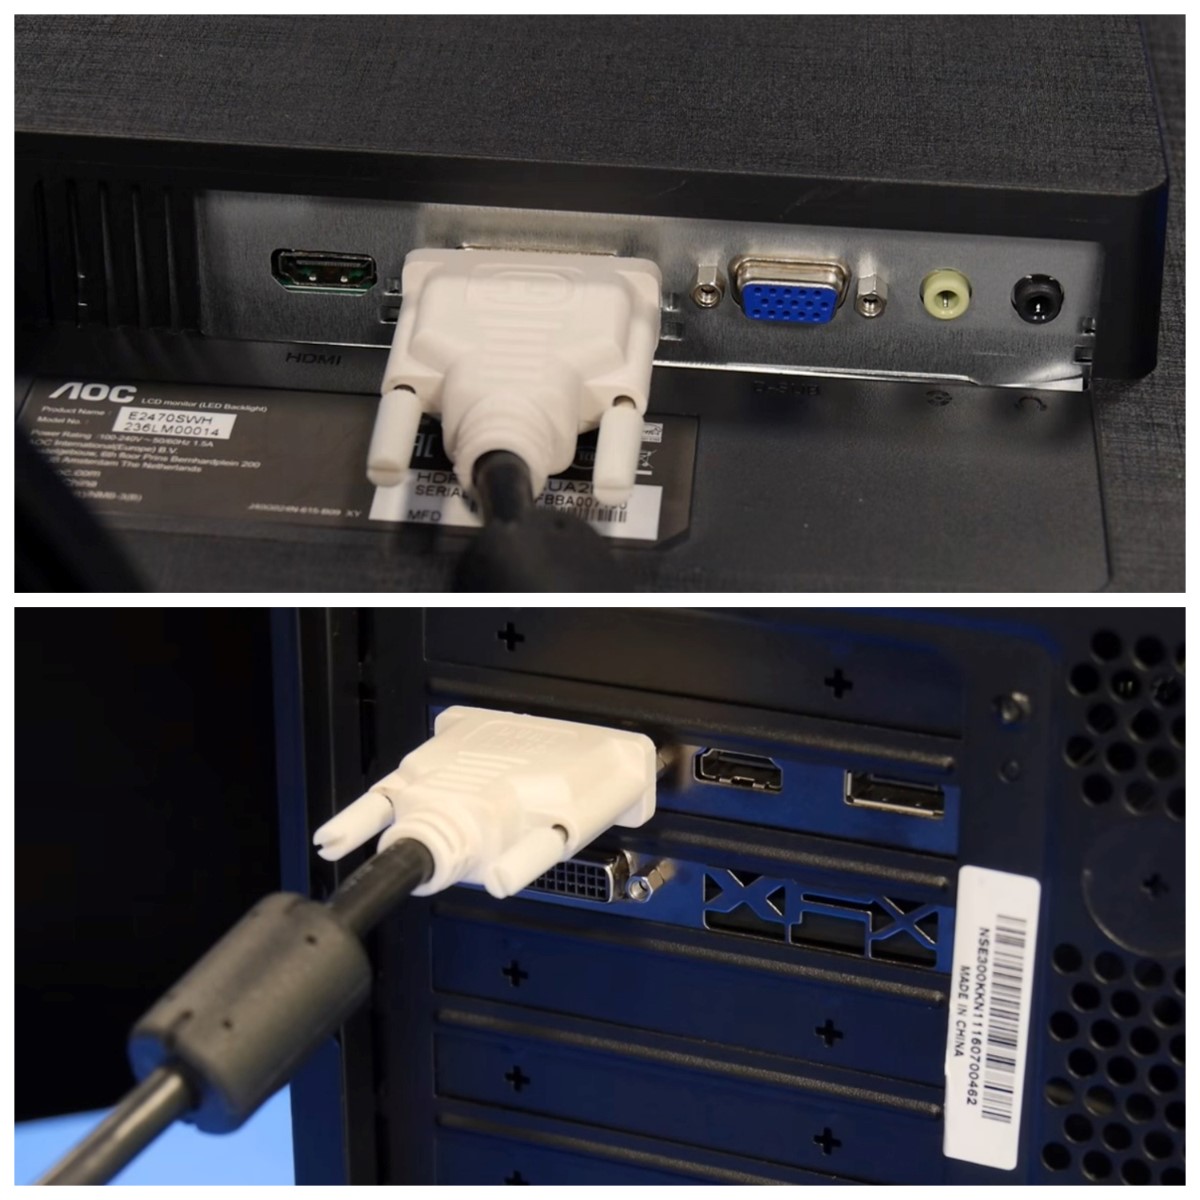
Also check whether the cable is broken or damaged, or whether there are any bent pins or cut wires.
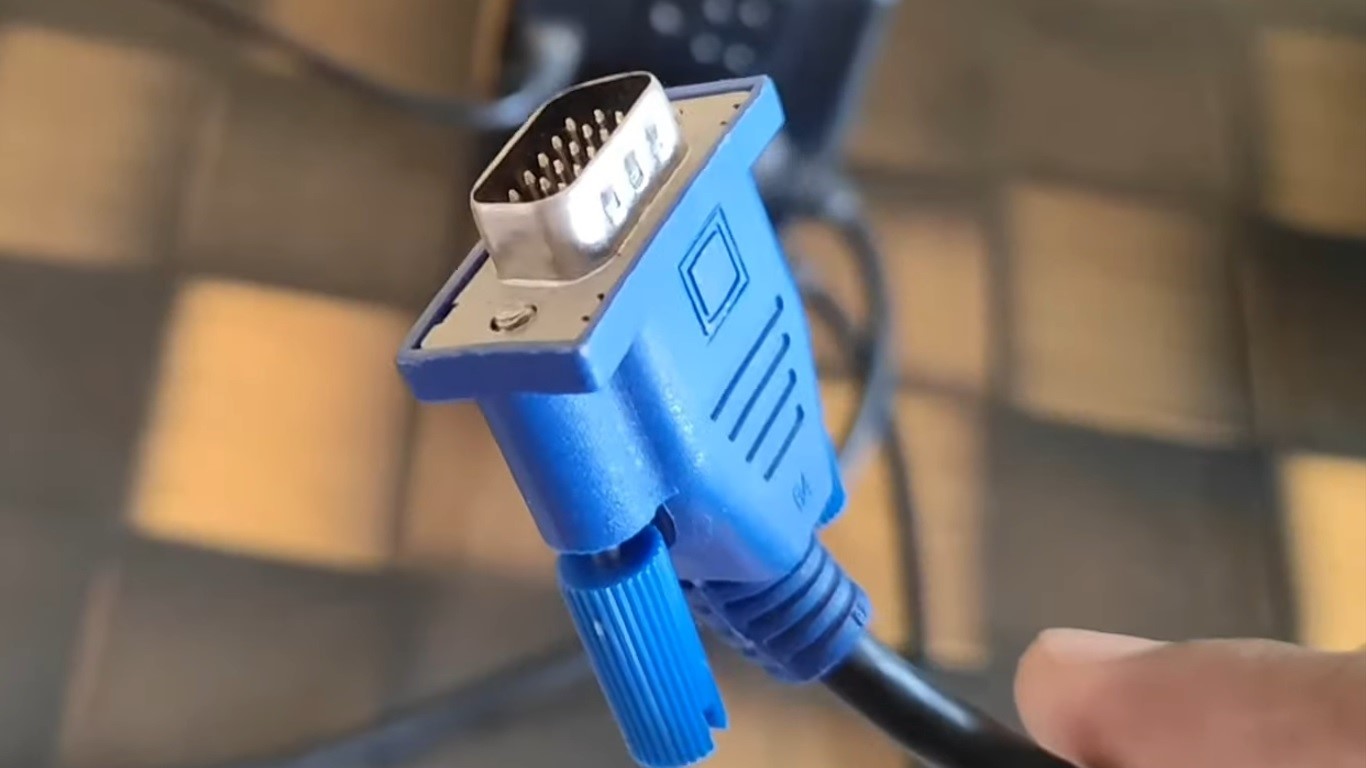
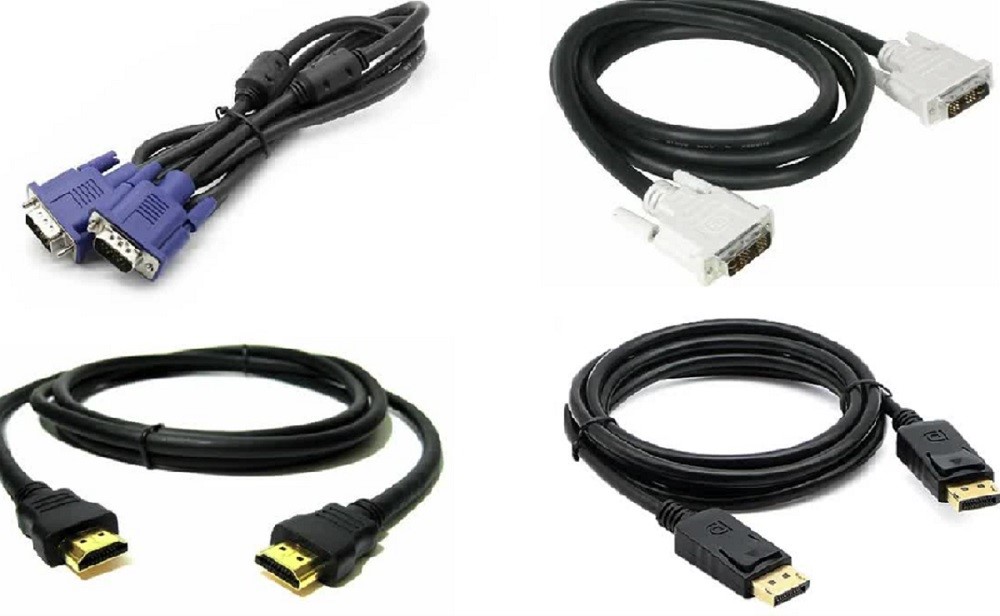
If it still does not work, try using another monitor cable type that is supported by the PC and the monitor, making sure that the input source is correct.
Also, check the physical adapter for any damages or loose connections.
Method 3: Choosing the Right Ports
If your monitor and cable are fine but the PC is still showing no display, then maybe it is not connected to the right port. To find it out for sure, focus on the ports.
Now, there can be two scenarios here, and the steps would vary accordingly as follows.
STEPS TO FIX:
- If your PC has a dedicated Graphics Card Unit (GPU), make sure that the monitor cable is connected to the graphics card ports.
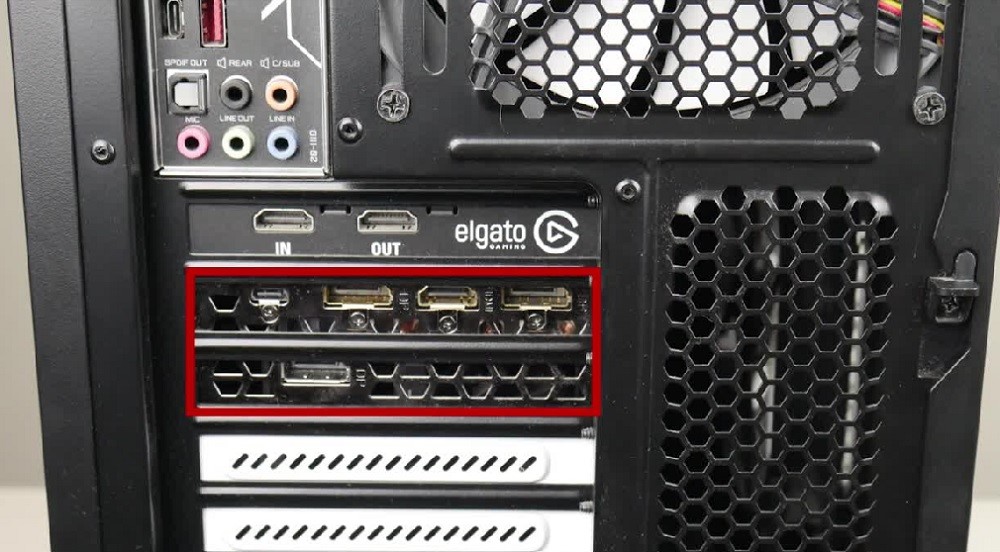
- On the other hand, if your computer comes without a dedicated graphics card, the cable should go into the motherboard display input port. This can be identified easily by looking at the I/O shield.

Method 4: Checking RAM Issues
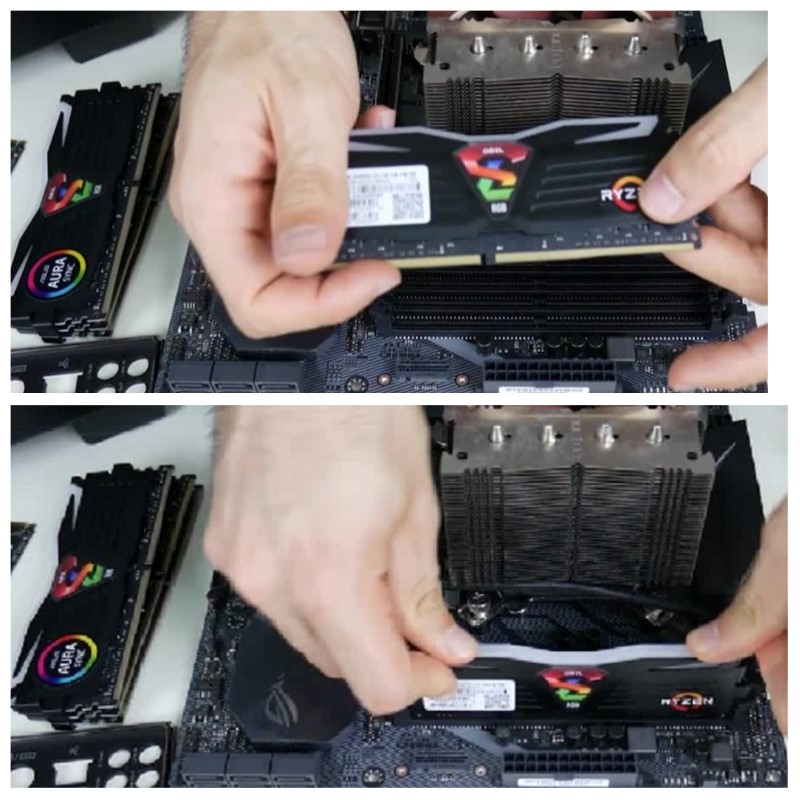
There may be times when the PC may not show a display simply because the RAM stick or sticks may not be fixed properly, and hence not making a proper connection. So, check for the following indicators of RAM issues first.
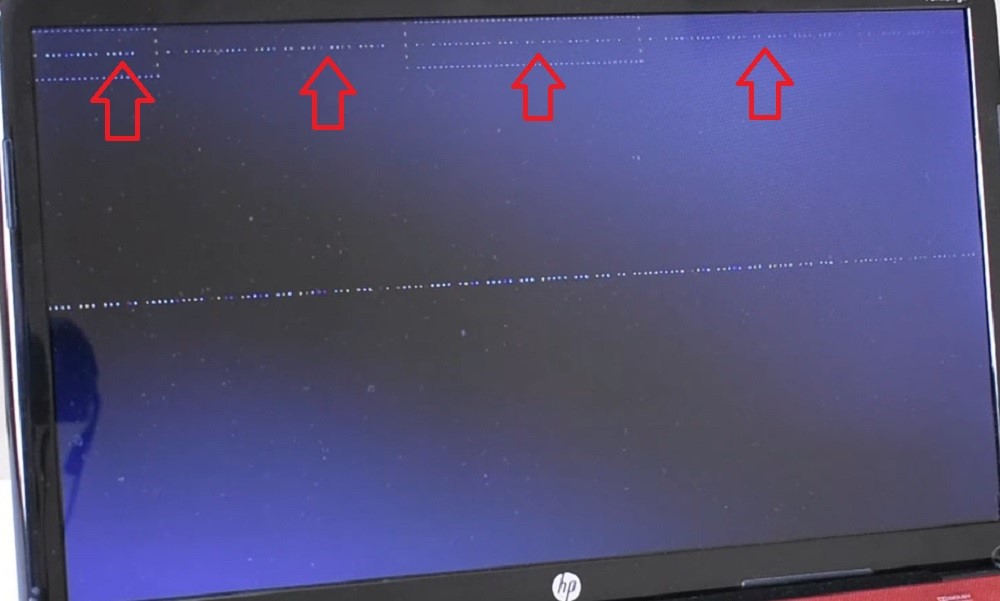
- You may see RAM issues indicated on the screen in the form of a bar at the top as well.
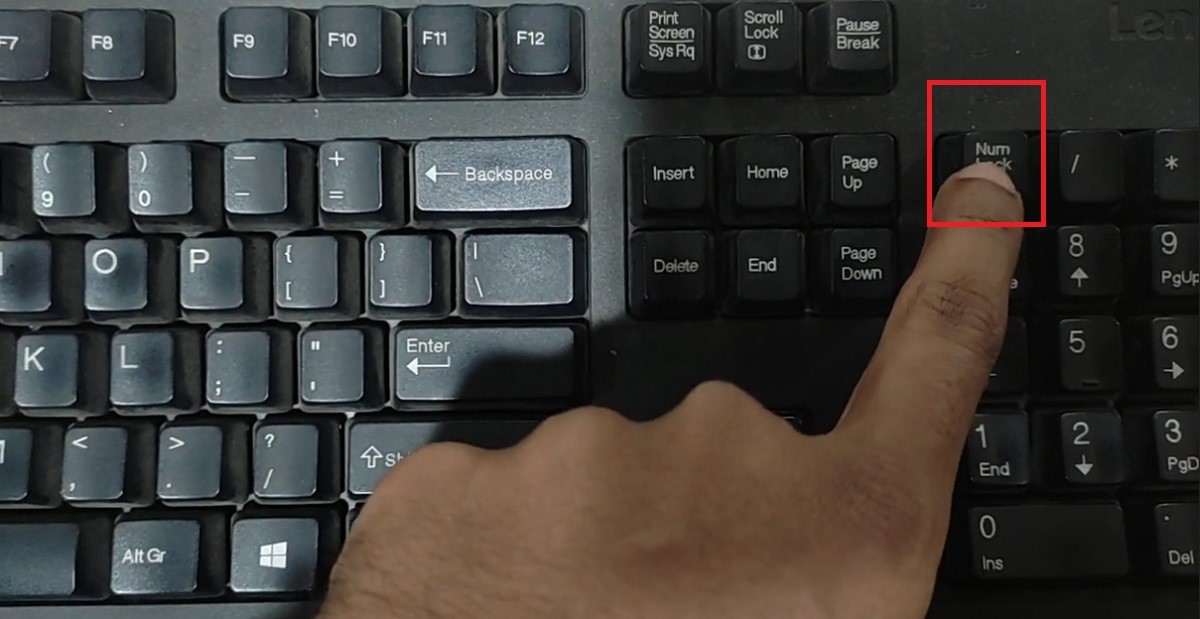
- Ideally, if the mouse and keyboard do not get any power, it will create problems, and it also indicates issues with the RAM. For example, the number lock key indicator on the keyboard will not turn on when pressed.
STEPS TO FIX:
- Turn off the computer.
- Unplug the power cable.
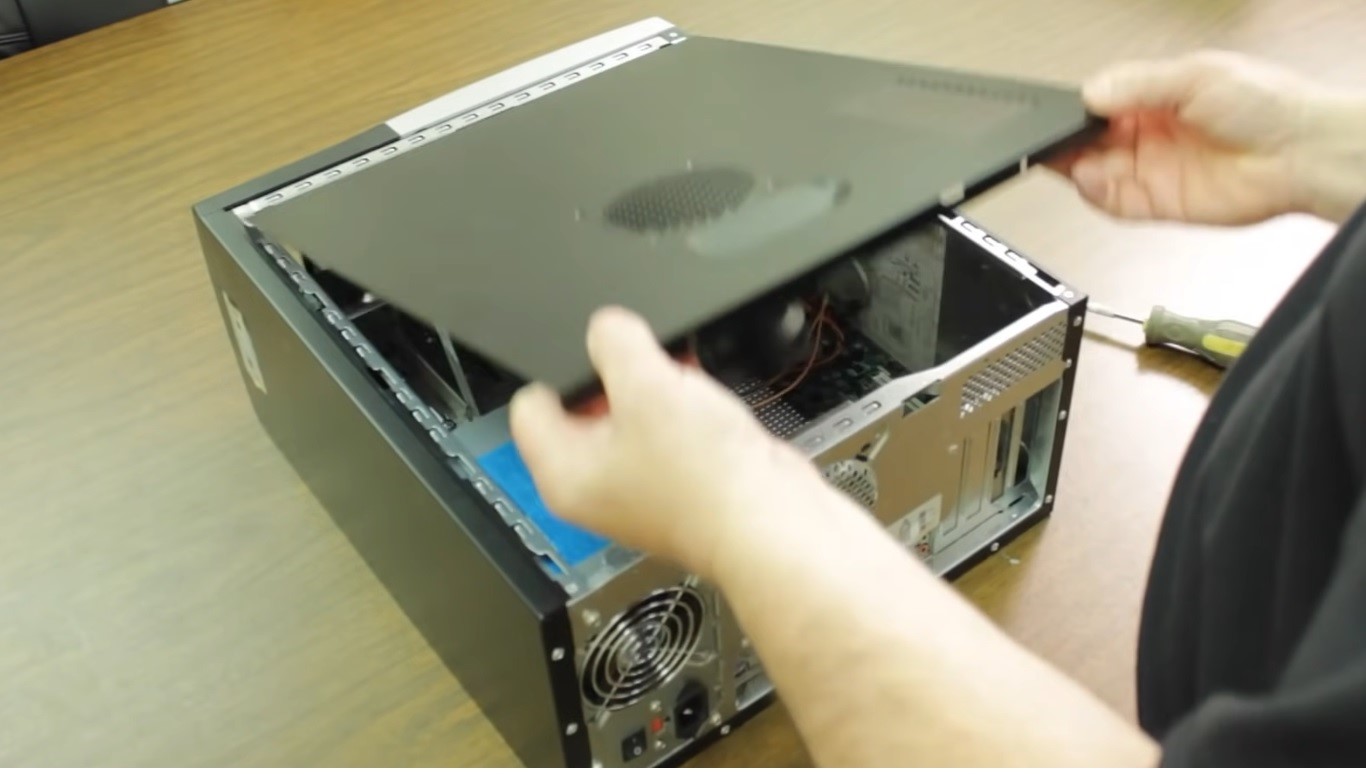
- Open the screws behind the computer case.
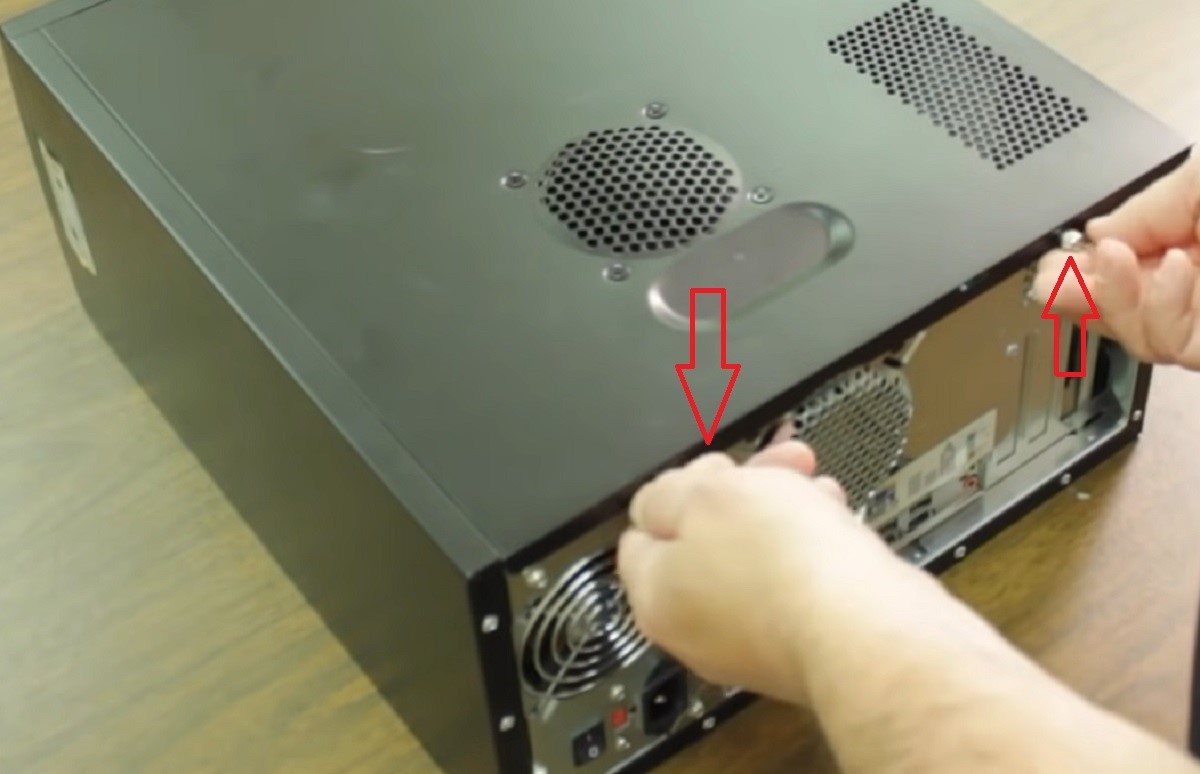
- Remove the side cover.
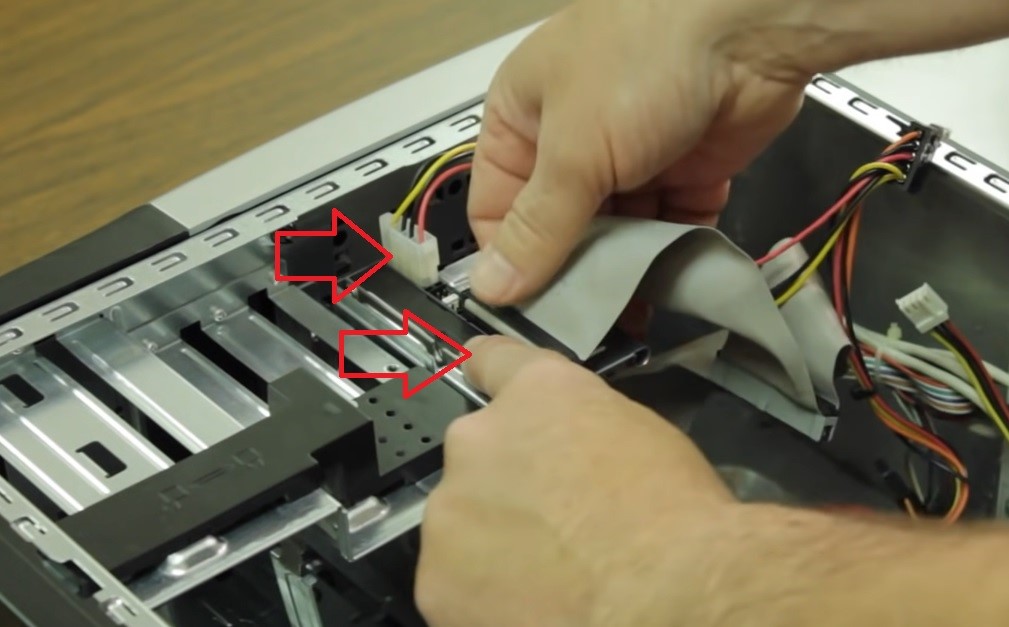
- Remove the power connectors from the hard disk to protect it from damage due to turning off and on of the computer.
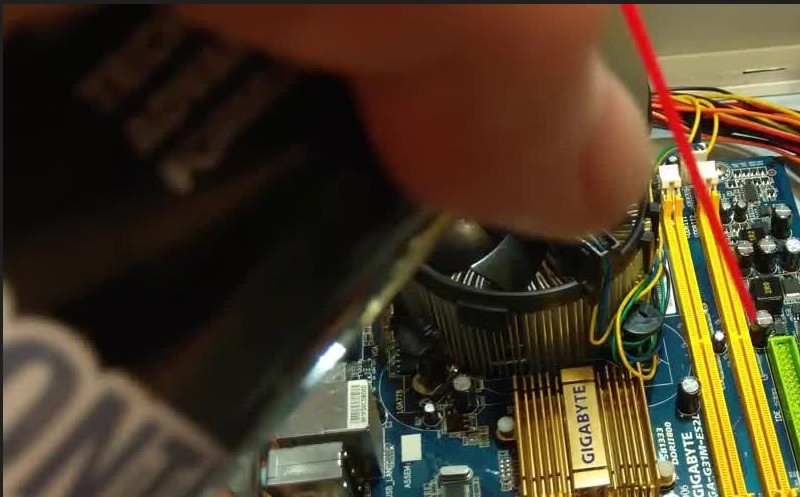
- Remove the RAM stick or sticks.
- Clean the RAM slots and pins with the proper cleaning solution.
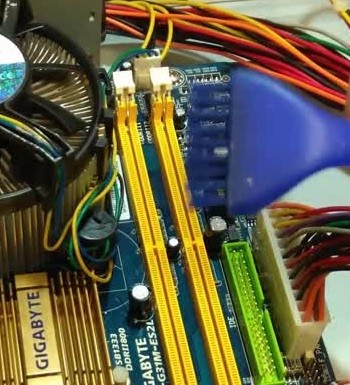
- Clean the slots with a brush.
- Dry it with a hot blower.
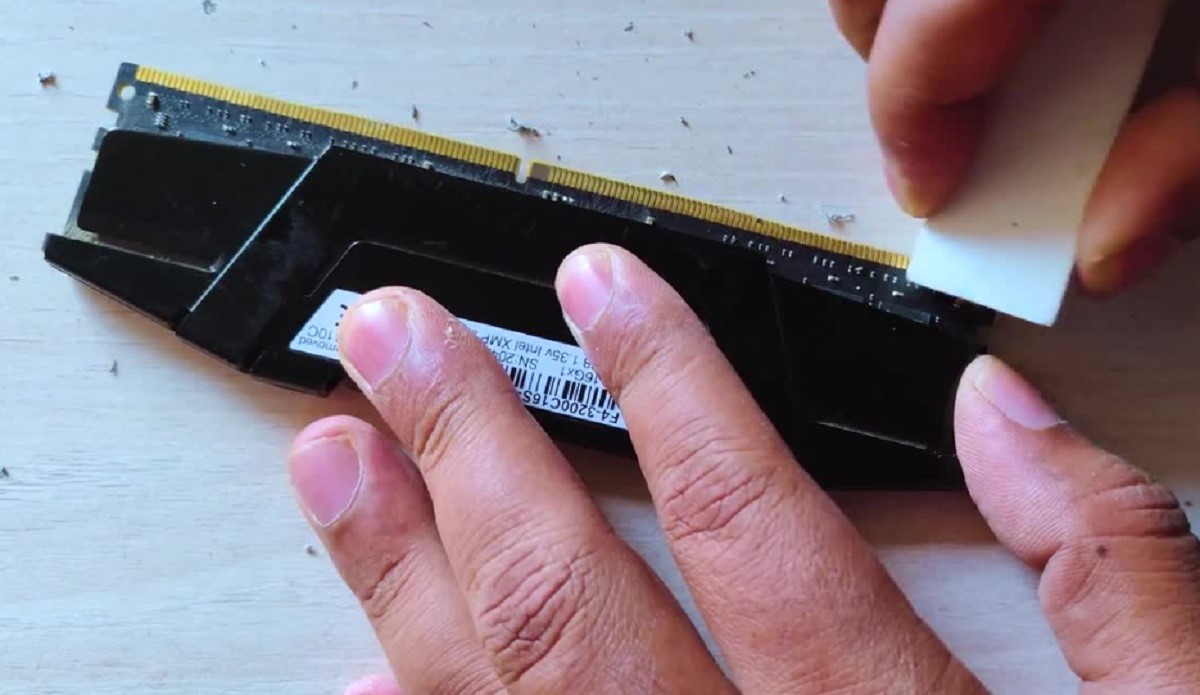
- Clean the RAM pins with a regular eraser.
- Reset the RAM stick or sticks back in the right place.
Now, turn your PC on and check whether the issue is resolved. The NumLock indicator should turn on.
If this does not solve the issue, unplug the power again and try using a single RAM stick. You may also try switching around the sticks and the RAM slots.
Method 5: CMOS Reset or Replace
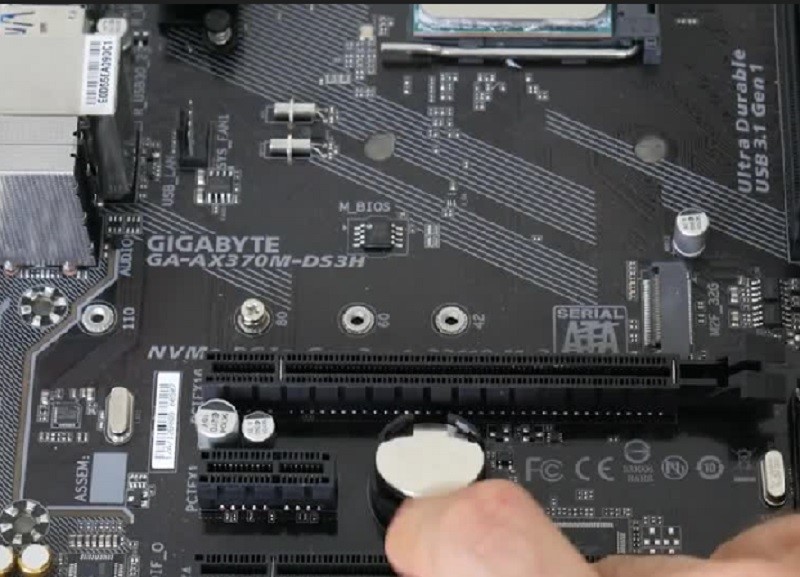
The Complementary Metal Oxide Semiconductor (CMOS) battery may not be seated properly and cause issues with power supply and other settings.
Therefore, you must also ensure that there are no such or other issues with it. If there is any, reset or replace the CMOS battery.
STEPS TO FIX:
- Turn the PC off.
- Unplug the power cord.
- Remove the case.
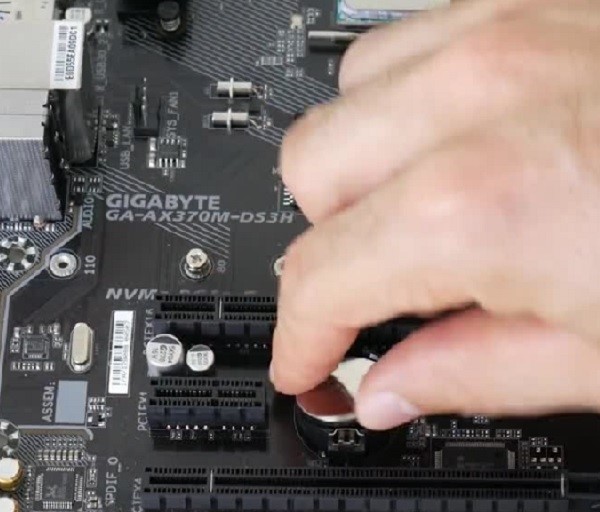
- Click on the clip beside the CMOS battery.
- Remove the battery from the motherboard.
- Press the power button to drain any residual power.
- Wait for a minute or so.
- Replace the battery back onto the motherboard.
If you know that the CMOS battery in your PC is a couple of years old, it is better to replace it with a new one.
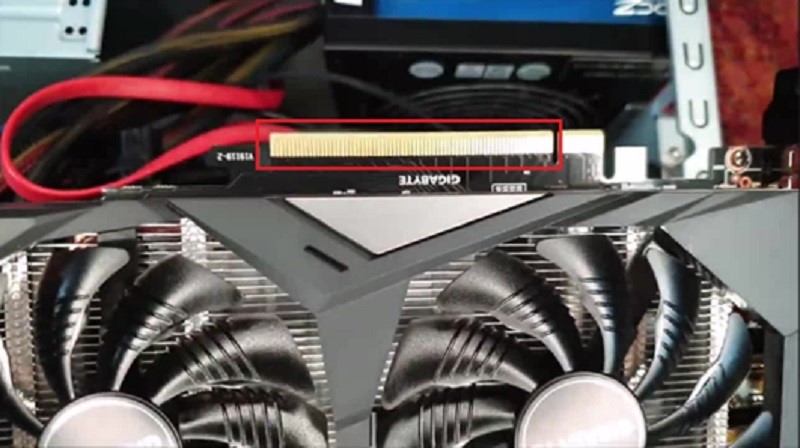
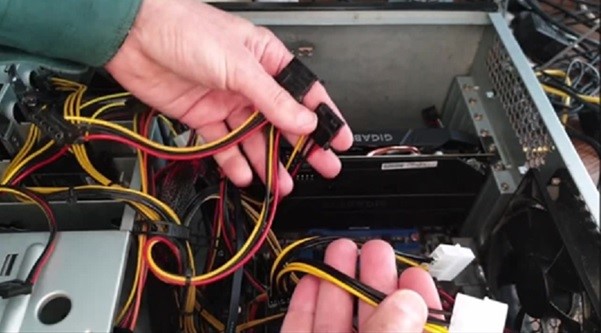
Method 6: Check the GPU
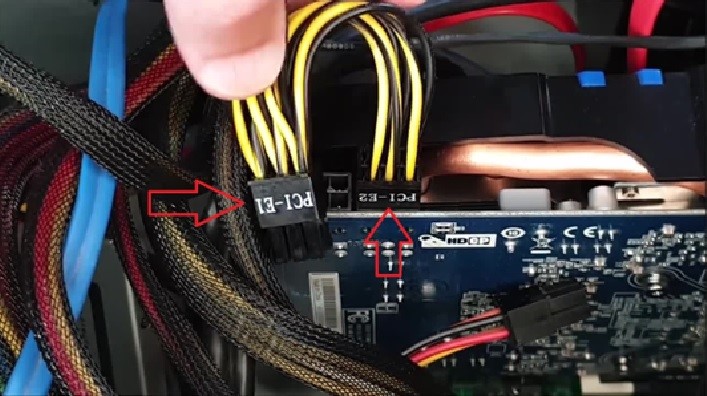
Checking the power connectors of the GPU is one important aspect because an improper connection may not detect the display.
It is very important to ensure that everything from the graphics unit to the power cables attached to it are seated and attached properly so that proper power signals are sent to the display.
STEPS TO FIX:
- Unplug the power connectors from the GPU.
- Check the cable for damage.
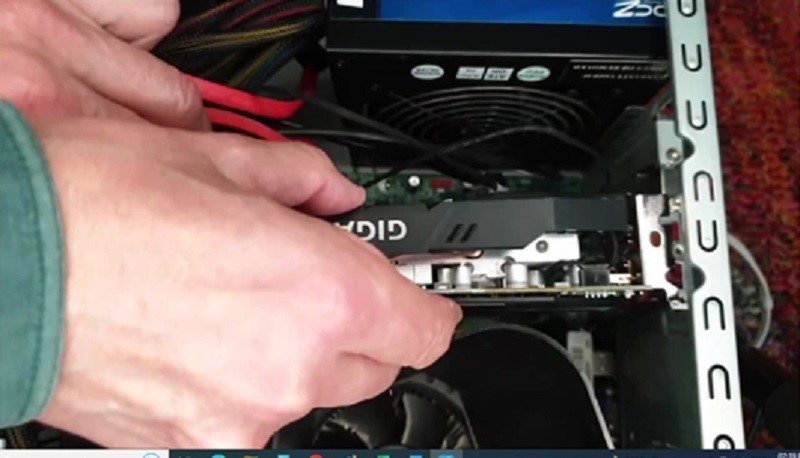
- Remove the GPU.

- Check and clean the connector.
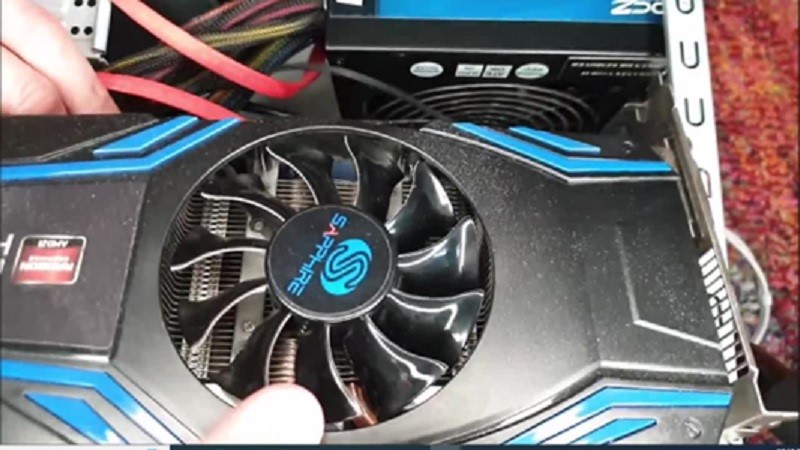
- Check the cooling fan.
- Reseat the unit back in the slot properly so that it is not loose.
- Plug in the power connectors.
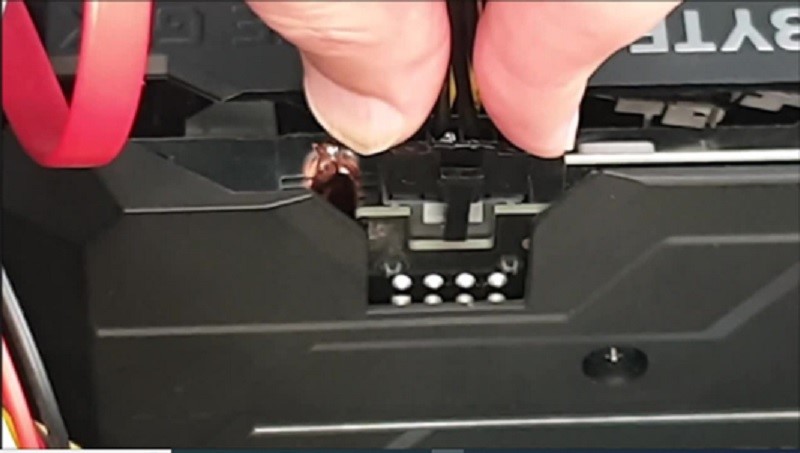
Also, check that the GPU is plugged properly into the power supply to ensure full power is supplied at both ends.
Method 7: Check the Power Supply
If the PSU is inferior or cheap, the PC will not detect the display since there will be an insufficient power supply to drive the GPU, which, typically, is a power-hungry element of a PC.
Assuming that the PSU is of good quality, check the main supply to ensure that it is not causing the display to behave abnormally.
STEPS TO FIX:
- Check that the switch is turned on.
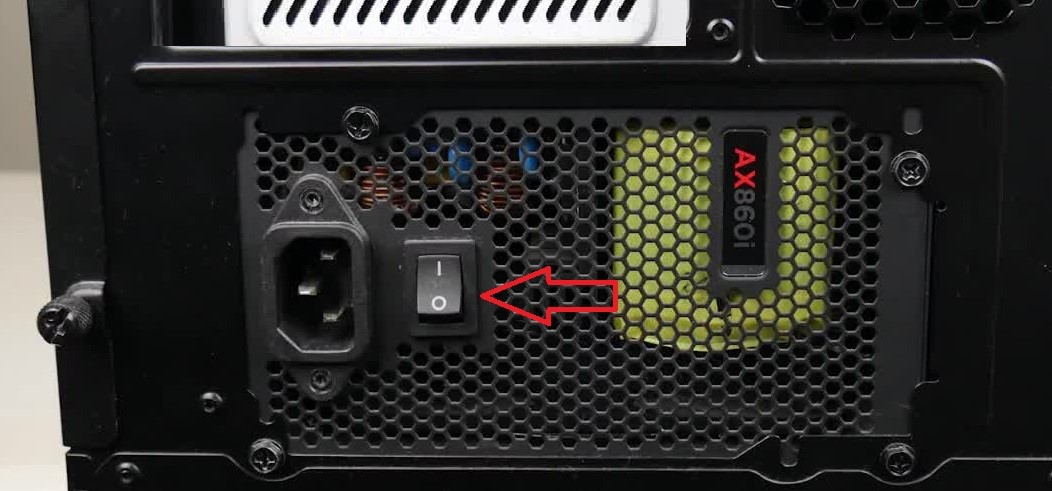
- Ensure that the power cable is plugged into the modular power supply on both ends, that is the PUS and the GPU
Method 8: Reset the BIOS
The settings in the BIOS may also contribute to the issue and prevent the PC from detecting the display. Therefore, checking and resetting the BIOS is a good way to resolve the problem.
In order to check, go to the BIOS by pressing power and the F2/F8/F10/F11/F12/Delete key, as the case may be, based on the device manufacturer, and look for any of the following options:
- Reset
- Restore Defaults
- Load Setup Defaults
- Load Optimized Defaults
STEPS TO FIX:
- Use arrow keys on your keyboard to go to the right to the Exit page from the Main menu of BIOS System Utility.
- Choose any one of the options mentioned above using the arrow keys.
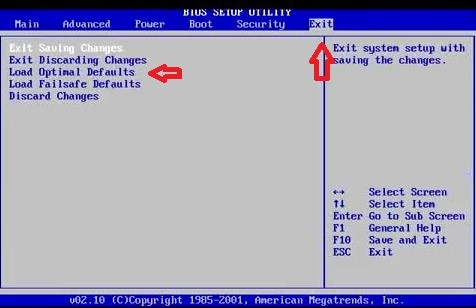
- Press Enter on your keyboard.
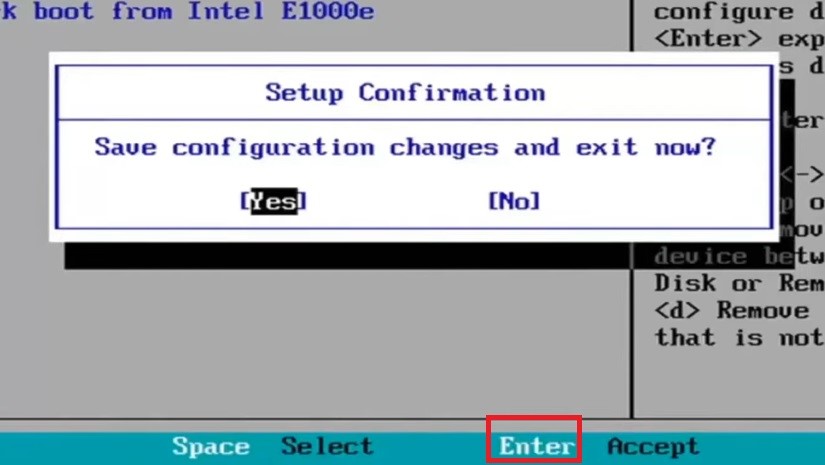
- Press Enter again when the Setup Confirmation window appears to confirm ‘Load default configuration now?’
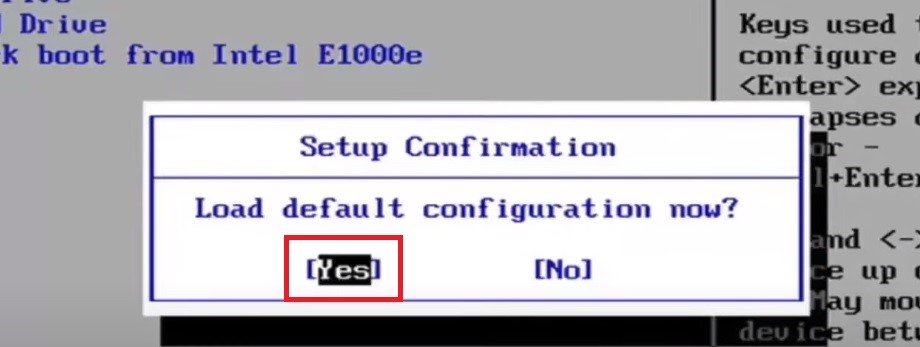
- Press F10 or the allotted key mentioned at the bottom right-hand corner.
- On the Setup Configuration Window, once again press Enter to accept ‘Save configuration changes and exit now?’
Steps to Fix PC Not Showing Second Display
Using multiple monitors is a common event today, but sometimes the PC may detect one monitor but fail to do the same for the second one. Here are some simple fixes for it.
Method 9: Reset the Display Adapter
One of the common causes for the second display to remain undetected by the PC is the driver of the display adapter may be outdated and need resetting. Therefore, update and reset the driver to resolve the issue.
STEPS TO FIX:
- Go to the Start menu.
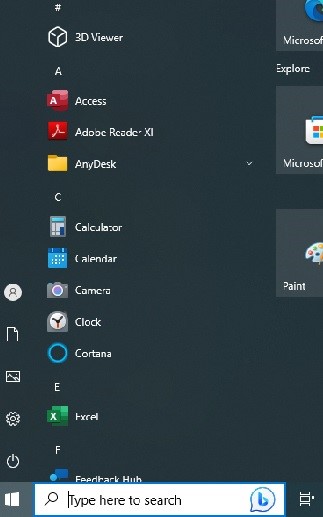
- Type Device Manager in the Search bar.
- Click on the app to open the Device Manager window.

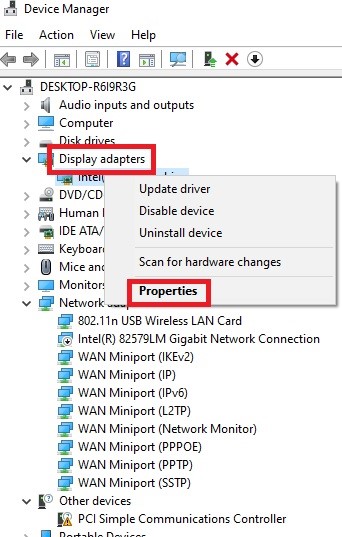
- Look for the Display adapters option in the Device Manager window.
- Click on the arrow or double-click on it to display the list of adapters.
- Right-click on it.
- Click on the Update Driver option.

- Click on the ‘Search automatically for drivers’ option.
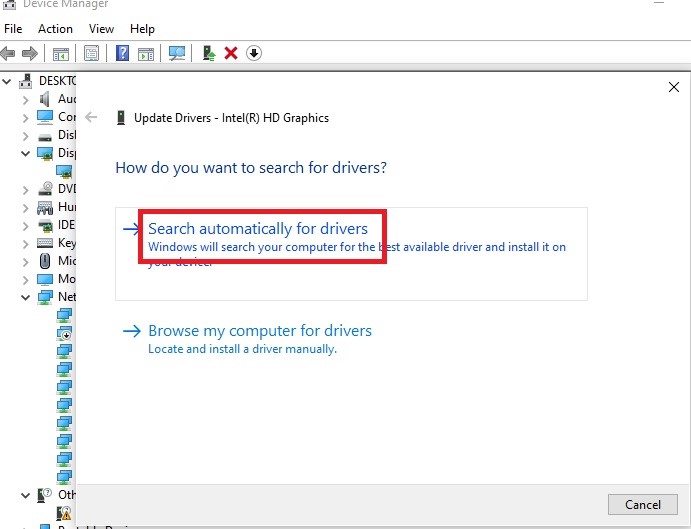
- Wait until the software checks, downloads and installs the required drivers.
- Click on the Close button on the new window.
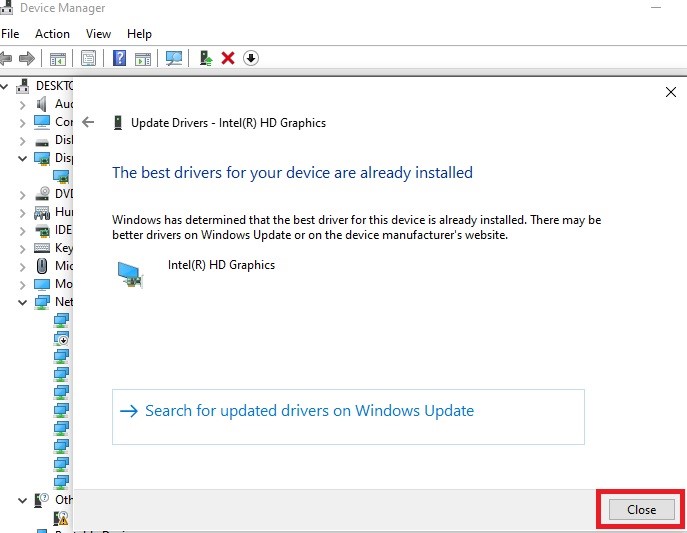
Check in the System Settings whether the second monitor is detected. (More on it later).
If that does not solve the problem, you will have to go online and download the driver software manually, following these steps:
- Go again to the Display adapter and right-click on it.
- Click on the Properties option.
- Go to the Driver tab in the new window.
- Check the driver version and name.
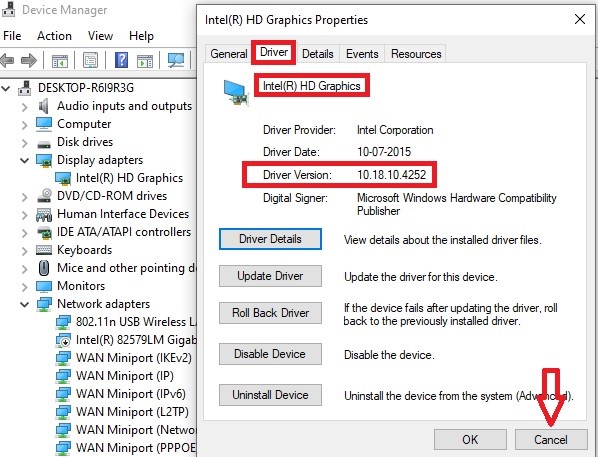
- Note it and click on the Cancel button.
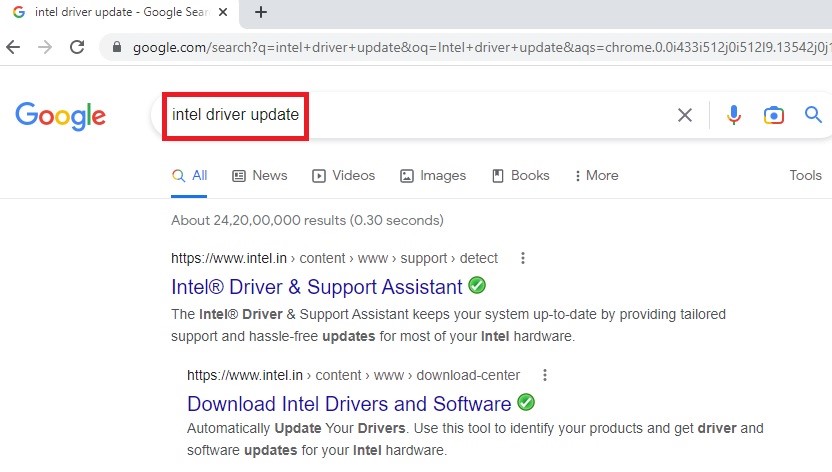
- Go to a web browser such as Google.
- Type in ‘driver update’ for that specific company of your adapter, say Intel
- Download the updated driver
Now, refresh and restart your system. This should make the second monitor detectable.
Method 10: Adjust Frequency or Refresh Rate
Sometimes the graphics card and the monitor may not be in sync due to the differences in the refresh rates. Therefore, making adjustments in the display frequency or refresh rate may often resolve this issue.
STEPS TO FIX:
- Go to the Start Menu.
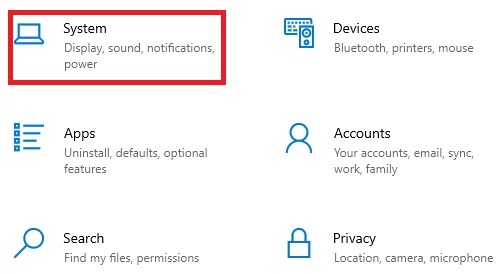
- Click on the gear icon to open Settings.
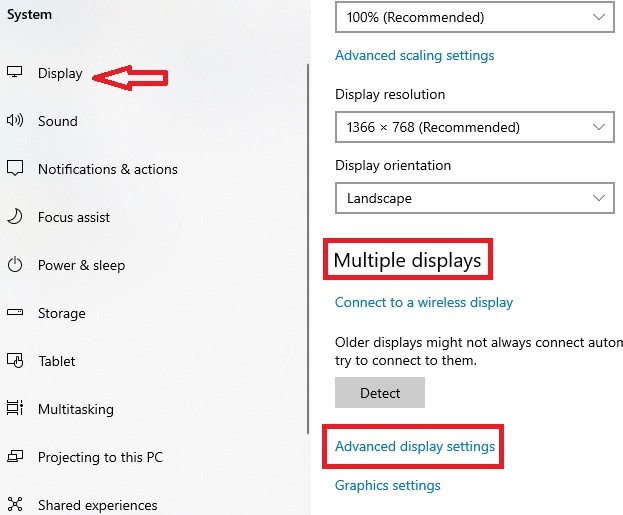
- Click on System.
- Select Display from the left-hand side panel.
- Go to the Multiple displays section at the bottom.
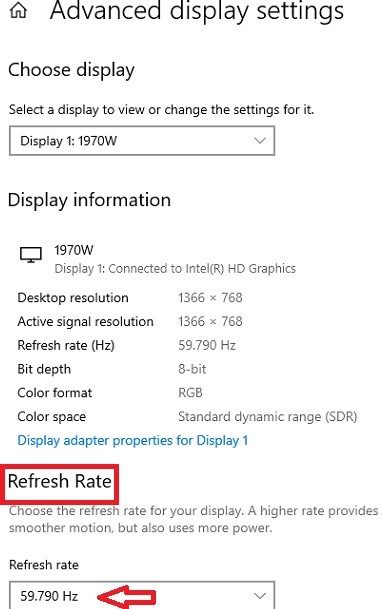
- Click on Advanced display settings.
- Go to Refresh Rate at the bottom of the Advanced display settings.
- Change it to 60 Hz.
- Close the window.
This will make the second monitor visible.
As you can see, there is a detect button under the Multiple displays section in the window. Clicking on it will show that both the display 1 and display 2 are connected.
Conclusion
So, as you can see, if, at any point in time, your PC turns on but does not show the display, there is nothing to panic about, even though things may apparently look quite complicated.
However, with the help of the fix list, you can now easily resolve the issue step-by-step and get things back on track.