
Sometimes, you can streamline your networking experience with a seamless and secure connection to a hidden network, if only you know how to do it.
Discover simple steps to connect effortlessly to hidden networks on your Windows PC.
In This Article
KEY TAKEAWAYS
- To connect to a hidden network, you need to know the Service Set Identifier or SSID, the password, and the type of encryption used by the network.
- Use the Network & Internet Settings options from the Wi-Fi icon in the taskbar and input the SSID and password.
- Use the Windows Settings app to add a new network and then provide the SSID and security details to connect to a hidden network.
- Use the Network and Sharing Center to manually add a new profile and provide the necessary login details.
- Run a specific command in the Command Prompt to add a new network profile from an XML file to connect to a hidden network.
Why Do You Need to Connect to a Hidden Wi-Fi Network in Windows?
Connecting to a hidden Wi-Fi network in Windows will serve a wide range of purposes including enhancing privacy and security.
Since it will not broadcast its SSID, it will be less vulnerable to hacking and unauthorized access.
Here are some of the most significant reasons users want to connect to a hidden network:
- Restrict access: Limit network access to specific devices in business or educational settings.
- Avoid clutter: Hidden networks prevent congestion, common in densely populated areas.
- Compatibility: Resolve compatibility issues with devices that don’t support broadcasting SSID.
- Clean list: Have an aesthetically pleasing network list, especially in home or office setups.
- Anonymity: The hidden SSID adds an element of anonymity.
- Management: Hidden networks offer better network control and administration by organizations.
- Less or no unwanted connection: Prevent casual users, neighbors, or passersby from connecting.
- Event-based access: In temporary setups or during any special event, employing and using a hidden network will allow access to only the authorized attendees.
- Exclusivity: Hidden networks enhance exclusivity, especially for guest networks.
- Regulatory acquiescence: Adhering to strict security standards in organizations and industries.
- Personalized experience: Heightened networking experience for technically proficient users.
Also, learning about hidden networks and their configuration will help you understand the intricacies of your network and the security practices you must follow.
Ways to Connect to a Hidden Wi-Fi Network in Windows
You can connect to a hidden Wi-Fi network in Windows very easily through the Network and Sharing Center, or through the Wi-Fi icon in the taskbar directly using the essential network details and credentials.
You may also connect to it through the Control panel.
If you are tech savvy and have a fair bit of knowledge about creating an XML file, you can also connect to a hidden network through the Command Prompt.
Essential tips: There are a few things worth noting before you connect to a hidden network.
The phrase Hidden Network is not an SSID or network name. Therefore, a hacker or a malicious actor may create another with the same name, alluring users to connect to it and then steal their information.
To avoid this, ensure:
- You connect to the Hidden Network displayed at the bottom of the list (usually, the fake ones are displayed in the middle)
- You always use a secure network with a padlock icon on top or written Secured below (usually, fake ones will not have any)
- You use the one that asks for a password and SSID (usually, the fake ones will be ‘Open’ and not ask for such things)
Method 1: Through the Wi-Fi Icon on the Taskbar
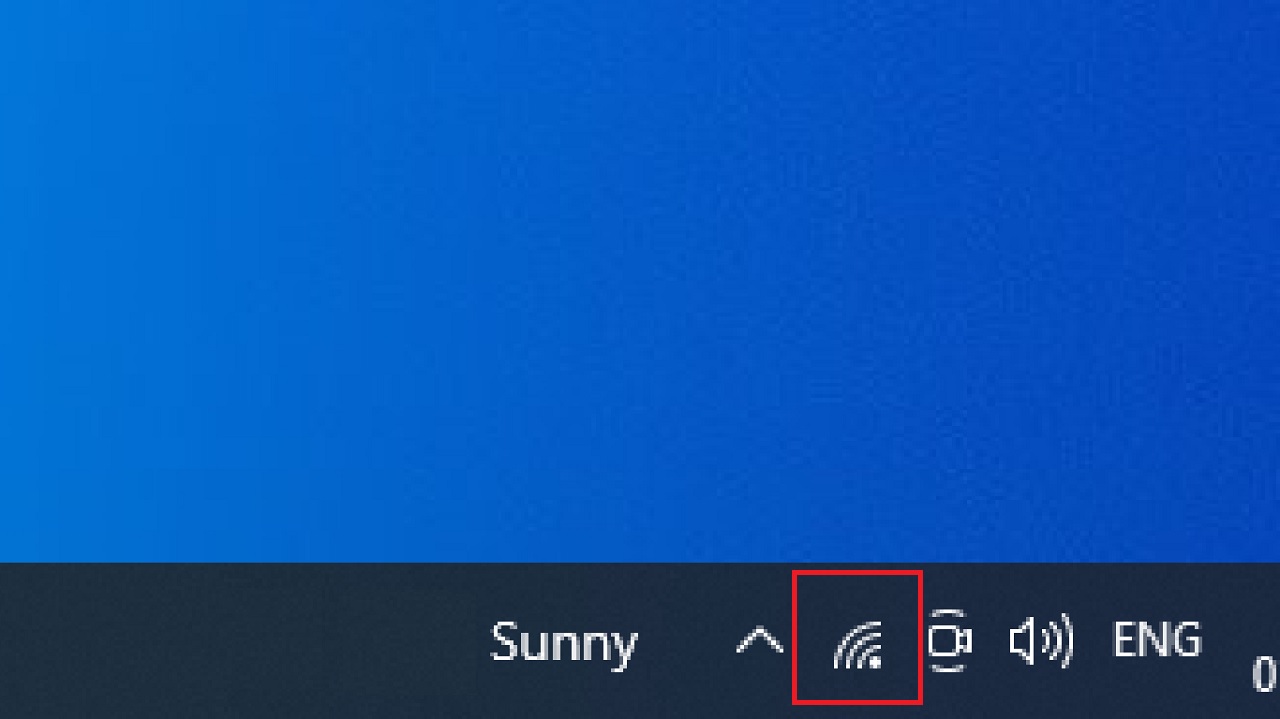
The simplest way to connect to a hidden network is through the Wi-Fi icon in the taskbar.
STEPS TO FOLLOW:
- Click on the Wi-Fi icon in the taskbar.
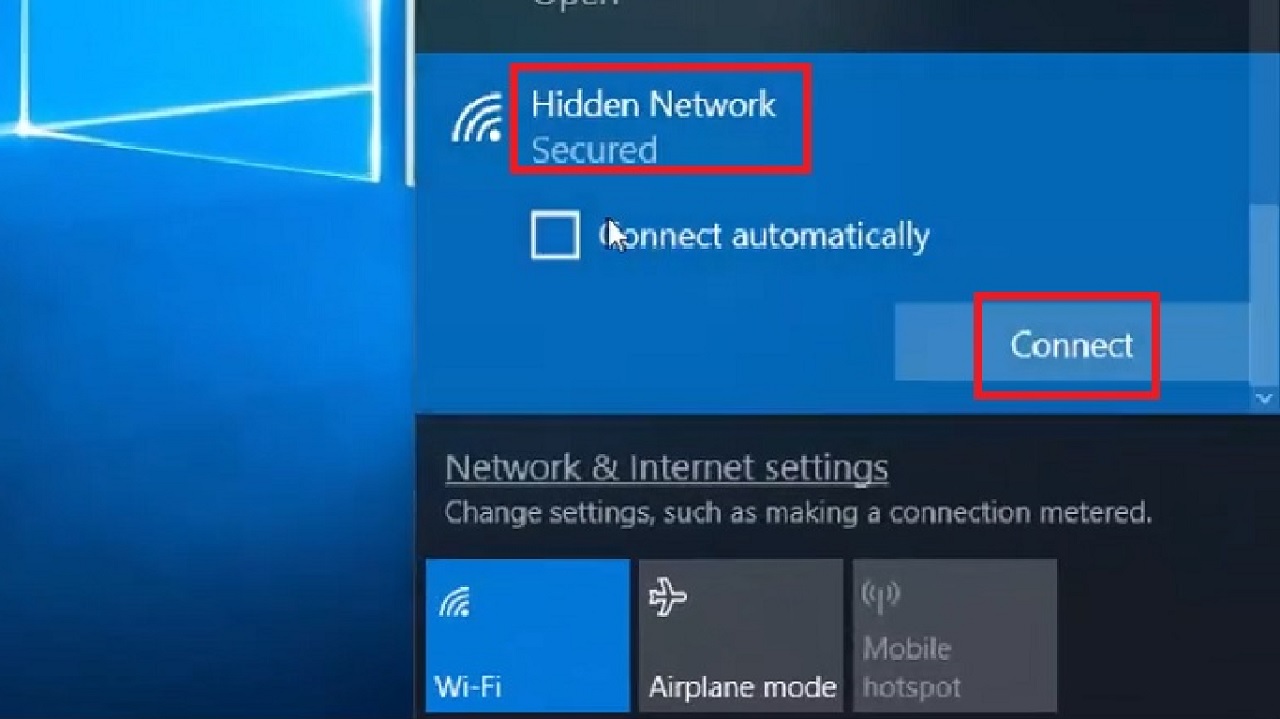
- Select Hidden Network.
- Click on the Connect button.
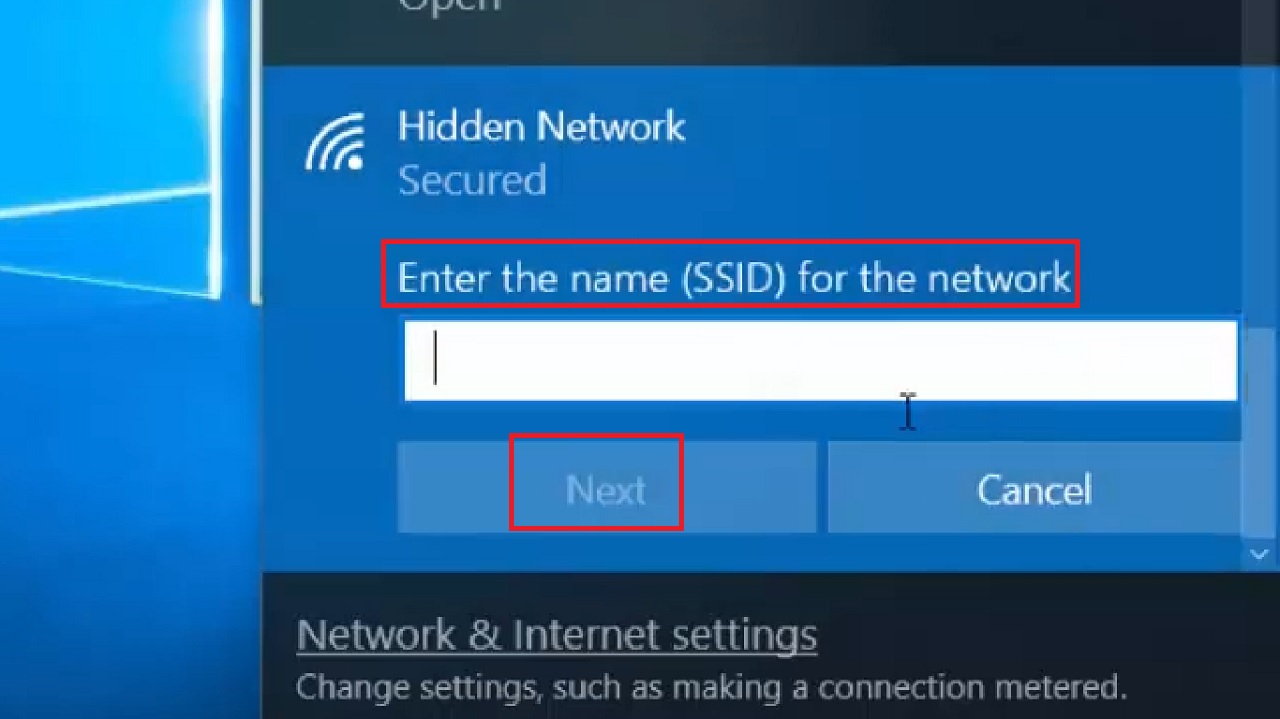
- Enter the name (SSID) for the network.
- Click on the Next button.
- Enter the network security key or password.
- Click on Next.

- Click on the Yes button in the following window.

You will be connected to the hidden network.
Method 2: From the windows Settings App
Sometimes, the Hidden Network option may not be available in the list when you click on the Wi-Fi icon on the taskbar. In that case, you can find and connect to a hidden network through the Windows Settings app.
STEPS TO FOLLOW:
- Click on the Start Menu > Select Settings or the gear icon > Go to Network & Internet.
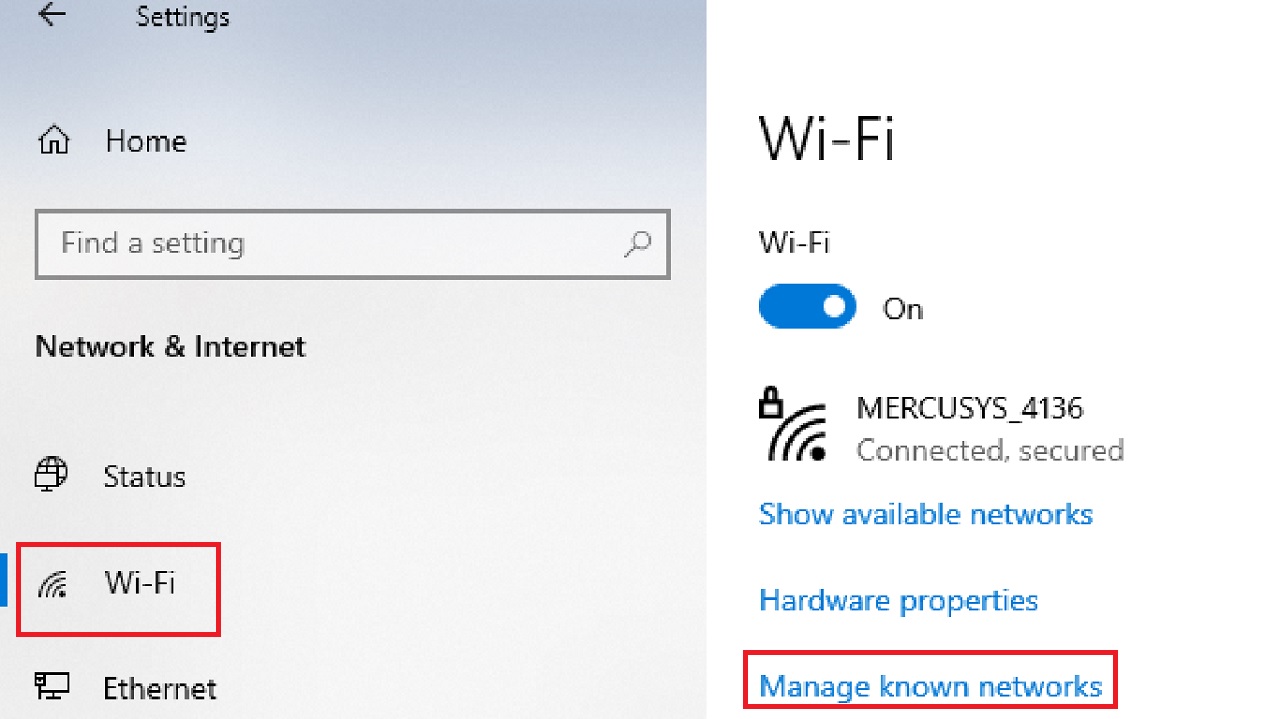
- Select Wi-Fi from the left panel in the following window.
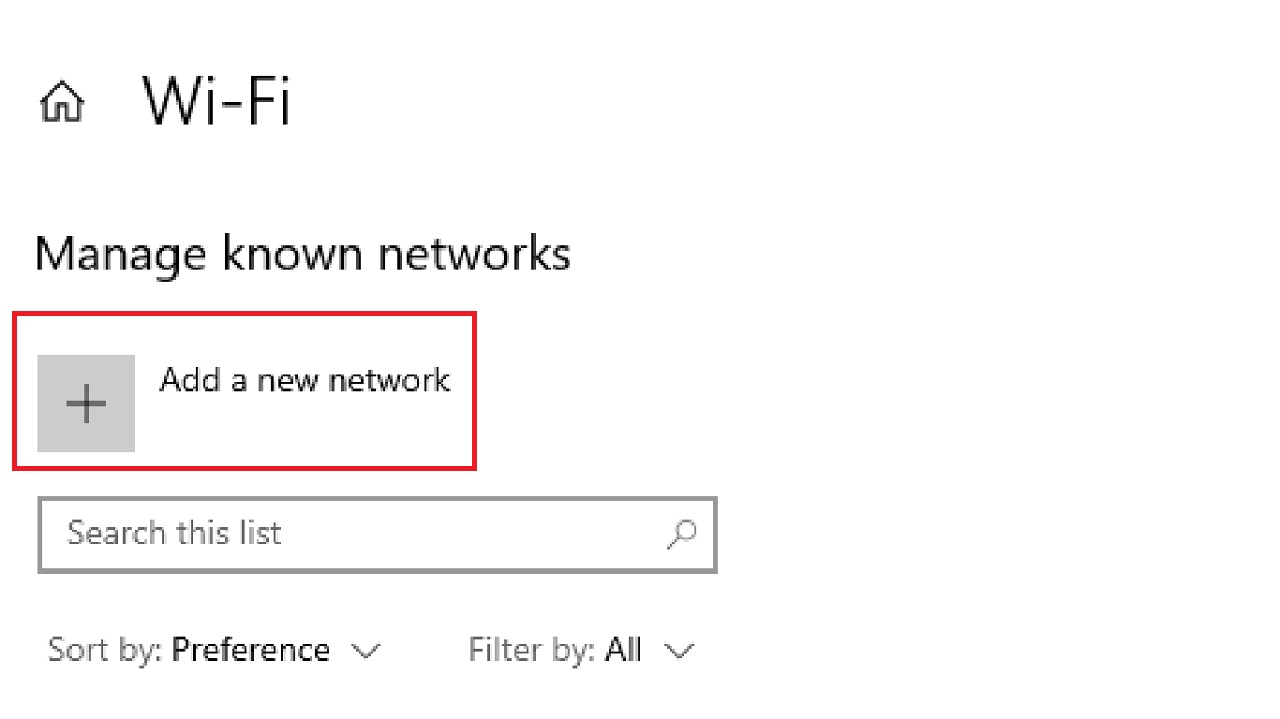
- Click on Manage known networks.
- Click on the Plus button to Add a new network.
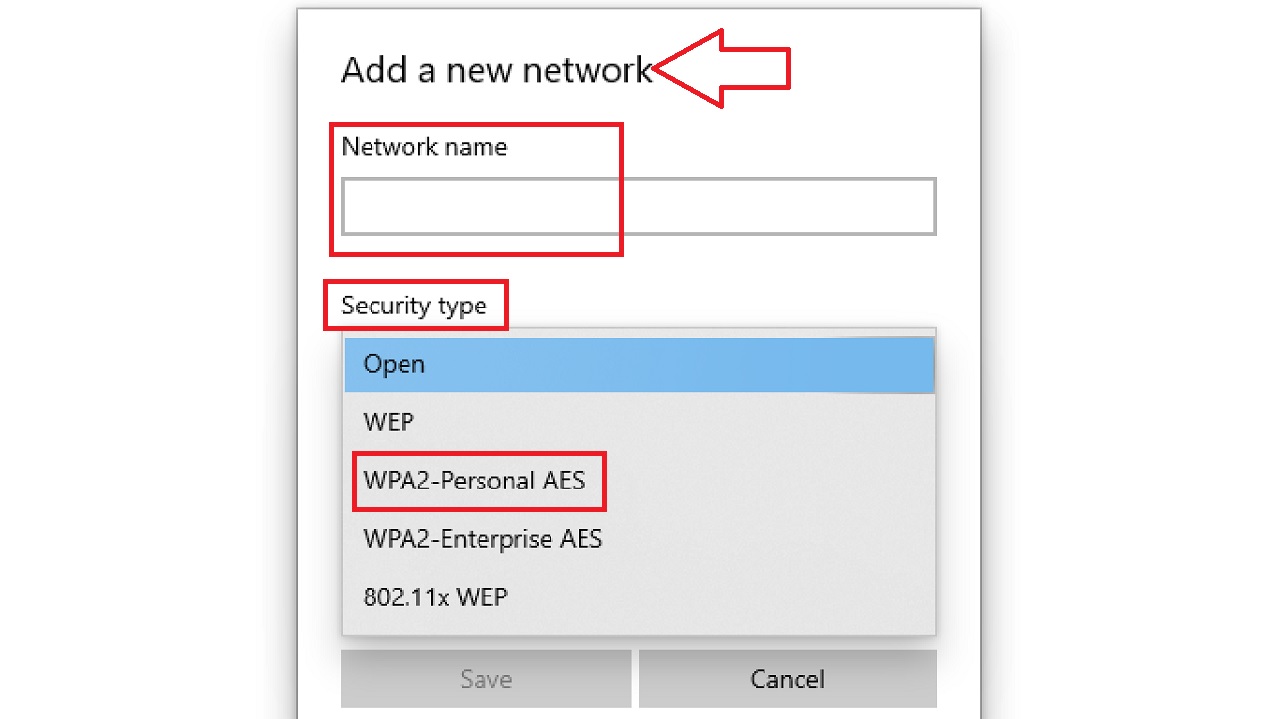
- In the following Add a new network window, type your Network name.
- Click and expand the Security type.
- Choose the WPA2-Personal AES option from the dropdown list.
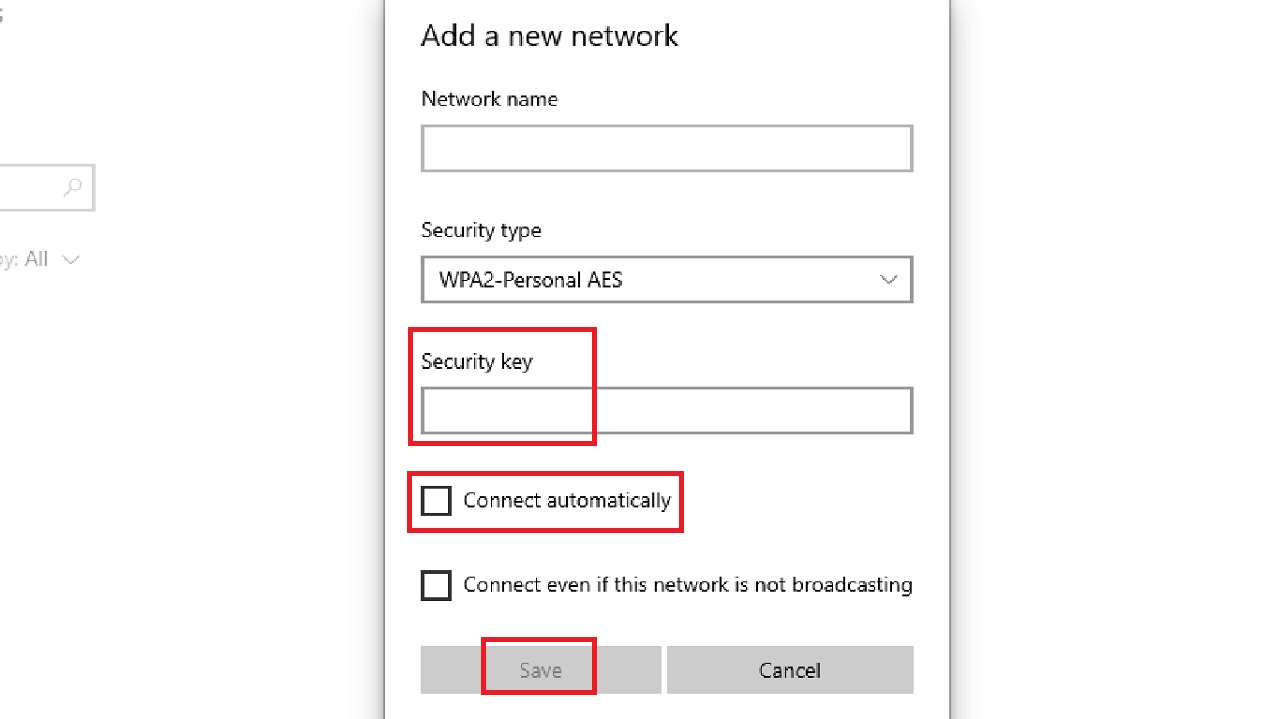
- Enter the password or Security key in the relevant field.
- If you want to Connect automatically, check the small box next to it.
- Click on the Save button.
You can now connect to the hidden network.
Alternatively, you can also do the same from the Control Panel.
- Go to the search box.
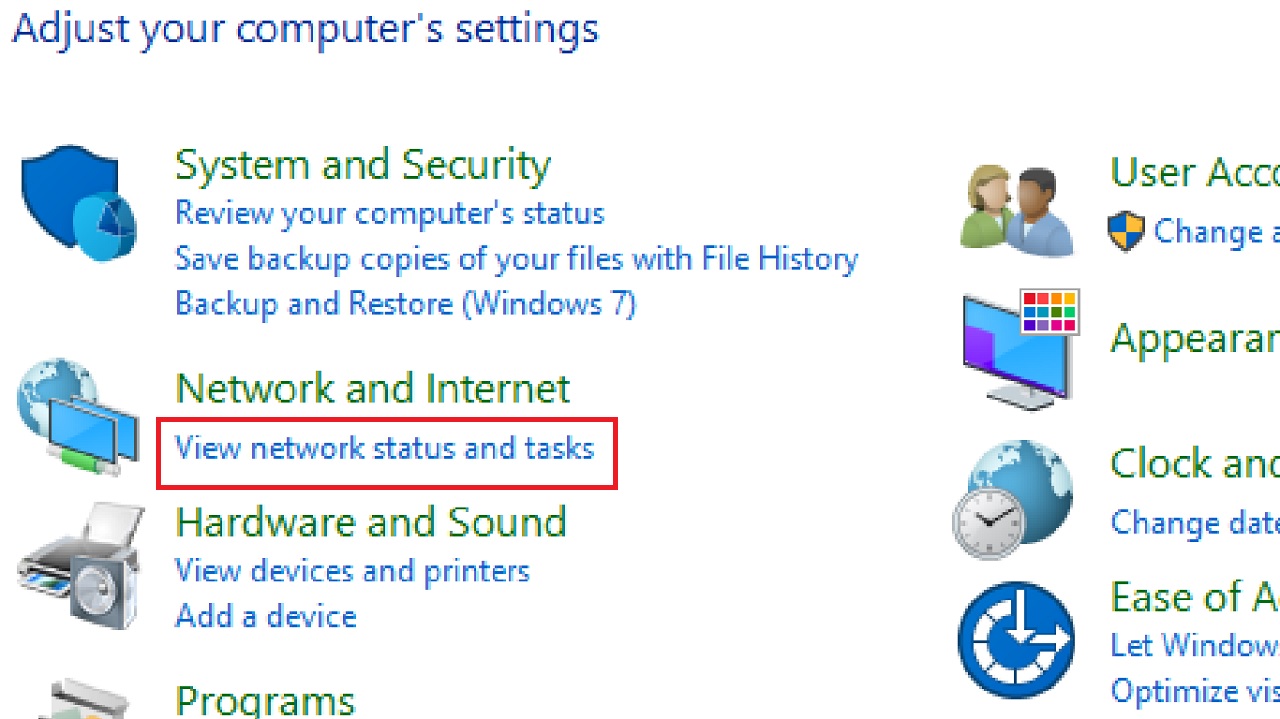
- Type control panel and hit Enter.
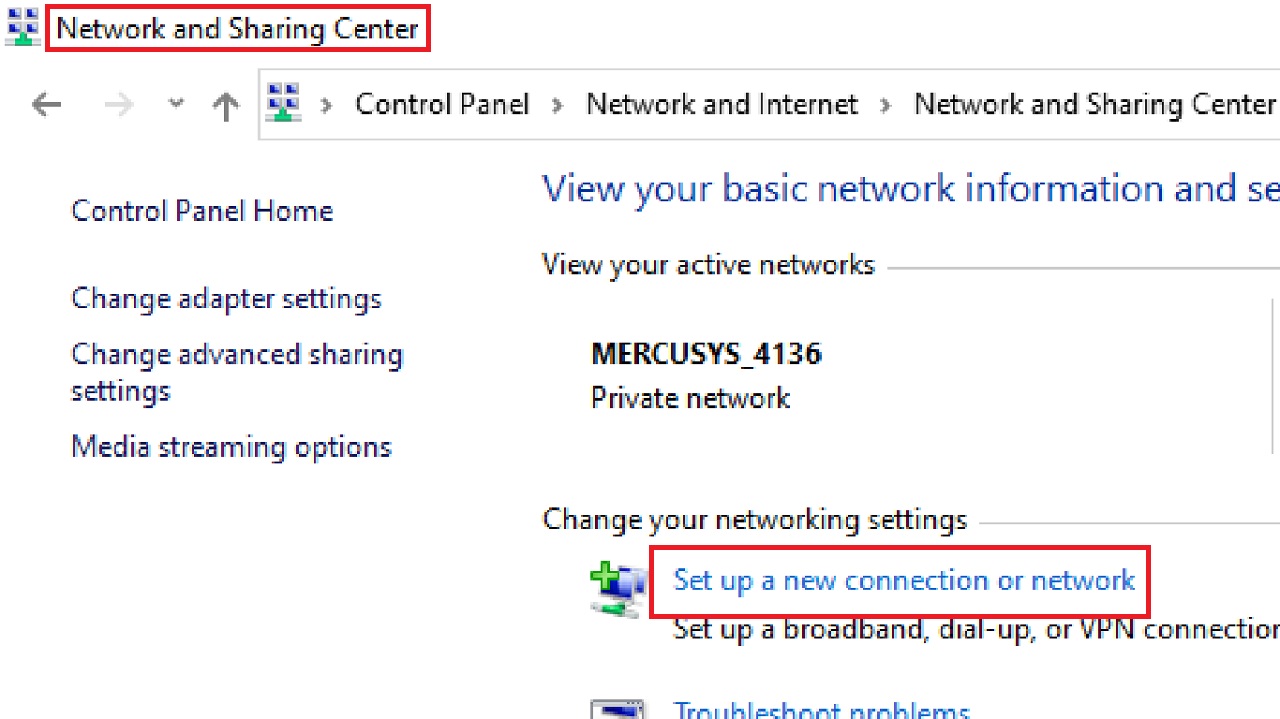
- Select View network status and tasks under Network and Internet.
- In the following Network and Sharing Center window, click on Set up a new connection or network.
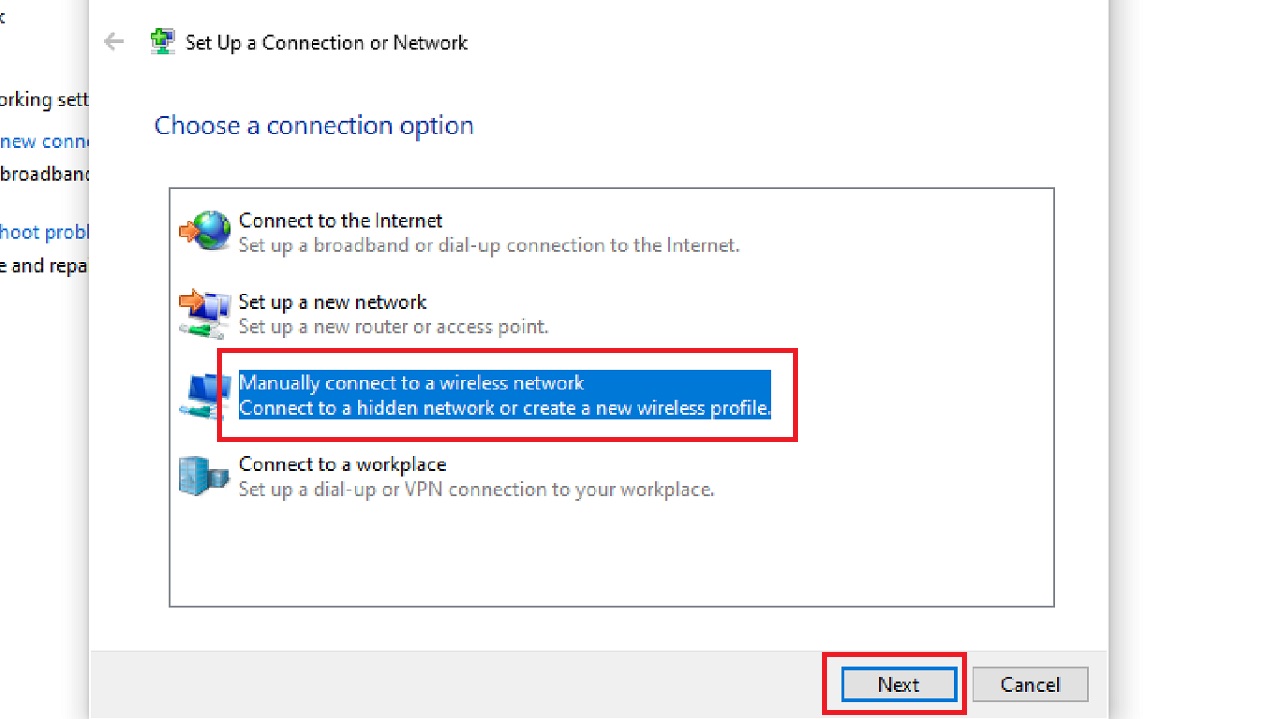
- In the next window, select Manually connect to a wireless network.
- Click on Next.
Now, in the new window, enter the security information as before.
- Click on the Next button.
- Click on Close in the following window.
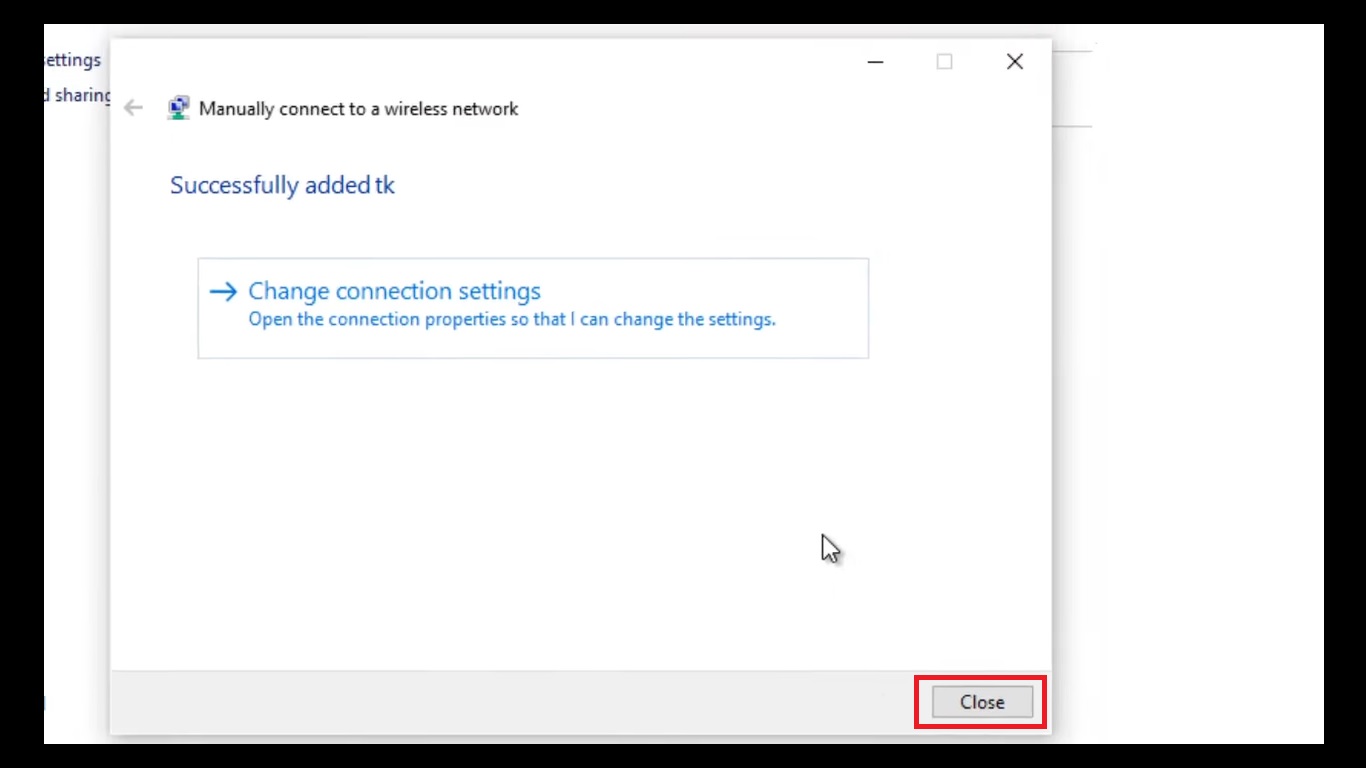
You will now be able to connect to a hidden network.
Note: If you check the box next to ‘Connect even if the network is not broadcasting,’ exercise caution because it might put your privacy at risk and might even consume more power, draining the battery fast, if you are using a laptop.
Method 3: Using the Command Prompt
You can connect to the hidden network in your system through the Command Prompt.
Note: This step is for those who have some technical knowledge.
STEPS TO FOLLOW:
- Go to the search box.
- Type cmd.
- Right-click on Command Prompt to choose Run as administrator.
- Click on the Yes button in the User Account Control window that appears.
- In the Command Prompt window, type the command netsh wlan show networks and hit Enter to see all available networks.
- Look for your hidden network under the list and note down its name or SSID and security type.
- Now to connect to the hidden network type in the command netsh wlan add profile filename=”C:\YourSSID.xml” interface=”Wi-Fi” user=current and hit Enter.
Make sure you replace the YourSSID and YourPassword part in the command with the actual name and password of the hidden network.
Now, create an XML profile manually for the WPA2-Personal security and use it in the command. (This is where the technical knowledge comes int play).
After the command is executed successfully, the network profile will be added and a confirmation message will be displayed.
Now, run the command netsh wlan connect name=”YourSSID” and hit Enter.
Once again, make sure that you replace YourSSID with the name of your hidden network.
To verify whether or not you are connected to the hidden network, check the network status using the command netsh wlan show interfaces. You may also check it from the system tray.
Conclusion
Master the art of connecting to hidden Wi-Fi networks on Windows with these methods.
They will grant you easy and secure access to networks and allow you to navigate network configurations more confidently.
It will simplify the process and ensure a seamless connectivity.