
You will have a more stable connection than Wi-Fi if you use Ethernet, but that too comes with its own problems and sometimes you may experience a loss in connection, making it unreliable as well.
And, when such a thing happens, diagnosing the issue and fixing it can become a bit tricky in Windows.
However, this is not a permanent or irreparable damage, as you will find in this article. There are lots of simple and complex fixes to this issue. Read on to find out.
KEY TAKEAWAYS
- In most cases, disconnecting and reconnecting the Ethernet cables and restarting the PC may resolve the issue.
- A quick power reset or making some changes in the power management of the Ethernet adapters along with a network reset often fix the problem.
- There are some network commands that may resolve the issue by flushing and resetting the DNS or even setting the TCP/IP manually may help sometimes.
- A complete network reset may be needed to change the settings and make the Ethernet connection work as it normally should.
- Even simple fixes like general troubleshooting and scanning for viruses and malware from the system may rectify the error often.
In This Article
What Causes a PC Not to Connect to Ethernet?
Right from a faulty or damaged Ethernet port in the PC or the modem to a damaged cable, there can be a lot of reasons for Ethernet not to work in a PC such as incorrect configuration of the network or any other hardware issues.
More often than not, Ethernet on a PC may not work for other reasons, such as:
- Outdated network adapters
- Corrupted drivers
- Improper loading of the Ethernet driver files
- Existence of viruses and malware
Sometimes, even malfunctioning local devices or the ISP service may cause such a problem.
How to Fix a PC Not Connecting to Ethernet?
The most obvious fix for the issue of Ethernet not connecting to a PC is to check whether or not the connection provided by the ISP is active.
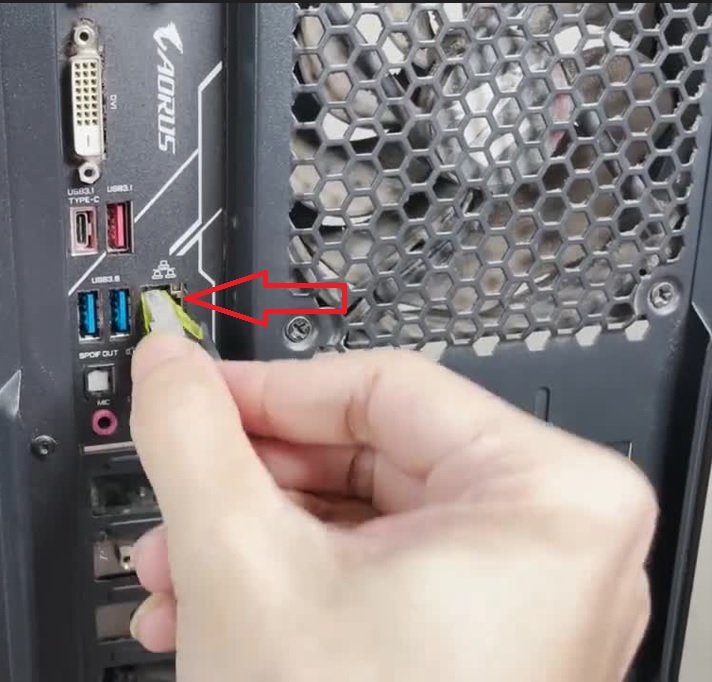
This can be judged by the indicator lights on the router as well as beside the Ethernet ports at the back of the CPU case where the Ethernet cable is inserted.
In addition to that, there are also a lot of other solutions to this problem that involve both hardware and software fixes.
Without much ado, start with the basics.
Method 1: Check the Cable Connection
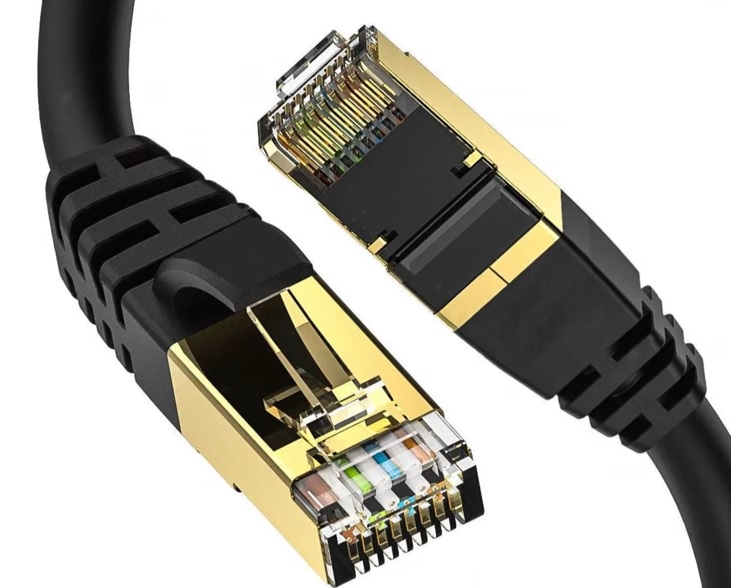
One of the most elementary checks for Ethernet not working on your PC is the cable connection, because sometimes the cable may not be fixed properly or damaged.
STEPS TO FIX:
- Check whether the LED indicator light near the Ethernet cable is on or not.
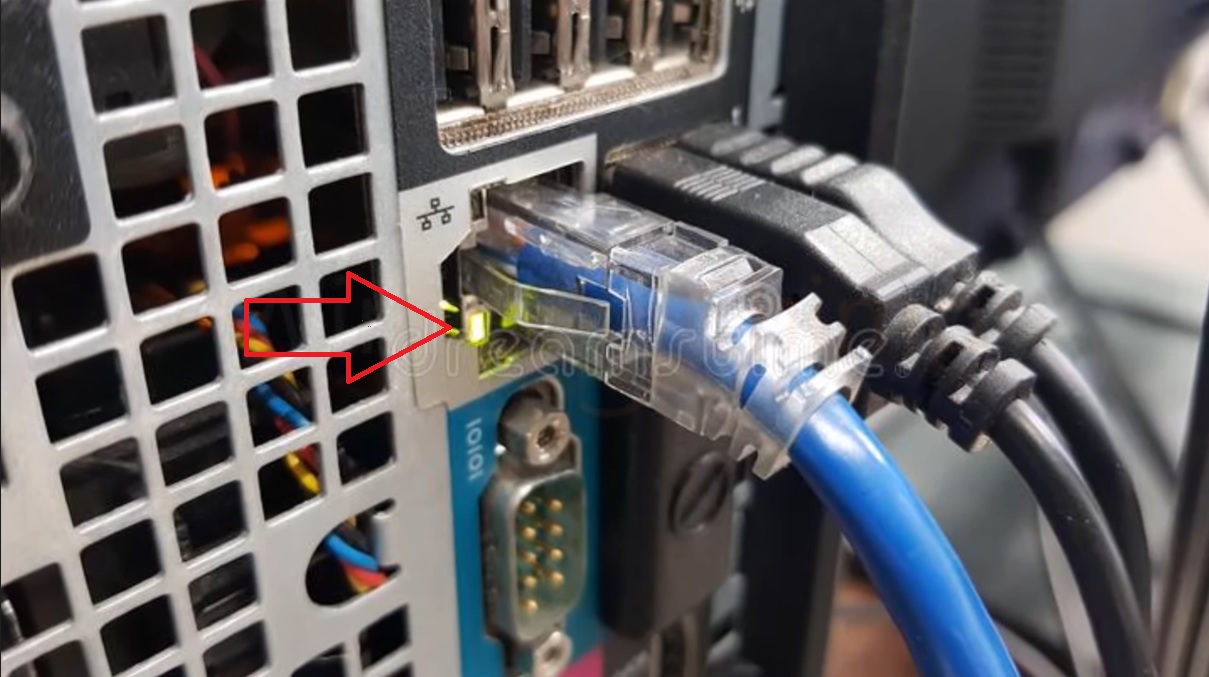
- If the light is not On, remove the Ethernet cable.
- Check both ends of the cable for any damages or loose connections.
- Check that the Ethernet ports on the router, if you are using one, are clean.
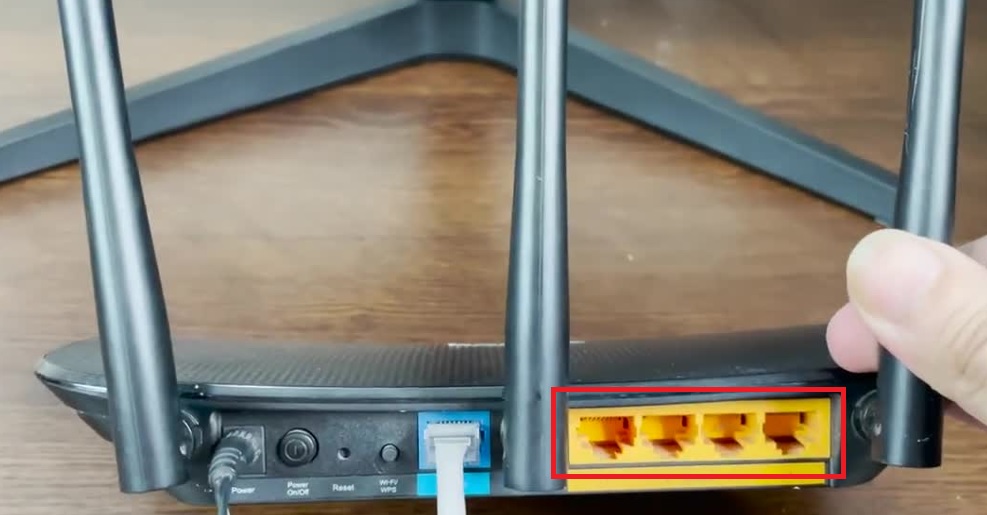
- Reinsert one end of the Ethernet cable into the port of the router.
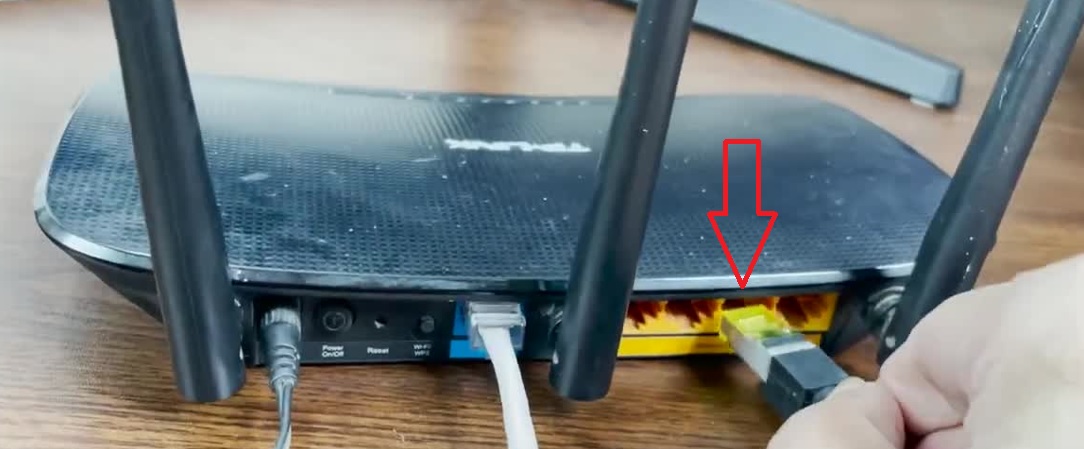
- Reinsert the other end into the appropriate Ethernet port, usually located at the back of the desktop.
- Check the light and the sign on the bottom, far-right corner of the Taskbar to see whether it is connected.
If you find that the issue has not been resolved, try the same cable on another PC as well as another Ethernet cable on the same PC. This will tell whether the Ethernet cable or the port of the PC is faulty.
After you have made the initial checks, now move on to the following fixes.
Method 2: Reset Adapter Settings
STEPS TO FIX:
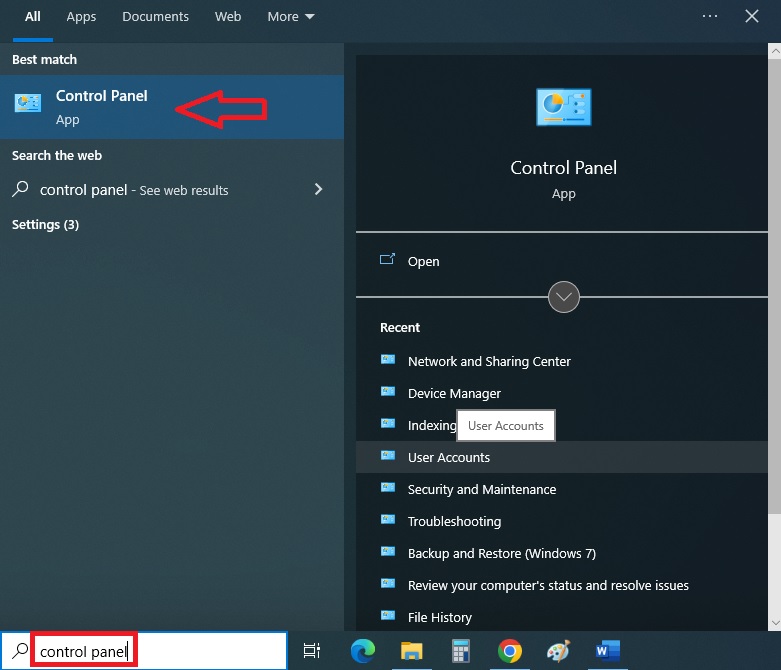
- Go to the Search box beside the Start menu.
- Type control panel in the box.
- Press Enter to open it.
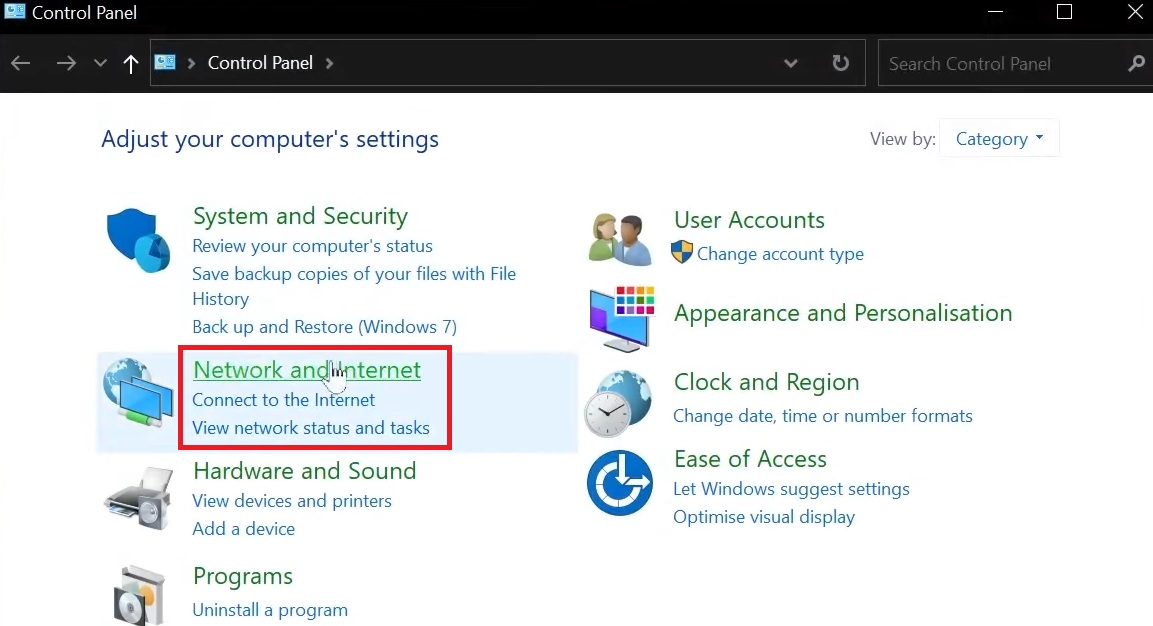
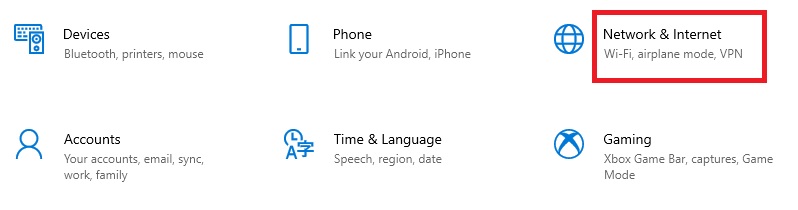
- Look for the Network & Internet option in the category.
- Click on it.
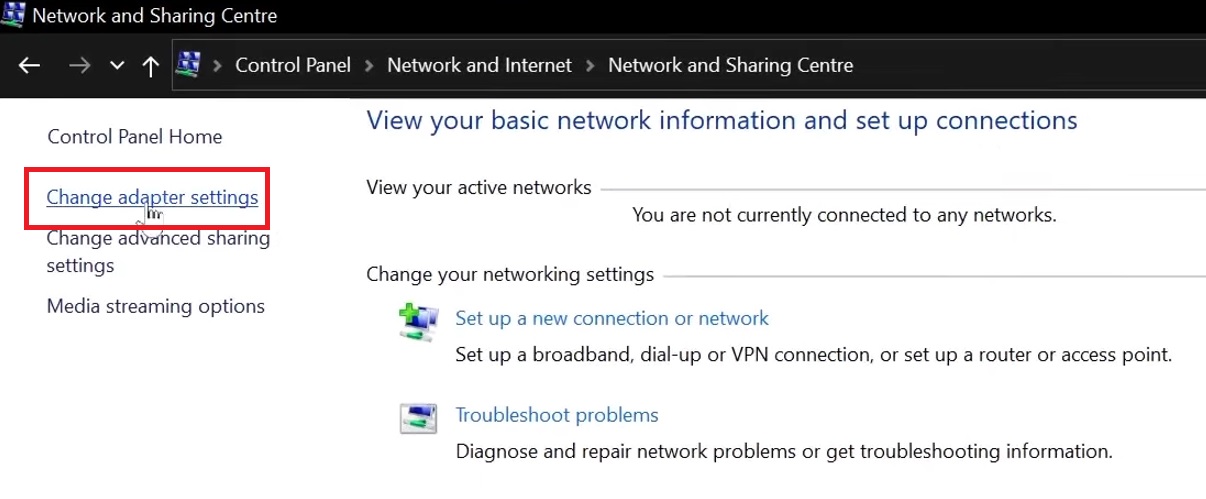
- Click on Network and Sharing Centre. (In some systems, you may not need the above step).
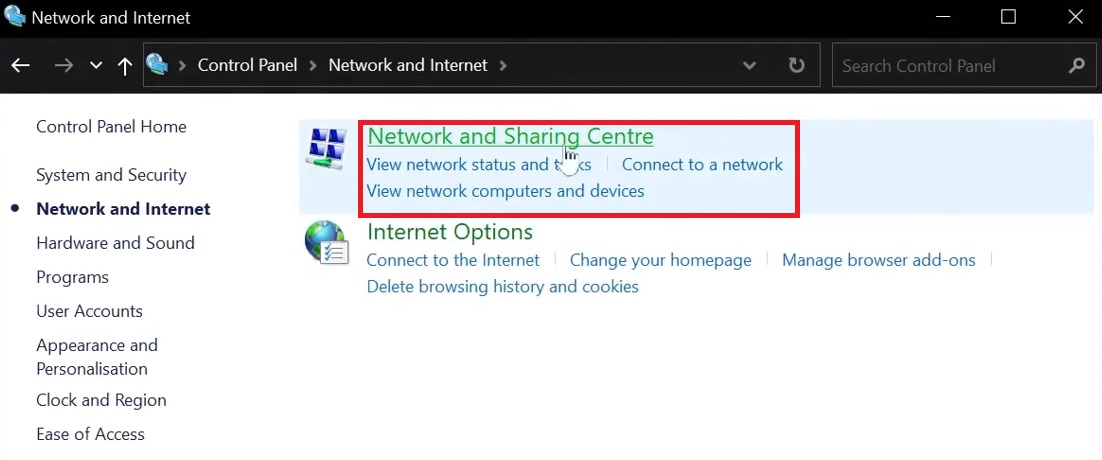
- Select and click on Change adapter settings from the left panel.
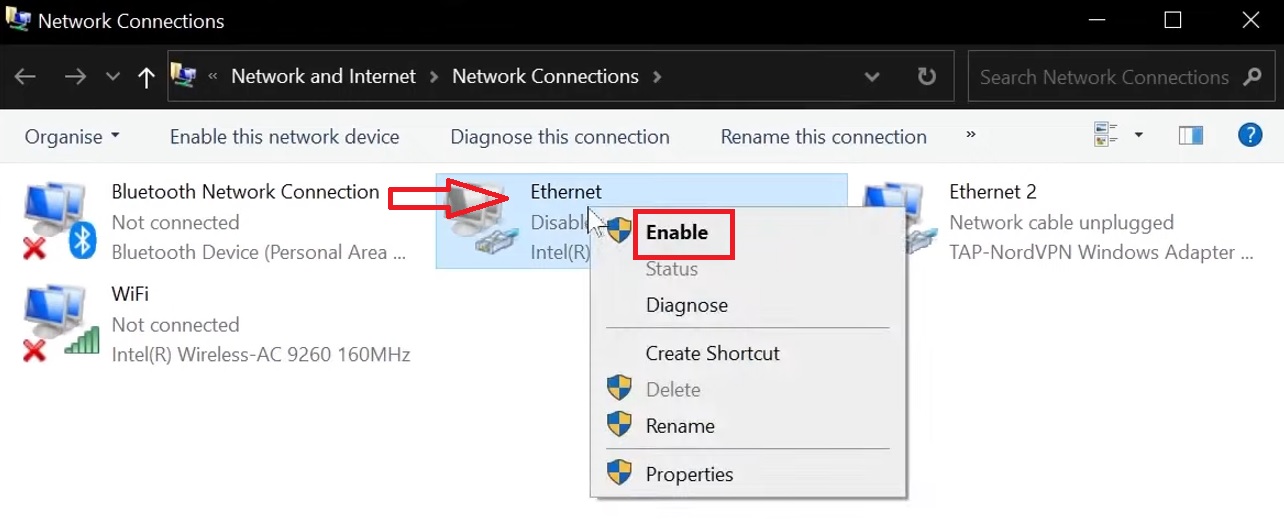
- In the new window, right-click on the Ethernet option and click on the Enable option.
This should connect the Ethernet to your computer. If it does not, then:
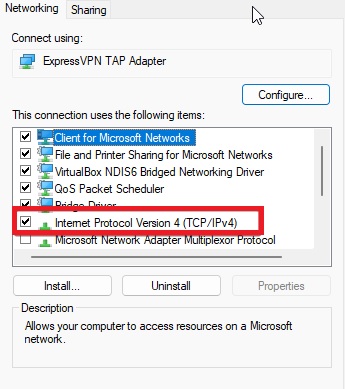
- Right-click on Ethernet again.
- Select Properties from the drop-down menu.

- Scroll down to find Internet Protocol Version 4 (TCP/IPv4) from the window under ‘This connection uses the following items’ in the Networking tab.
- Click on the check box beside it.
- Click on the OK button.
In most of the situations, you will also need to enable both ‘Obtain an IP address automatically’ and ‘Obtain DNS server address automatically’ options.

However, at this point, there may be times when you will also need to change the Domain Name System or DNS server addresses manually. In that case, you will need to proceed as follows:
- Checkmark the circle next to ‘Use the following DNS server addresses.’
- Enter the number 8.8.8.8 in the box next to ‘Preferred DNS server.’
- Enter the number 8.8.4.4. in the box next to ‘Alternate DNS server.’
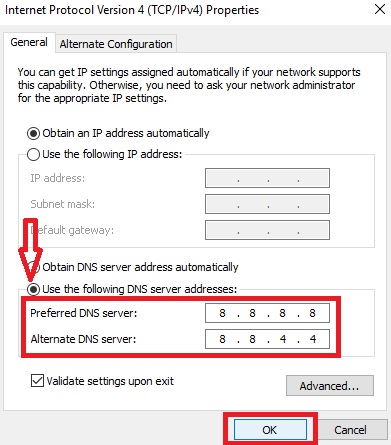
However, to get the exact numbers, you will need to consult your modem or router manual for its configuration as well as get the other necessary details from your network administrator or Internet Service Provider (ISP).
Restart your computer as well as the router and see whether the issue has been fixed. Usually, this would rectify the error.
If this does not, additionally performing a Network Reset would. The process to follow for it is as follows:
- Go to the Start menu.
- Select the gear icon and click on it to go to Settings.

- Select Network & Internet from the new window and click on it.
- Find Advanced network settings in the new window.
- Select and click on the Network reset option.

- Click on the Reset now button in the next window.
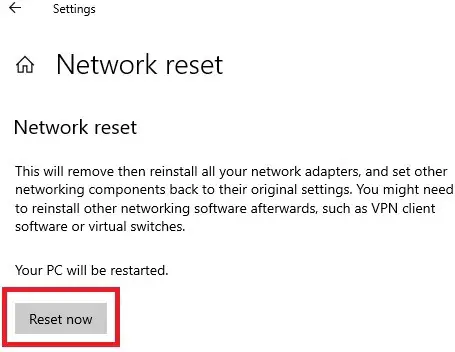
- Click on Yes to confirm your action.
Method 3: Using the Internet Connections Troubleshooter
A few internal issues that cannot be detected, but are creating problems, such as Ethernet not working, may be resolved by running the internet connection troubleshooter.
STEPS TO FIX:
- Go to Settings as before.
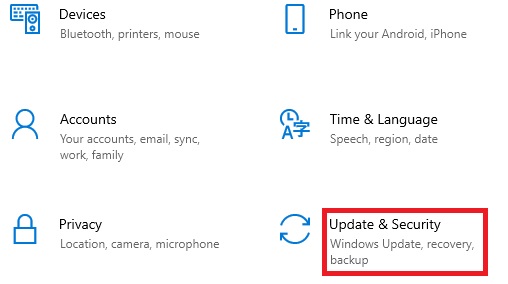
- Select Update & Security from the list of options.
- Select Troubleshoot on the left panel.
- Click on Additional troubleshooters.

- Click on Internet Connections in the next window.
- Click on the Run the troubleshooter button.
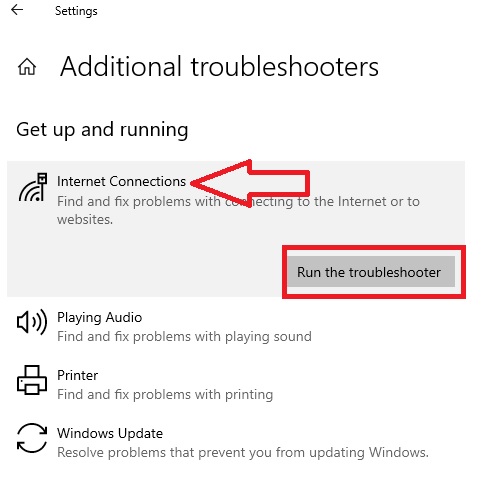
When done, the troubleshooter will detect the problems and fix the issues within.
Additionally, to be doubly sure that you do not encounter such an issue with the Ethernet connection on your PC, you must ensure that all the drivers are updated.
Usually, when you update the drivers as per the following, there will be no incompatibility issues:
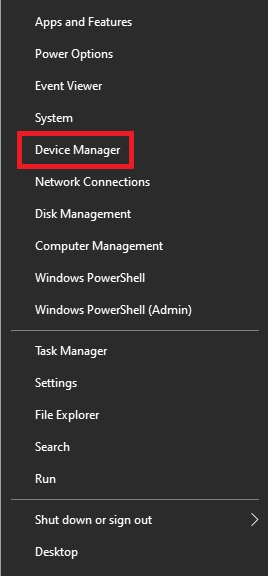
- Go to the Start menu.
- Right-click on it.
- Select and click on Device Manager.
- In the new window, click on the arrows next to each of the drives that are installed in your computer.
- Select them one by one and right-click on them.
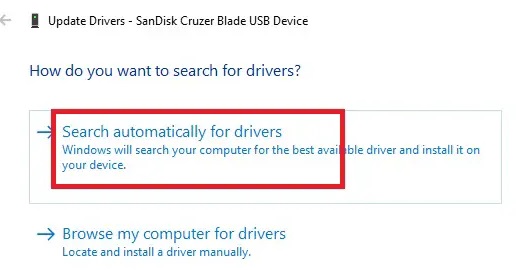
- Select Update driver.

- Click on ‘Search automatically for drivers.’
Close the window after the driver is updated and restart your PC. This should solve the issue.
Method 4: Uninstall the Ethernet Adapter
Even after trying the above methods, if the issue is not resolved, then there may be issues with the adapter. You should therefore uninstall it.
STEPS TO FIX:
- Go to Device Manager as above.
- In the window, look for the Network adapters section.
- Select your Ethernet adapter.
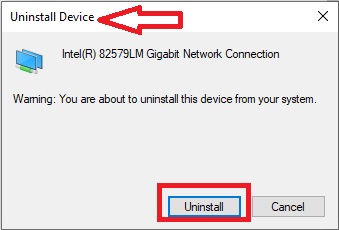
- Right-click on it and select Uninstall.

- Again, click on the Uninstall button in the Uninstall Device confirmation window.
Restart your PC, and the issue may be resolved.
Method 5: Try A Few Commands Using the Command Prompt
Sometimes, your Ethernet may still not work after trying out the above fixes. In such a situation, using a few specific commands may help rectify the problem.
STEPS TO FIX:
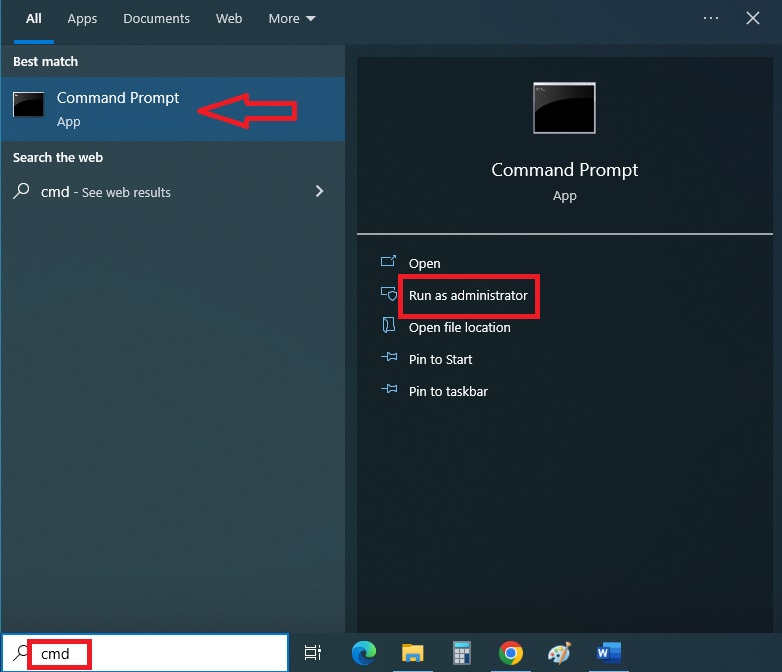
- Go to the Search box.
- Type in cmd in it.
- Select Run as administrator.
- Press Enter.
Once the Command Prompt is open, type in the following commands one by one, pressing the Enter key every time:
- ipconfig /release
- ipconfig /renew
- netsh winsock reset
- netsh int ip reset
- ipconfig /flushdns
- ipconfig /registerdns
- netsh int tcp set heuristics disabled
- netsh int tcp set global autotuninglevel=disabled
- netsh int tcp set global rss=enabled
- netsh int tcp show global
When done, restart the PC and your problems should be resolved.
Method 6: Turn Off the Firewall and Antivirus
There are lots of instances where the antivirus software or firewall installed in a PC causes problems in detecting the Ethernet connection by the system. It is better to turn them off, albeit temporarily.
STEPS TO FIX:
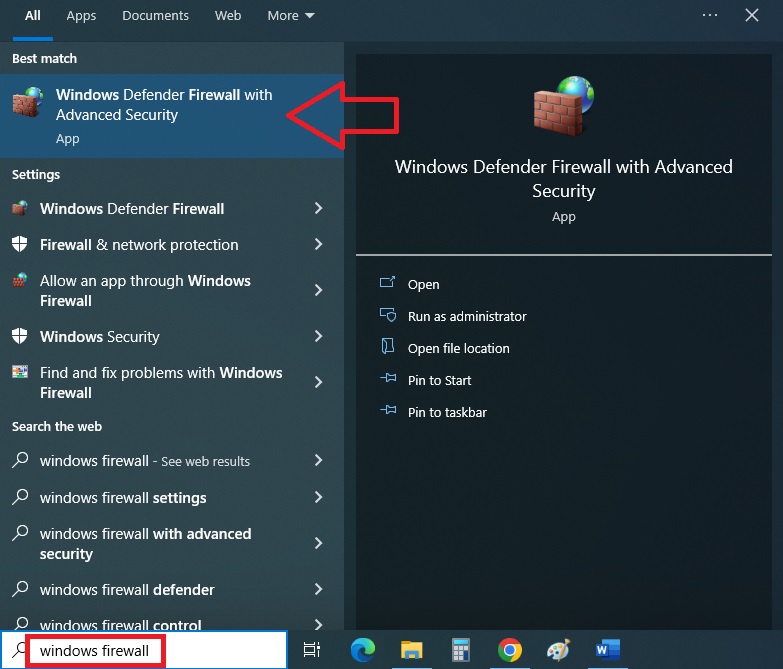
- Go to the Search box.
- Type windows firewall in it.
- Press Enter.
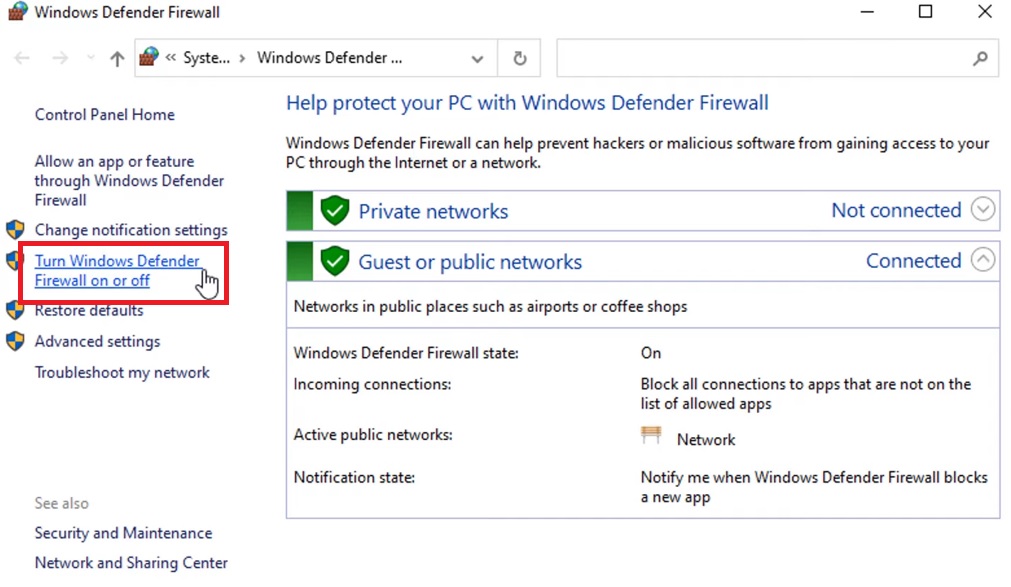
In the new Customize Settings window, select ‘Turn Windows Defender Firewall on or off’ from the left panel.
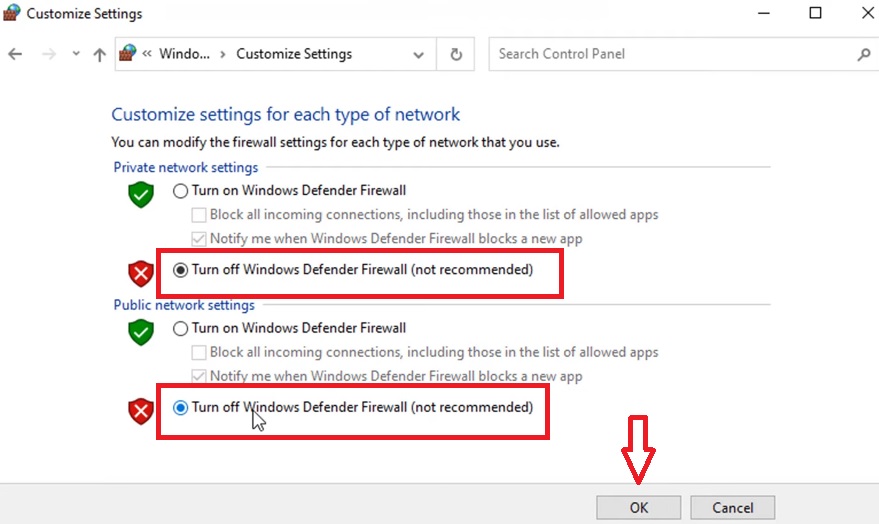
- Click on the two circles besides the two options that allow you to Turn off Windows Defender Firewall, even though these are not recommended.
- Click on the OK button.
Alternatively, you can follow this approach:
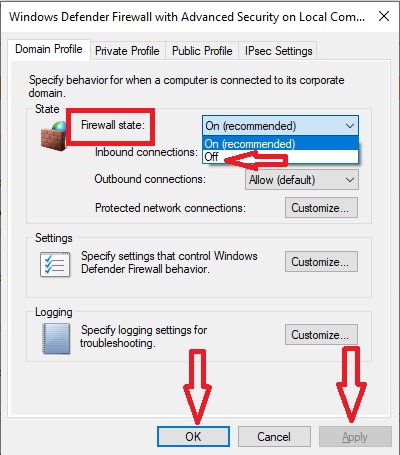
In the Windows Defender Firewall with Advanced Security window, click on Windows Defender Firewall Properties.
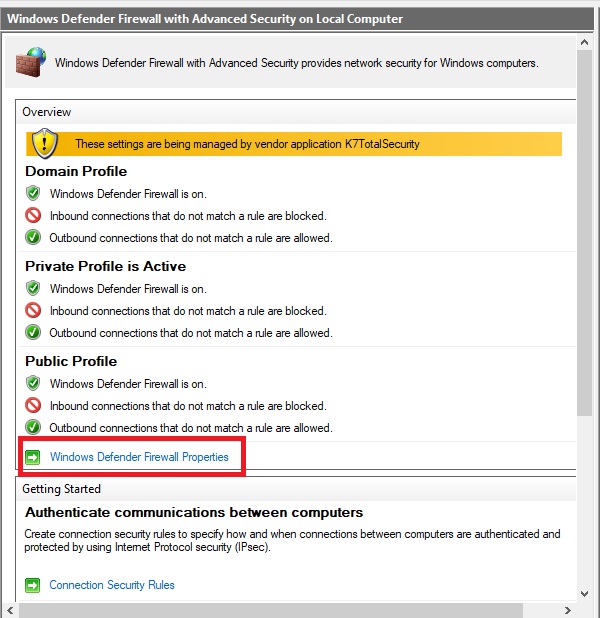
- Change the Firewall state to Off from the drop-down menu if it is set to On.
- Click on the Apply button.
- Then click on the OK button.
Check now to see whether the issue with the Ethernet in your PC has been resolved or not. If it has not, then follow the next process.
Method 7: Uncheck Metered Connection
The metered connectivity may sometimes cause issues with an Ethernet connection. Reversing it is therefore a useful solution.
STEPS TO FIX:
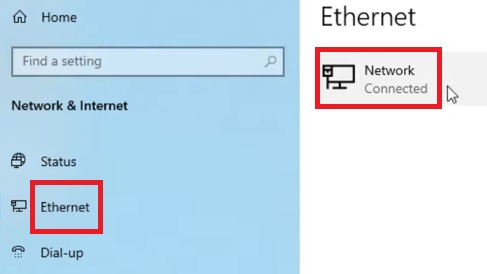
- Go to Settings as before and select Network & Internet.
- Select Ethernet from the left panel in the new window.
- Click on Network on the right side.
- Change the Network profile from Public to Private.
- Slide the switch under ‘Set as metered connection’ to off.

Method 8: Resetting Internet Options
The personal settings of your internet connection may also result in such an issue. Resetting it may put things back on track.
STEPS TO FIX:
- Go to the Control Panel as before.
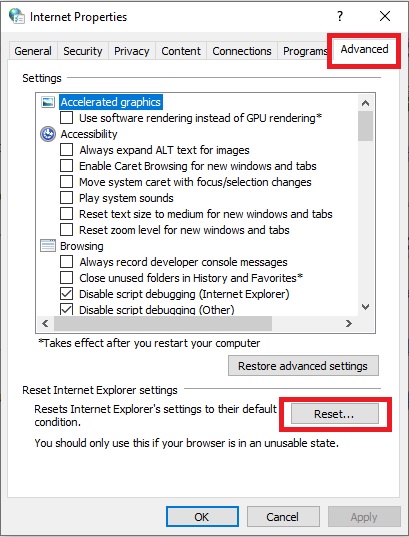
- Choose Internet Options.

- Go to the Advanced tab in the new window.
- Click on the Reset button.
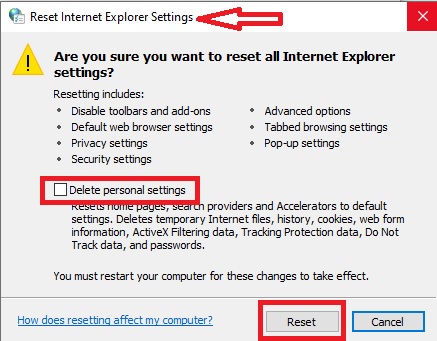
- Check the square box next to ‘Delete personal settings’ in the Reset Internet Explorer Settings window.
- Again, click on the Reset button.
When all are reset, click on Close in the following window and restart your computer system. You will find that the issue has been resolved.
Method 9: Reset Power Management of the Ethernet Adapter
Sometimes, the power settings of the Ethernet adapter may also cause the Ethernet not to connect when you use it on your PC.
So, making some changes to its settings may prove effective.
STEPS TO FIX:
- Go to Device Manager as you did in Method 3 and expand Network adapters to go to Properties.
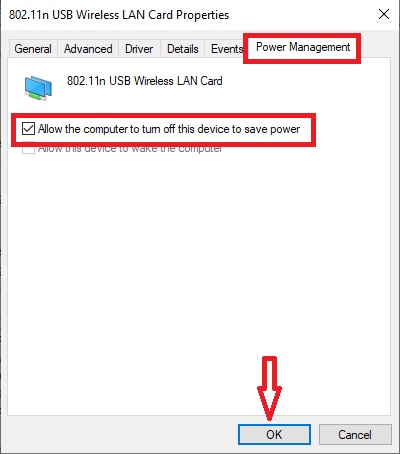
- Go to the Power Management tab in the Properties window.
- Uncheck the square box next to ‘Allow the computer to turn off this device to save power’ option.
- Click on the OK button to save the changes.
Restart your PC so that the changes are applied and the Ethernet starts working again.
Method 10: Disable the VPN
More often than not, if you have the VPN or Virtual Private Network on, the normal functions of your Ethernet connection may be interrupted.
In such cases, it is better to remove or disable VPN as a quick fix to this issue.
STEPS TO FIX:
- Open Settings as before and select Network & Internet.
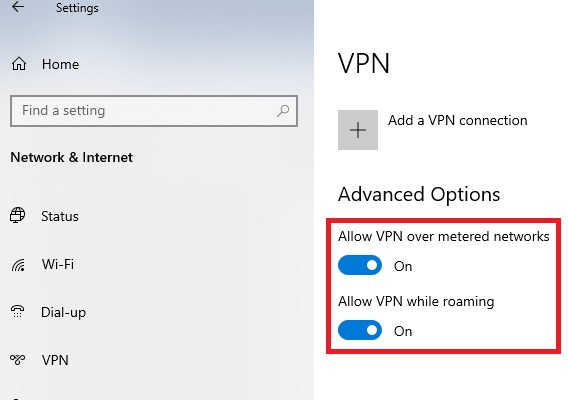
- Click on VPN from the left panel.
- Slide the switches under Advanced Options to Off if they are set to On.
Also, make sure that you remove or disable any VPN extensions you may have on the internet browser.
Method 11: Reset LAN Proxy Settings
The proxy setting of the Local Area Network or LAN may cause some interference in the functioning of the Ethernet sometimes. Therefore, it is better to change it to resolve the issue.
STEPS TO FIX:
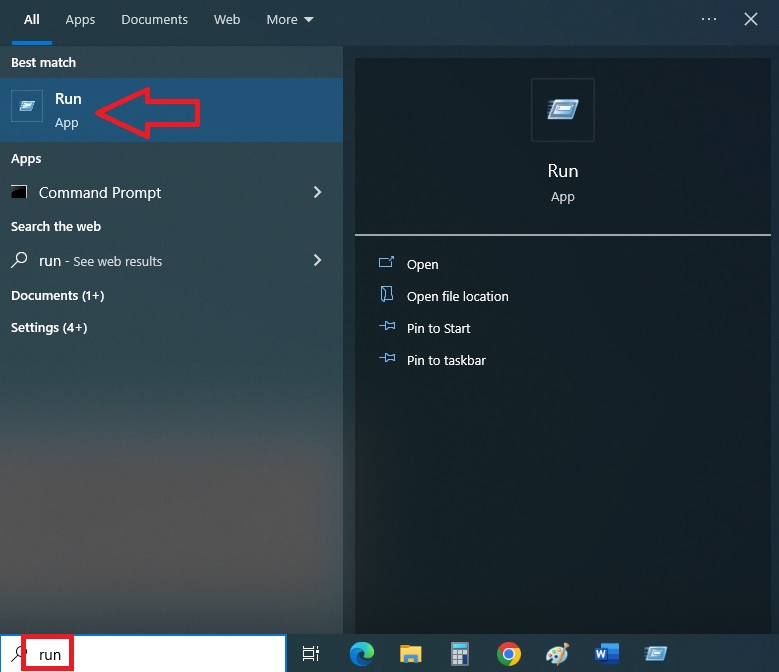
- Go to the Search box beside the Start menu.
- Type in run.
- Press Enter.
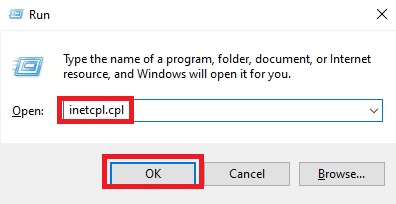
- Type inetcpl.cpl in the Run box.
- Click on the OK button.
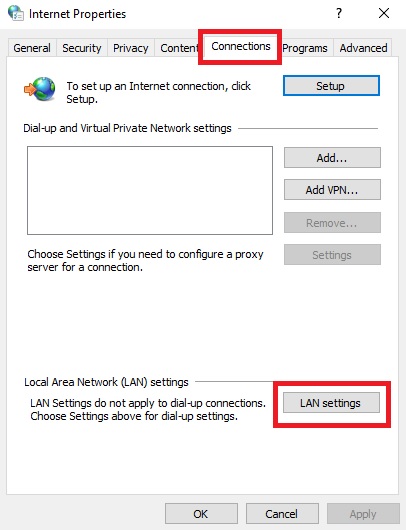
- In the new window, go to the Connections tab.
- Click on the LAN settings button.
- In the new window, uncheck the box next to ‘Use a proxy server for your LAN (These settings will not apply to dial-up or VPN connections).’
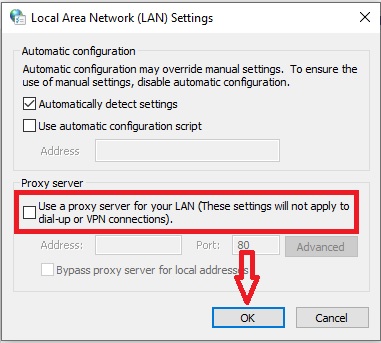
Finally, click on the OK button to save the changes and exit.
Method 12: Run a Virus Scan
There may be viruses and malware on your PC that are preventing the Ethernet from being connected. Run a scan with the antivirus software installed on your computer and have it removed.
STEPS TO FIX:
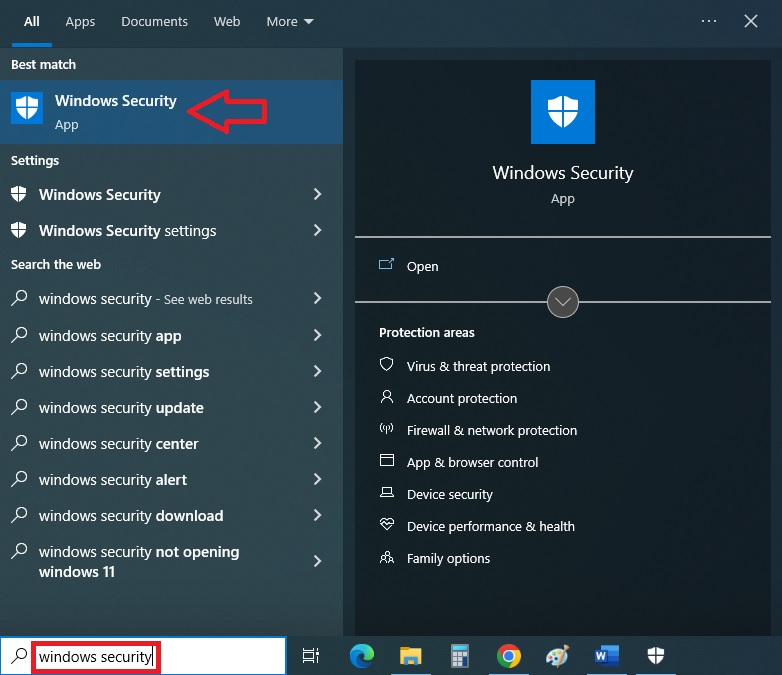
- Go to the Search box.
- Type windows security in the box.
- Press Enter.
- In the new window, select Virus & threat protection.

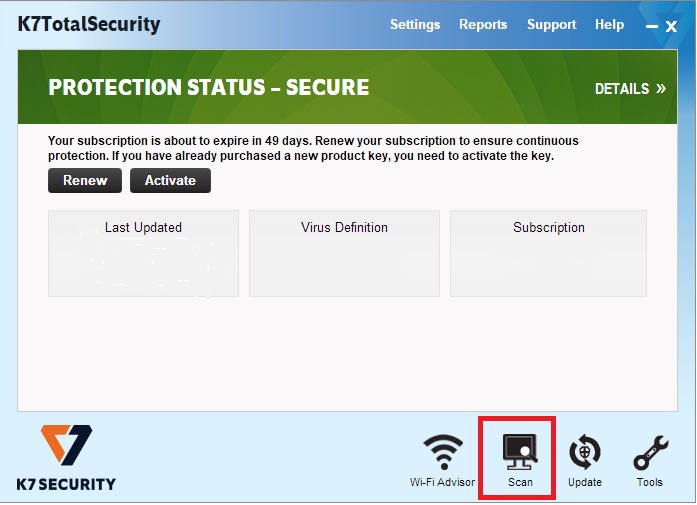
If you have any third-party antivirus software installed on your PC, it will usually show that everything is fine and ‘no actions needed.’ However, it will also override the default Microsoft Defender protection.
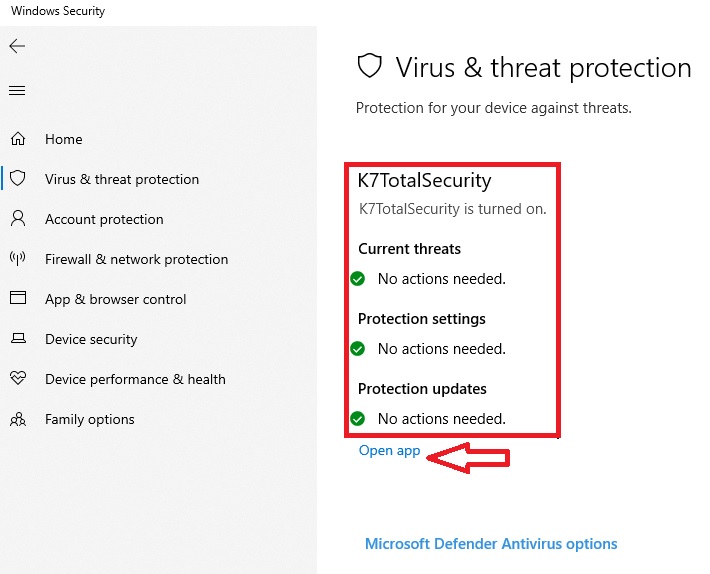
You should click on the Open app option to go to its main menu and then start the Scan, even if it shows that the system is secure.
You may also choose the Microsoft Defender Full or Offline scan option in case you do not have any third-party antivirus software program installed on your PC, as shown before in Method 6.
Finally, verify whether or not the Ethernet connection on your PC is working.
Conclusion
Ethernet offers several advantages over Wi-Fi, which is why users prefer it more.
However, Ethernet not working on Windows 10 or 11 is a common issue, especially after an update or upgrade.
Thanks to this article, you now know a lot of fixes to this issue, both easy and complex, to try out without wasting any time.